How to Create an Anime with AI: 5-Step Beginner Tutorial
If you want to learn how to create an anime with AI, the hardest part is usually not getting one good-looking frame. It is turning one idea into consistent characters, clear shots, and a finished scene. That is why today's AI anime generator workflows are more useful when they combine character design, AI storyboard planning, image generation, and image-to-video animation instead of treating each step separately. For this tutorial, we reviewed Elser's current anime, storyboard, image animation, audio, and OC creation pages to map a practical beginner workflow. By the end, you will know how to create an anime with AI in 5 steps and avoid the biggest quality problems, especially weak character consistency and messy scene flow.
Quick Answer: How to Create an Anime with AI
If you want the short version, create your anime with AI in this order:
1. write a small story idea
2. design one consistent character
3. turn the idea into a shot list or storyboard
4. generate key frames and animate them
5. add audio, pacing, and final polish
That workflow is much more reliable than typing one giant prompt and expecting a finished anime. If you want cleaner results, focus on character consistency and shot planning before you worry about longer motion.
What You Need to Create an Anime with AI
You do not need a full studio pipeline for your first project. Start with a small scope and a clear output goal.
What to prepare | Why it matters
One story idea or scene concept | Keeps your prompts focused
One or two main characters | Makes consistency much easier
A short script or beat sheet | Helps you plan scene flow
Style references | Keeps the anime look coherent
A target format | Helps you choose the right workflow
Good beginner formats include a 15-second anime intro, a character reveal clip, a short emotional scene, or a mini fight test.
How to Create an Anime with AI in 5 Steps
The best way to create anime with AI is to move from planning to visuals, then from visuals to motion. Here is the workflow.
Step 1: Start with a Simple Story Idea and Visual Direction
Start with one small idea, not a full series. A short concept is easier to storyboard, easier to animate, and much easier to finish.
Lock these decisions first:
- what happens in the scene
- who the main character is
- what mood the scene should have
- what kind of anime look you want
- how long the final video should be
A good beginner setup might be: "A lone swordswoman returns to a ruined shrine at sunset and notices someone waiting in the shadows." That is enough to define setting, mood, and action.
You can also draft a simple prompt starter like this:
Cinematic anime scene, ruined shrine at sunset, lone female swordswoman, wind moving hair and clothes, dramatic lighting, emotional tone, detailed background, film-like framing
Keep the first project small. A teaser, one-shot emotional scene, or anime short is a much better target than a full episode.
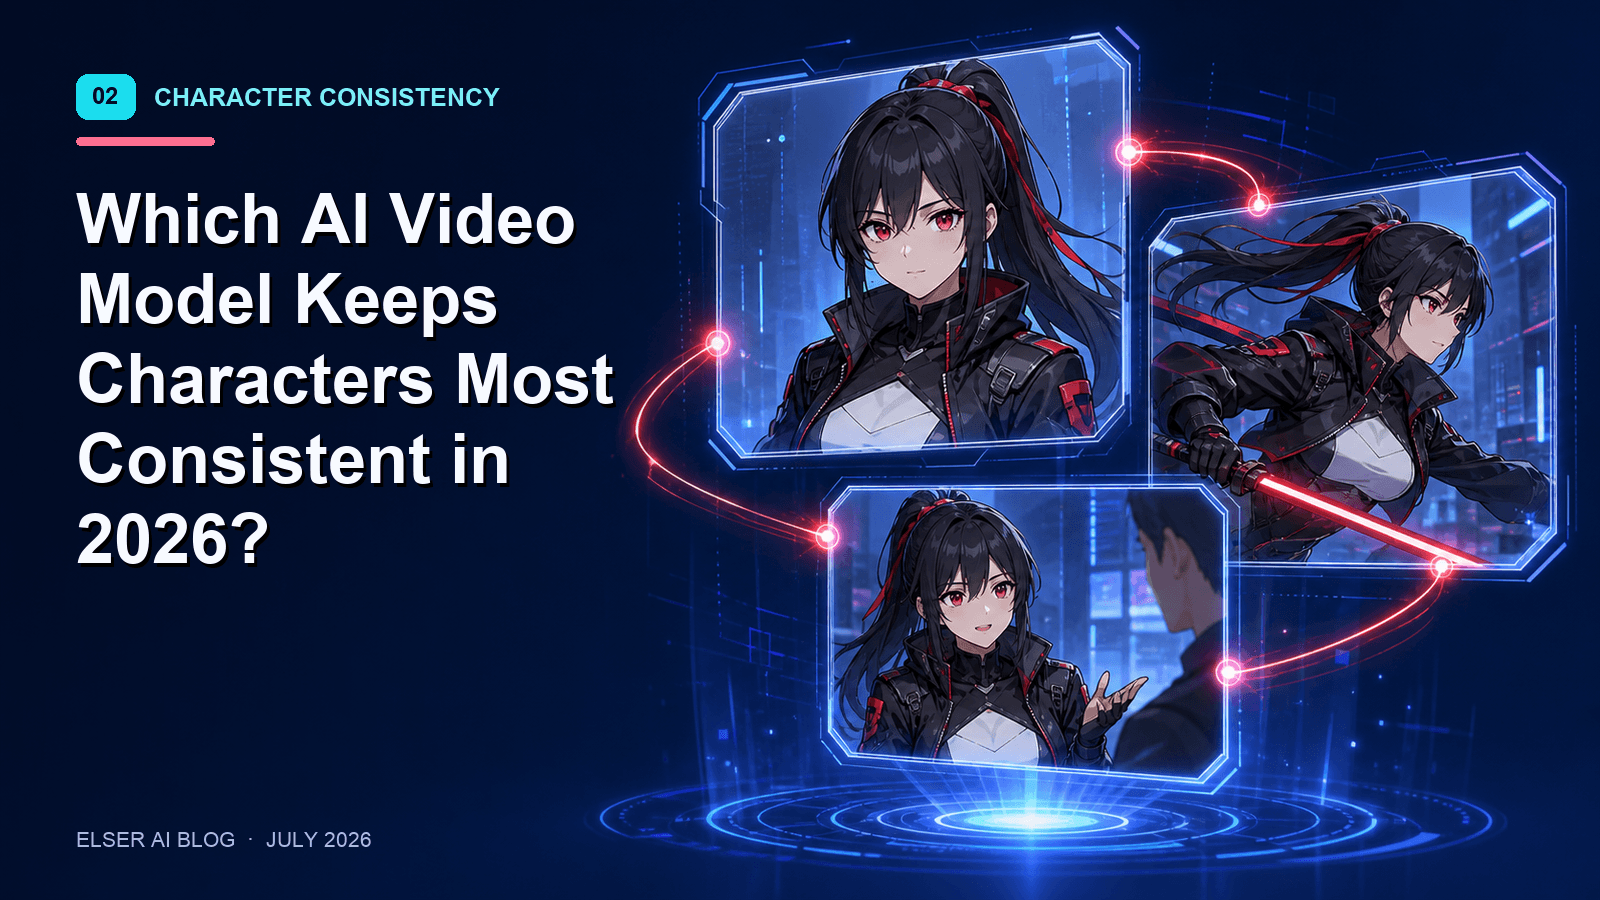
Step 2: Design Characters First to Improve Character Consistency
If your character changes face shape, outfit, or proportions every shot, the anime will immediately feel unfinished. That is why character design should happen before animation.
Use an AI anime generator or an anime OC maker to build a stable reference for each main character first.
Your reference sheet should lock:
- hairstyle and hair color
- outfit silhouette
- facial style
- age range
- key accessories or props
- core pose or attitude
Reuse the same descriptors across every scene. That one habit does more for anime character consistency than trying to fix drift later.
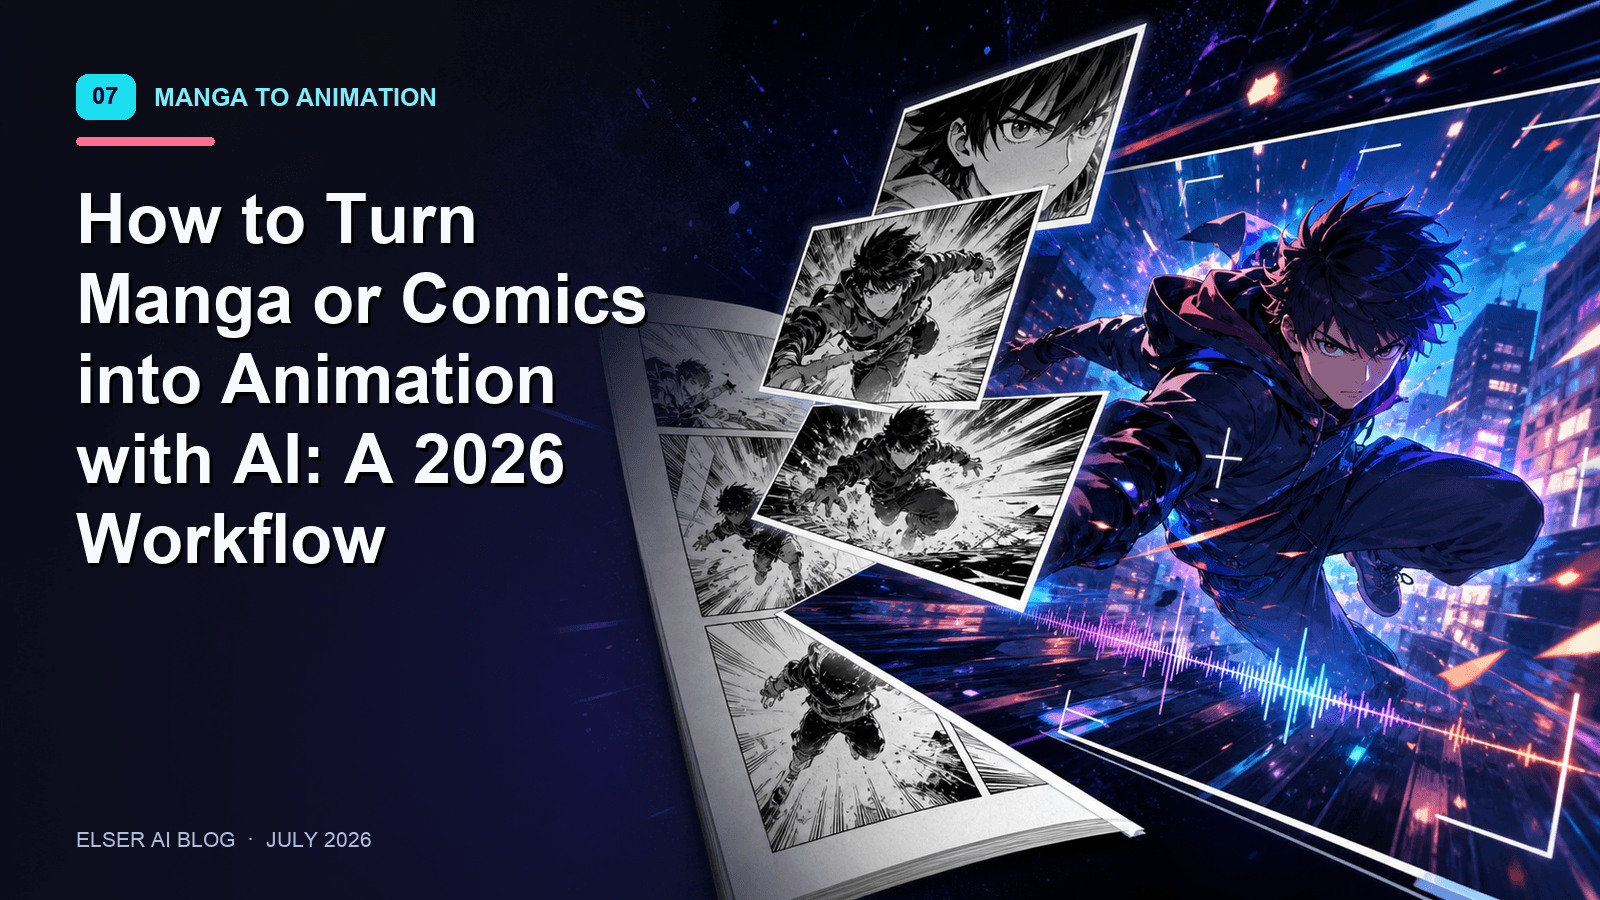
Step 3: Use an AI Storyboard Generator to Plan Your Shots
A lot of beginners jump straight from idea to video generation. That usually creates disconnected shots with weak pacing.
A better workflow is to turn your scene into a simple shot list first. An AI Storyboard Generator can help you define shot order, framing, and emotional rhythm before you generate anything.
For a short anime scene, even six shots are enough:
1. establishing shot
2. character introduction shot
3. medium action beat
4. close-up reaction
5. transition shot
6. ending shot
You do not need a perfect storyboard. You just need enough structure so every generated image has a clear role in the scene.
Step 4: Generate Key Frames, Then Turn Them Into Motion
Once the storyboard is ready, generate still images for the most important shots first. Pick the strongest frame for each shot, then animate only those winners.
This step usually works better in this order:
1. generate key images from the storyboard
2. review which frames match the character best
3. keep the same visual descriptors from shot to shot
4. animate the selected frames with an AI image animator
Do not force too much motion too early. Short, readable movement usually looks more polished:
- slow camera push-ins
- subtle head turns
- clothing and hair movement
- expression changes
- short action beats between clear poses
This is also the stage where image-to-video workflows become easier to control because your scene planning is already done.
Step 5: Edit the Sequence, Add Audio, and Polish the Final Video
A scene can look good and still feel unfinished if the timing is weak. Final polish is what makes AI anime feel more intentional and less like a demo.
At this stage, focus on:
- scene order
- cut timing
- transition rhythm
- music mood
- sound effects
- voice or lip-sync timing if needed
If you want to strengthen the final scene, an AI sound effect generator can help you add impact to footsteps, weapon sounds, atmosphere, or scene transitions.
Tips to Get Better AI Anime Results
- Start with one scene, not a full episode.
- Keep one visual direction across the entire project.
- Build character references before scene generation.
- Reuse the same character descriptors from shot to shot.
- Animate short motion before attempting complex action.
- Use storyboard logic as your source of truth when scenes drift.
- Match audio pacing to the emotional beat of the scene.
Common Mistakes That Make AI Anime Look Inconsistent
- Skipping character setup: If you generate scenes before defining the character, drift appears fast.
- Skipping the storyboard: Random shots often look attractive individually but weak as a sequence.
- Generating long scenes too early: Start with one strong moment and expand later.
- Mixing too many styles: One project should usually follow one visual direction.
- Treating every image like a fresh start: Reuse references, prompts, and shot goals.
Best AI Anime Projects to Start With
If you are new to AI anime creation, start with something small and finishable:
- OC reveal video
- anime teaser trailer
- 15-second fight scene test
- emotional one-shot character scene
- fan-style scene remake
- anime music video snippet
These formats are short enough to manage, but still large enough to teach you how story, character consistency, and motion work together.
Why Elser AI Works Well for This Workflow
If you want a connected overview of the platform, start with Elser AI . The workflow is a good fit for creators who want to move from character and image creation to storyboard planning, animation, audio polish, and finished anime-style videos in one creator-focused system.
FAQ
What is the easiest way to create an anime with AI?
The easiest way is to start with one short scene, one consistent character, and a simple storyboard. Generate key frames first, then animate only the strongest shots instead of trying to produce a full anime in one prompt.
What is the best AI anime generator for beginners?
The best AI anime generator for beginners depends on whether you only need images or want a connected workflow. If you want to go from character design to storyboard and animation, choose a tool that supports those steps together.
Can an AI storyboard generator help me make anime scenes?
Yes. An AI storyboard generator helps you plan shot order, camera logic, and scene pacing before you start generating images or motion. That usually leads to cleaner and more coherent anime scenes.
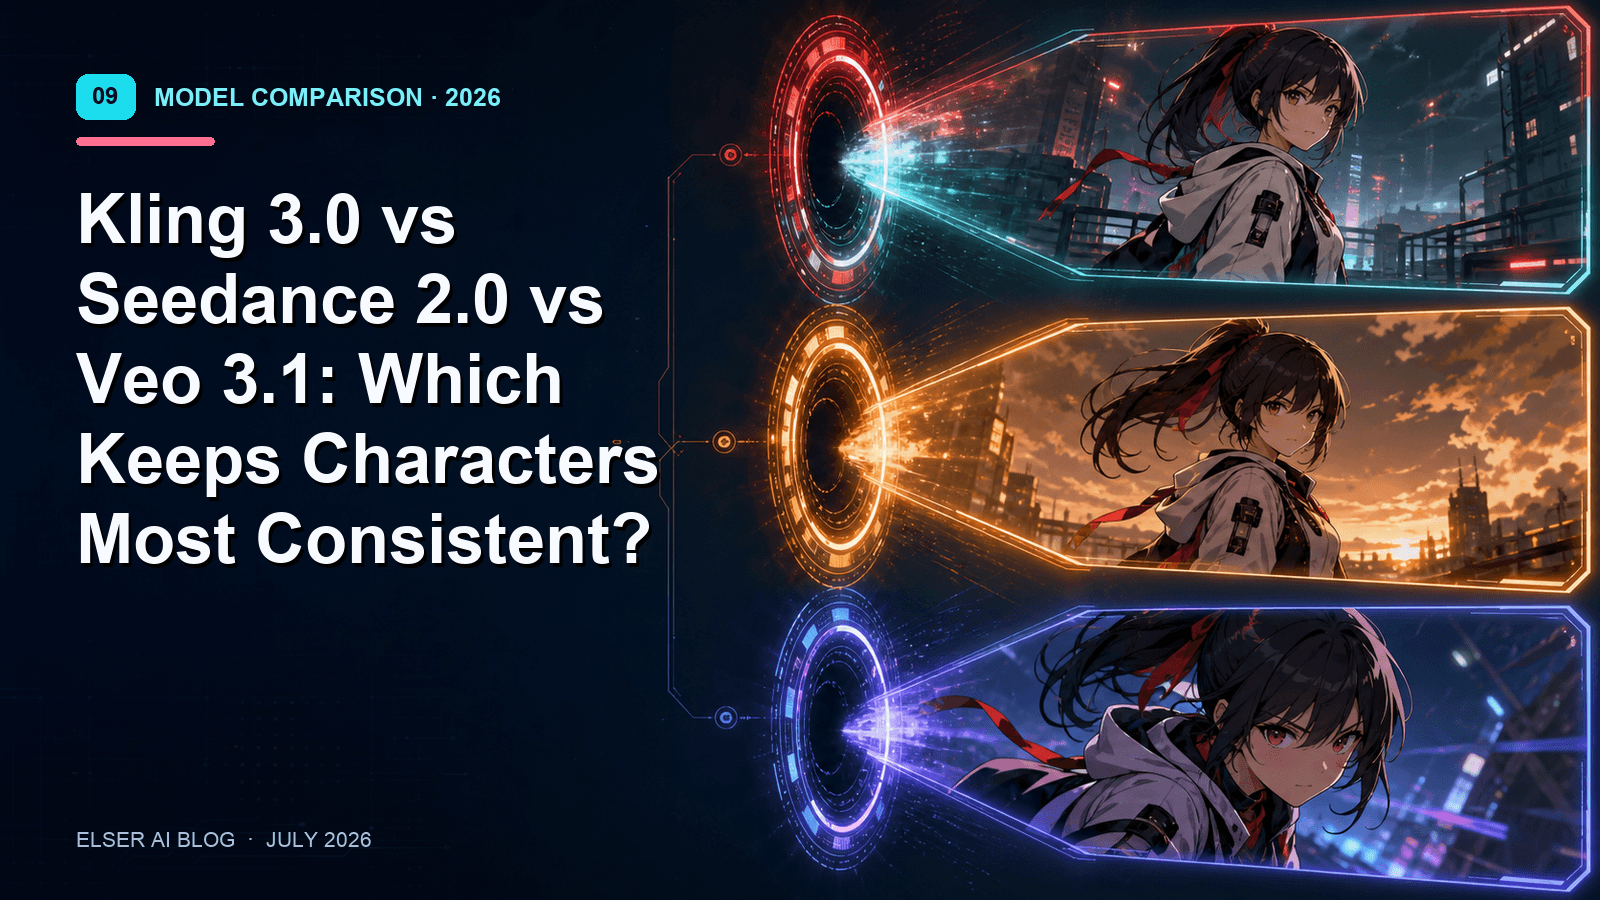
How do I keep character consistency in AI anime videos?
Create a stable character reference first, then reuse the same visual descriptors, outfit details, and facial style across every shot. Keeping the storyboard fixed also helps scenes stay aligned to the same character and story beat.
Can I turn a script or idea into an anime short film with AI?
Yes, but it works best as a multi-step workflow: script to storyboard, storyboard to key frames, and key frames to animation. That gives you more control over scene flow, pacing, and consistency.
What is the easiest AI anime project to start with?
A short teaser, OC reveal video, emotional scene, or 15-second fight test is usually the easiest place to start. These formats are short enough to finish while still teaching you the full workflow.