AI Anime Generator Guide: Create Characters, Scenes, and Stories From Text
AI can speed up this task, but speed is useful only when the result stays recognizable, readable, and editable. The process below protects those qualities from the first brief to the final export. We will use AI Anime Generator Guide as a practical production problem rather than treating prompts as magic.
For AI anime generator guide, searchers usually want a usable result rather than a definition. The fastest path is rarely the one with the fewest clicks. It is the one that preserves reusable decisions—identity, palette, proportions, wardrobe notes, camera language—between iterations.
Start With the Result You Actually Need
Imagine an independent creator developing a recurring protagonist for posters, scene art, and short animation. The project is small enough to finish in one sitting, yet demanding enough to expose weak continuity and vague direction. Define the destination—social post, profile crop, printable page, concept board, or video shot—before choosing dimensions or style. For “AI Anime Generator Guide: Create Characters, Scenes, and Stories From Text,” the highest-value constraint is the one implied by the title: solve that problem first, and treat extra decoration as optional.
Before opening a generator, write a miniature acceptance test. For this project, a strong result means:
- Silhouette reads at thumbnail size.
- Face and hair carry distinctive identity.
- Hands and joints are plausible.
- Background perspective supports the subject.
- Palette and lighting tell the same story.
Use these points as pass-or-revise gates. They stop surface polish from hiding a structural failure and make collaboration easier because every rejection names a visible problem instead of asking the model to “make it better.”
The Working Process
1. Write a one-sentence creative brief
Work from the final use backward. A vertical social image needs different spacing from a wide banner; a comic character or scene must leave room for text; an animation keyframe needs clean edges and a stable pose. Choose the format early so later crops do not destroy the composition.
2. Define identity anchors and visual hierarchy
Turn taste into observable instructions. Replace “make it premium” with a specific silhouette, restrained palette, material, lens distance, and motivated light source. Concrete nouns and relationships give the model fewer ways to misread the brief.
3. Choose composition before decorative detail
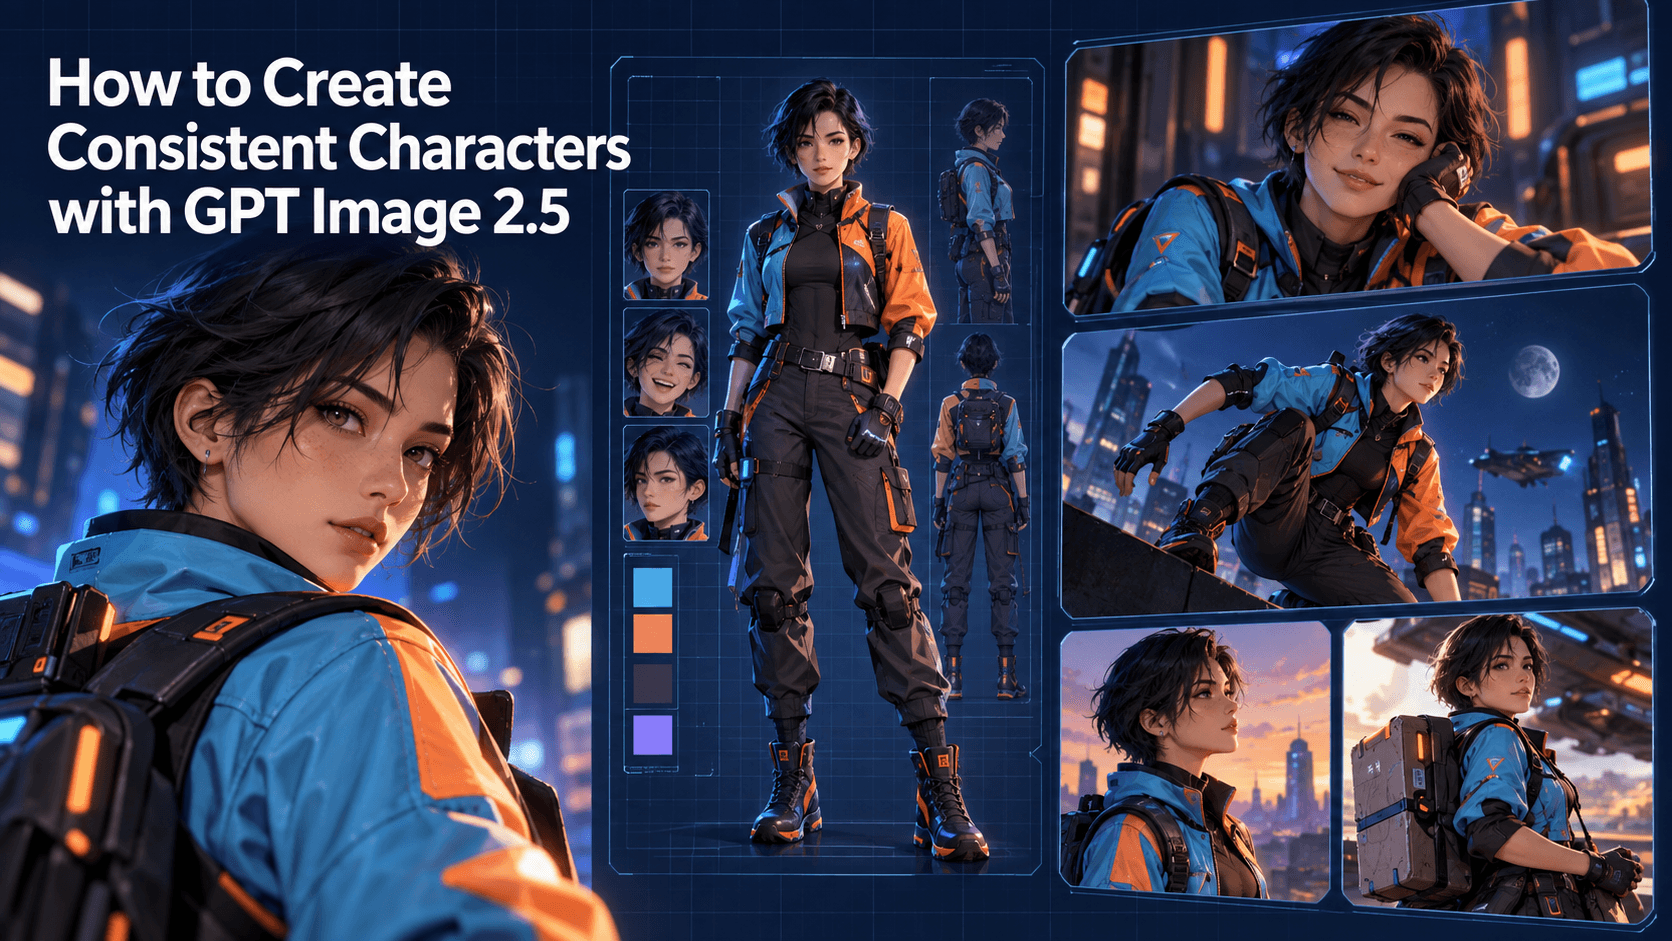
Create a continuity card from the approved design. Record proportions, palette, hairstyle, costume layers, props, and features that must never change. Feed later stages from that original card, not from a chain of increasingly altered outputs.
4. Generate a small controlled batch
Limit the batch and label the variable under test. If you change camera, wardrobe, mood, and style simultaneously, the results teach you nothing. Select on structural correctness first, then refine the winning direction.
5. Compare structure rather than surface polish
Inspect the candidate in two modes. At full size, look for anatomy, masking, texture, duplicated details, and lettering defects. At the actual publishing size, ask whether the subject, action, and reading order are immediate.
6. Refine the strongest result and save a reference
Name the defect before touching the asset: identity, anatomy, edge, continuity, text, or composition. Correct that defect at the smallest practical scale. If a local fix cannot work, return to the last approved version rather than starting from a degraded copy.
A Realistic Example
Suppose the character is a junior astronomer who appears calm in public but becomes animated around discoveries. Give that idea visible anchors: short asymmetrical hair, a crescent hairpin, ink-stained fingertips, a navy field jacket, and a warm amber notebook. Build a neutral reference first. Only then create the observatory scene, the surprised expression, and the night-city variation. The identity survives because the design is based on a small repeatable system rather than generic beauty tags. This example is intentionally modest. A controlled, finishable project teaches more than a spectacular prompt with no continuity plan.
Topic-Specific Production Notes
The first technical decision
A character prompt needs narrative function as well as appearance: role, immediate goal, emotional state, and one visual contradiction. Record the decision beside the source asset so nobody has to infer it from an old output.
The detail most creators miss
Plan establishing, medium, and close shots so a story has visual rhythm instead of three nearly identical portraits. Use this point to reject attractive variations that pull the work away from its actual purpose.
The final review that matters
Save a compact continuity card containing palette, proportions, costume layers, props, and forbidden changes. Give this issue a dedicated final check; it is easy to overlook when surface polish is strong.
Common Mistakes and Better Fixes
Assuming a model name guarantees quality
Models behave differently by task, input, and settings; run a representative test. For this topic, ask whether the change advances “AI Anime Generator Guide” or merely adds novelty.
Ignoring delivery format
Decide aspect ratio, crop, resolution, and text space early.
Publishing without rights review
Confirm consent, source permissions, and current terms.
Where Elser AI Fits
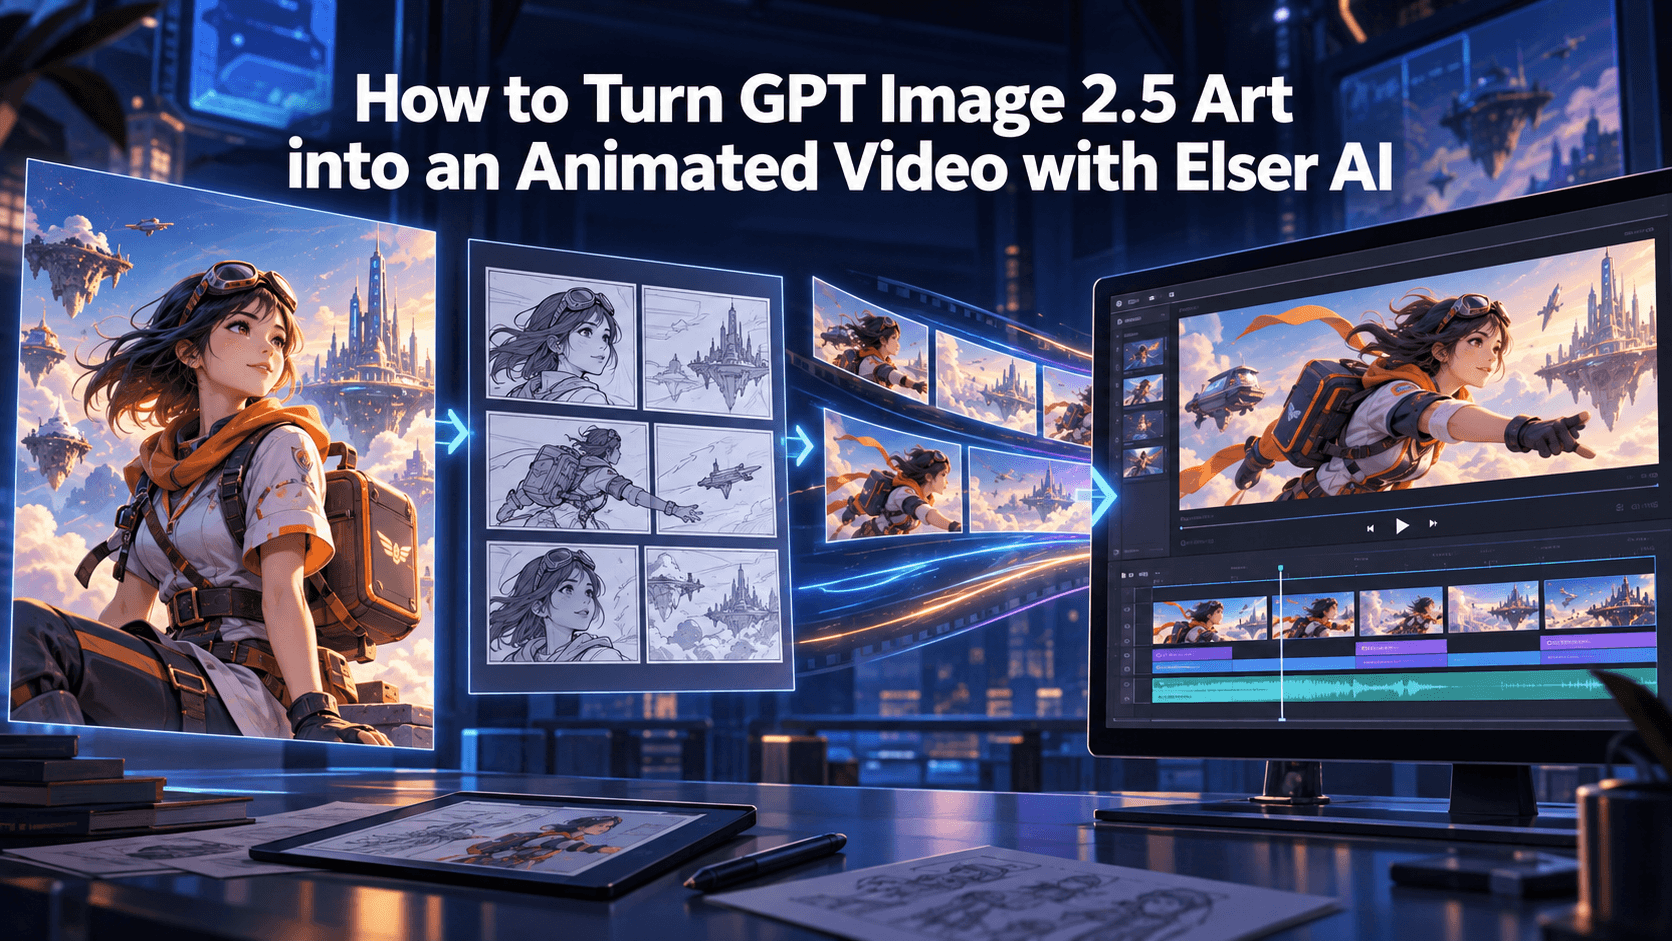
Inside Elser AI, the practical path is to create a strong still first, save it as a reference, and animate only after the design is stable.
If the workflow matches your project, create a free account or sign in before serious iteration so the strongest assets are easier to retain and reuse. Begin with one representative image and one measurable goal; there is no advantage in spending credits on a large batch before the brief is stable.
Save the source, accepted prompt, aspect ratio, selected output, and important settings as one versioned bundle. That modest record makes successful decisions reusable and gives future model comparisons a fair baseline.
Quality, Safety, and Rights
Use source photos, characters, logos, and reference art only when you own them or have permission. Get consent before editing a recognizable person, particularly for clothing changes or public posts. Mark conceptual mockups clearly if viewers might mistake them for real products, events, or documentary images. Before commercial release, review the platform’s current terms and the copyright, publicity, trademark, and fan-art rules that apply to the project. Keep a provenance note for client work.
FAQ
Which tool should I use for a still anime image?
Use the AI image Generator for still-image creation. The link assigned to AI Anime Generator in this content package points to the image animation workflow, which is better used after a still design is stable.
Do I need professional drawing or editing skills?
No. You do need a clear brief and a willingness to review details. Basic knowledge of composition, continuity, and file formats improves results more than advanced software knowledge.
How many versions should I generate?
Start with a small controlled batch—often three or four. If none solve the structural problem, revise the source or prompt before generating more.
Can I use the result commercially?
Possibly, but check the platform’s current terms and the rights attached to your source material, characters, brands, and references. Client work deserves a documented rights review.
Conclusion
The durable lesson is control. Define the result, protect what already works, change one variable at a time, and review the anime image in its final context. That method makes AI anime generator guide more predictable and gives you reusable assets instead of isolated lucky generations.