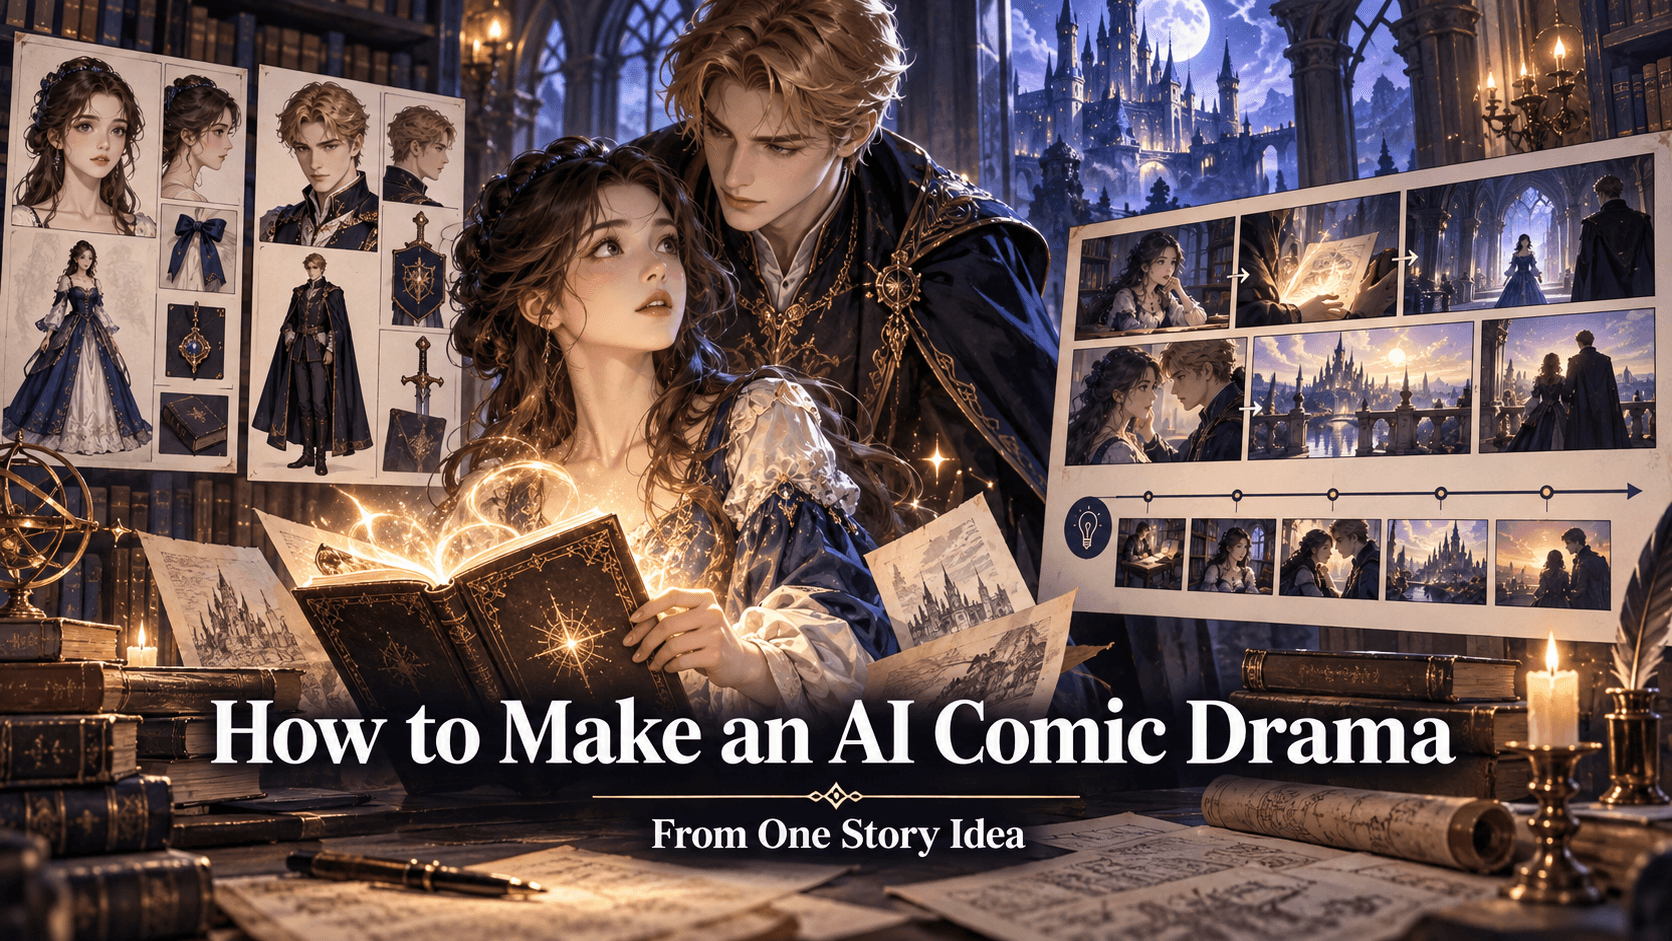
How to Keep the Same Anime Character Across Multiple AI Images
The hardest part is not producing another option; it is knowing which option can survive editing, cropping, continuity checks, and publication. This guide treats generation as one stage inside a finished creative process. We will use How to Keep the Same Anime Character Across Multiple AI Images as a practical production problem rather than treating prompts as magic.
For consistent AI anime characters, searchers usually want a usable result rather than a definition. Professional-looking work usually comes from selective editing. Generate broadly only during exploration; once a direction works, make the smallest possible correction and protect everything else.
Start With the Result You Actually Need
Begin with one sentence that names the audience, subject, action, mood, and delivery format. Then list the elements that cannot change. This turns the character or scene into a controlled production unit rather than an invitation to regenerate everything. For “How to Keep the Same Anime Character Across Multiple AI Images,” the highest-value constraint is the one implied by the title: solve that problem first, and treat extra decoration as optional.
Before opening a generator, write a miniature acceptance test. For this project, a strong result means:
- Silhouette reads at thumbnail size.
- Face and hair carry distinctive identity.
- Hands and joints are plausible.
- Background perspective supports the subject.
- Palette and lighting tell the same story.
Review against the list in order and stop at the first failed requirement. This saves time: there is little value in perfecting texture when identity, anatomy, pacing, or reading order is still wrong.
The Working Process
1. Write a one-sentence creative brief
Write the delivery specification first: platform, orientation, resolution, crop, and whether text must share the frame. Those constraints determine framing more reliably than a style adjective. A correct canvas is the first piece of creative direction.
2. Define identity anchors and visual hierarchy
Turn taste into observable instructions. Replace “make it premium” with a specific silhouette, restrained palette, material, lens distance, and motivated light source. Concrete nouns and relationships give the model fewer ways to misread the brief.
3. Choose composition before decorative detail
Identity and continuity need anchors. Save the approved face, hair shape, color palette, proportions, and signature details. Reuse the same reference and wording. If a new result drifts, return to the last stable asset instead of drifting further from a drifted copy.
4. Generate a small controlled batch
Limit the batch and label the variable under test. If you change camera, wardrobe, mood, and style simultaneously, the results teach you nothing. Select on structural correctness first, then refine the winning direction.
5. Compare structure rather than surface polish
Inspect the candidate in two modes. At full size, look for anatomy, masking, texture, duplicated details, and lettering defects. At the actual publishing size, ask whether the subject, action, and reading order are immediate.
6. Refine the strongest result and save a reference
Make local repairs. If one sleeve, face, balloon, or background region is wrong, preserve the successful areas and correct only the failure. Whole-frame regeneration is appropriate during exploration, not after most of the result already works.
A Realistic Example
Suppose the character is a junior astronomer who appears calm in public but becomes animated around discoveries. Give that idea visible anchors: short asymmetrical hair, a crescent hairpin, ink-stained fingertips, a navy field jacket, and a warm amber notebook. Build a neutral reference first. Only then create the observatory scene, the surprised expression, and the night-city variation. The identity survives because the design is based on a small repeatable system rather than generic beauty tags. This example is intentionally modest. A controlled, finishable project teaches more than a spectacular prompt with no continuity plan.
Topic-Specific Production Notes
The first technical decision
Choose five identity anchors that survive angle changes, such as fringe shape, eye spacing, jaw contour, color blocking, and a signature object. Record the decision beside the source asset so nobody has to infer it from an old output.
The detail most creators miss
Generate a neutral three-quarter reference before extreme poses because it exposes both facial structure and silhouette. Use this point to reject attractive variations that pull the work away from its actual purpose.
The final review that matters
When drift begins, compare against the original approved reference—not the most recent generated image. Give this issue a dedicated final check; it is easy to overlook when surface polish is strong.
Common Mistakes and Better Fixes
Changing too much at once
Lock successful regions and alter one category per pass. For this topic, ask whether the change advances “How to Keep the Same Anime Character Across Multiple AI Images” or merely adds novelty.
Using style words instead of construction
Describe what is visible and how it is built.
Reviewing only the best-looking preview
Inspect anatomy, edges, text, and continuity at full size.
Where Elser AI Fits
You can build the still in the AI image Generator, then move a selected frame into the AI Anime Generator workflow when motion becomes part of the plan.
A sensible registration point is when you have a real source asset and a defined output format. Sign in, run a small test, save the winning version, and continue only if it passes the acceptance checklist above. This keeps the call to action tied to useful work rather than curiosity clicks.
Save the source, accepted prompt, aspect ratio, selected output, and important settings as one versioned bundle. That modest record makes successful decisions reusable and gives future model comparisons a fair baseline.
Quality, Safety, and Rights
Use source photos, characters, logos, and reference art only when you own them or have permission. Get consent before editing a recognizable person, particularly for clothing changes or public posts. Mark conceptual mockups clearly if viewers might mistake them for real products, events, or documentary images. Before commercial release, review the platform’s current terms and the copyright, publicity, trademark, and fan-art rules that apply to the project. Keep a provenance note for client work.
FAQ
Which tool should I use for a still anime image?
Use the AI image Generator for still-image creation. The link assigned to AI Anime Generator in this content package points to the image animation workflow, which is better used after a still design is stable.
Do I need professional drawing or editing skills?
No. You do need a clear brief and a willingness to review details. Basic knowledge of composition, continuity, and file formats improves results more than advanced software knowledge.
How many versions should I generate?
Start with a small controlled batch—often three or four. If none solve the structural problem, revise the source or prompt before generating more.
Can I use the result commercially?
Possibly, but check the platform’s current terms and the rights attached to your source material, characters, brands, and references. Client work deserves a documented rights review.
Conclusion
A strong outcome does not require endless prompting. It requires a clear acceptance test, a stable reference, a small number of deliberate iterations, and human judgment at the end. Apply that discipline to consistent AI anime characters, and “How to Keep the Same Anime Character Across Multiple AI Images” becomes a repeatable workflow rather than a gamble.