Elser AI for Beginners: Everything You Need to Know Before Creating
The most useful beginner preparation is not memorizing prompt tricks. It is understanding the order of decisions and limiting the first project so you can tell why something worked. AI creation combines writing, design, cinematography, performance, sound and editing. You do not need mastery of each craft, but you do need a review method.
This guide covers what to prepare before opening a project, what current Elser pages document, which expectations to avoid, and how to complete a first piece without losing track of rights, continuity or cost.
Know What Elser Can Connect
Official pages show idea/script entry, editable scenes, project settings, character creation and reuse, storyboard modes, image/video generation, voice and sound workflows, editing and export. Not every project needs every feature. Choose the shortest path that solves the deliverable.
Start Smaller Than Your Ambition
A first project should use one location, one lead, one event, three to six shots and little dialogue. A character reveal, atmosphere loop or 25-second reversal teaches the entire production chain. Save the series, battle and crowd for later tests.
Apply this now: Register on Elser only after writing a one-sentence deliverable and acceptance test. Register with Elser AI, record the settings, and compare the result against the brief.
Prepare Inputs and Rights
Gather a short brief, approved script or premise, delivery ratio, visual reference, character description and sound direction. Use only references, voices, music, marks and likenesses you may lawfully transform. Confirm current terms before commercial publication.
Understand Models and Usage
The live selector—not an old blog post—is the source for model availability. Elser’s pricing FAQ says credits vary with model, duration and resolution; quota throughput may be dynamic. Run a representative test and budget attempts per approved shot.
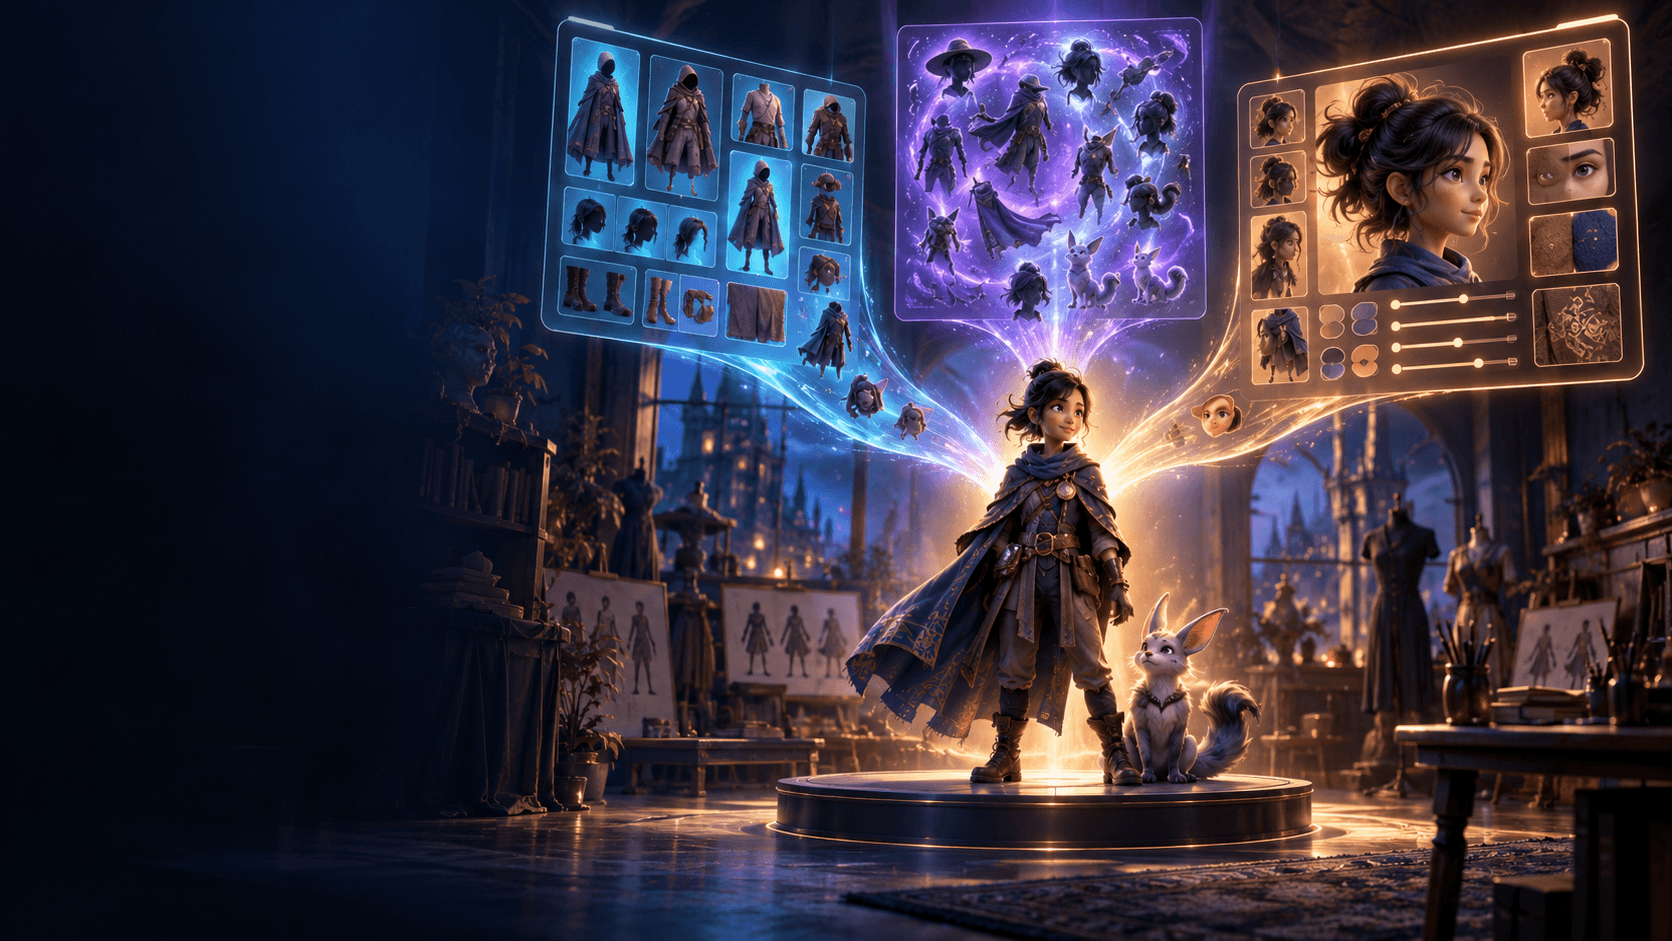
Apply this now: Use a saved character and storyboard to reduce uncertainty before motion. Elser AI provides a practical workspace for this controlled test.
Learn Four Production Documents
Keep a story brief, character/asset bible, shot table and prompt ledger. The brief protects meaning; the bible protects identity; the shot table protects coverage; the ledger protects reproducibility. These documents can be lightweight but should remain readable.
Expect Iteration, Not Instant Perfection
A weak output is useful only when you can name the defect. Fix story problems in the script, coverage problems in the board, identity problems in references, action problems in motion prompts, and pacing problems in the edit. Change one layer at a time.
Apply this now: Complete one small Elser export and write a postmortem before scaling. Create the smallest version in Elser AI and continue only after it passes review.
Review and Export Professionally
Watch at destination size, with sound off and then picture off. Check faces, hands, costume, screen direction, text, dialogue, loudness, captions, safe areas and claims. Preserve a clean master and generate platform versions separately. Measure usable output and viewer comprehension.
What a Beginner Can Actually Do in Elser AI
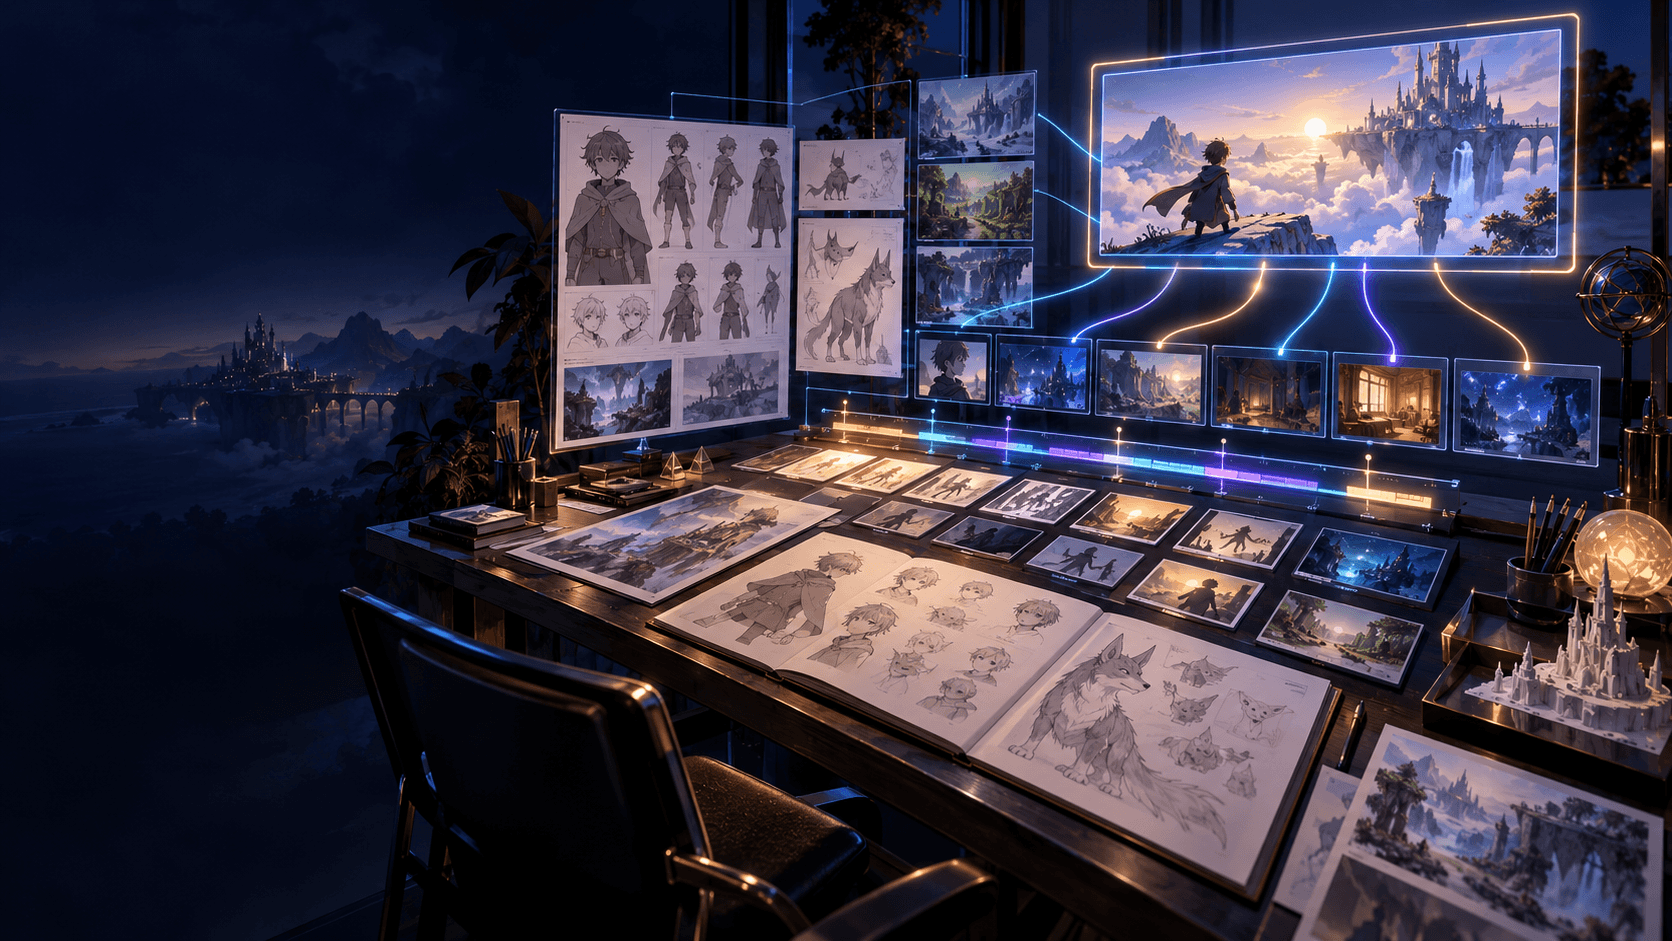
The homepage and tools directory expose AI images, short videos, character creation, comics, music, sound and specialized tools. The Anime & Movie Studio connects Concept, Storyline, Settings, Cast, Storyboard and Final Cut. Beginners can use a single tool, but the platform becomes more useful when a project needs two or more connected stages—for example, a reusable character inside a storyboard-led animation.
Your First Project Should Fit on One Screen
Choose one character, one location, one event, three to six shots and zero or one spoken line. Good Elser AI projects for beginners include a character reveal, atmosphere loop, object discovery or 20-second emotional reversal. Avoid a ten-minute episode, crowd scene, dance ensemble or multi-character fight until you understand cast consistency, shot prompts and editing.
Elser AI Credits and Plans: What Beginners Need to Know
The pricing page lists a limited free tier and paid plans, but current prices, quotas and promotions may change. Credits are consumed differently depending on model, duration and resolution; subscription credits follow the current billing rules described on the page. Do not translate a generic credit balance into a fixed video count. Test one representative image and one video shot before choosing capacity.
Start with evidence, not assumptions: Register on Elser AI, inspect the live tools and model selector, and create one small project before selecting a larger plan.
Four Things to Prepare before Creating
Prepare a one-sentence deliverable, target aspect ratio, lawful visual reference and character description. If using a script, format scene headings, action and dialogue clearly. If using Idea mode, specify runtime, cast, location and ending. Decide where captions will sit. This small package answers “what do I need before using Elser AI?” and reduces random iteration.
The Beginner Decision Tree
Only an idea? Start in Concept and edit Storyline. Have an approved script? Use the script-following route. Need one reusable person? Begin with the Character Generator and asset library. Need a multi-shot story? Use Storyboard before video. Have a strong still image? Use an image-to-video workflow. Need a finished short? Assemble picture first, then add voice, sound, music and captions in Final Cut.
Seven Elser AI Beginner Mistakes
Starting too long; accepting the first expanded script; generating motion before approving the cast; mixing several visual styles; giving one clip multiple actions and camera moves; selecting models from old recommendations; and polishing a single shot before assembling the sequence. Each mistake disconnects one Elser feature from the decision it is supposed to support.
A First-Project Checklist You Can Reuse
Confirm premise, runtime, ratio and ending. Edit scenes. Approve character and location. Choose storyboard mode. Label each shot purpose. Select and record the model. Generate the difficult representative shot. Assemble a rough cut. Add voice and sound after timing. Review captions and safe areas. Export a master. Record attempts and what failed. This checklist turns an Elser AI beginner guide into a repeatable habit.
What to Do during Your First 30 Minutes
Spend five minutes defining a 20-second deliverable. In the next five, open the Anime workflow and compare Idea with the script route. Use ten minutes to edit Storyline and create one Cast member. Spend five minutes reviewing Auto Storyboard, then five inspecting Settings and the current model choices. Do not try to finish the film in this orientation session. The goal is to understand where story, cast, shot and model decisions live. On the second session, generate one keyframe and one motion test; on the third, assemble the complete short and add sound. This sequence prevents beginners from spending credits before understanding the workflow.
Frequently Asked Questions
Is Elser AI easy for beginners?
Its idea-led route and connected movie workflow are designed to reduce setup, but beginners should still start with a short project and review each stage.
Is there an Elser AI free plan?
The current pricing page lists a limited free tier. Available generations, models and promotions can change, so check the live page.
What should I create first?
Try a 15–30 second character reveal, discovery scene or atmosphere loop with one protagonist and one location.
Do beginners need to understand AI models?
Only enough to select and test a model for the task. Record the visible model and compare results rather than relying on popularity.
What is the biggest Elser AI beginner mistake?
Starting with a long, multi-character story before learning how Storyline, Cast, Storyboard, shot prompts and Final Cut work together.
Conclusion
Beginners do not need to master every Elser tool before creating. They need a small deliverable, lawful inputs, a saved character, a readable storyboard and a review loop. Complete one project, document what failed and reuse the lesson. Continue with Elser AI when you are ready to apply this exact workflow to a real project.