How to Turn an Image Into a Video With Grok AI
Image-to-video generation gives Grok a visual starting point instead of asking it to invent an entire shot from text. That usually means better control over the subject, composition, color palette, and art direction. It is ideal for animating portraits, product photos, illustrations, comic panels, and campaign artwork.
You can access Grok Imagine through xAI’s own products or use a creator-focused interface such as Grok Imagine Video on Elser AI. The principles below apply in either workflow.
1. Choose the right source image
The starting image determines what the model can preserve and what it must invent. Use an image that has:
- a clearly defined primary subject;
- clean separation between subject and background;
- enough empty space for movement;
- natural anatomy and complete visible objects;
- a resolution appropriate for the target format;
- lighting that supports the desired mood.
Avoid cutting off hands, feet, wheels, or product edges when you want those elements to move. If the source is a close-up portrait, request subtle facial, hair, and camera motion—not a full-body action sequence.
2. Decide what should move
Separate motion into three layers:
- Subject motion: a glance, breath, step, hand movement, fabric response, or product mechanism.
- Environmental motion: rain, smoke, leaves, reflections, crowds, or changing light.
- Camera motion: push-in, pull-back, pan, orbit, tilt, handheld drift, or locked frame.
Choose one dominant action and keep the other layers subtle. When every part of the frame moves aggressively, visual stability drops.
3. Write an image-to-video prompt
A useful formula is:
Preserve the source image + describe subject motion + environmental response + camera behavior + pacing + exclusions.
Portrait example
Preserve the person’s identity, hairstyle, clothing, and background. She takes a slow breath and turns her eyes toward the window. A light breeze moves a few strands of hair. The camera performs a gentle cinematic push-in. Natural facial motion, restrained movement, no change of outfit, no extra people.
Product example
Preserve the bottle’s exact shape, label placement, materials, and color. Condensation forms as a coral highlight travels across the glass. The camera makes a slow clockwise orbit of approximately 20 degrees. Premium studio advertisement, realistic reflections, no text changes, no extra objects.
Illustration example
Preserve the original anime character design, face, costume, and painted style. The character looks over her shoulder as petals drift past and the cape responds gently to the wind. Slow parallax in the background, subtle camera push-in, no redesign, no new accessories.
4. Pick the final aspect ratio first
Create for the destination:
- 16:9: YouTube, websites, presentations, landscape ads;
- 9:16: TikTok, Reels, YouTube Shorts;
- 1:1: social feeds and flexible placements.
If the source image does not match the final ratio, extend or crop it before animation. This gives you control over composition instead of allowing an automatic crop to remove the subject.
5. Generate a restrained first pass
Begin with low-complexity motion. The first pass should answer three questions:
- Does the subject remain recognizable?
- Does the requested movement look physically plausible?
- Does the camera preserve the composition?
Only add secondary effects after this foundation works.
In Elser AI, choose the appropriate Grok generation mode, upload the source, set the format and available quality controls, and generate. The Elser AI Grok workspace is especially convenient for creators who want to compare text-led and image-led results without writing API code.
6. Diagnose common failures
The face changes
Use a sharper source portrait, reduce head rotation, request identity preservation explicitly, and avoid dramatic lighting changes across the face.
The product deforms
Reduce the orbit angle, keep the object near the center, describe the material and geometry, and state which label or design elements must remain unchanged.
The background wobbles
Request a locked camera or very slow push-in. Avoid combining large camera movement with complex environmental motion.
The motion feels frozen
Describe a visible action with a beginning and an end. “Cinematic movement” is vague; “the camera pushes toward the subject while rain crosses the backlight” is observable.
Too much changes at once
Use explicit invariants: “preserve identity, outfit, framing, color palette, and background architecture.” Then request only one new action.
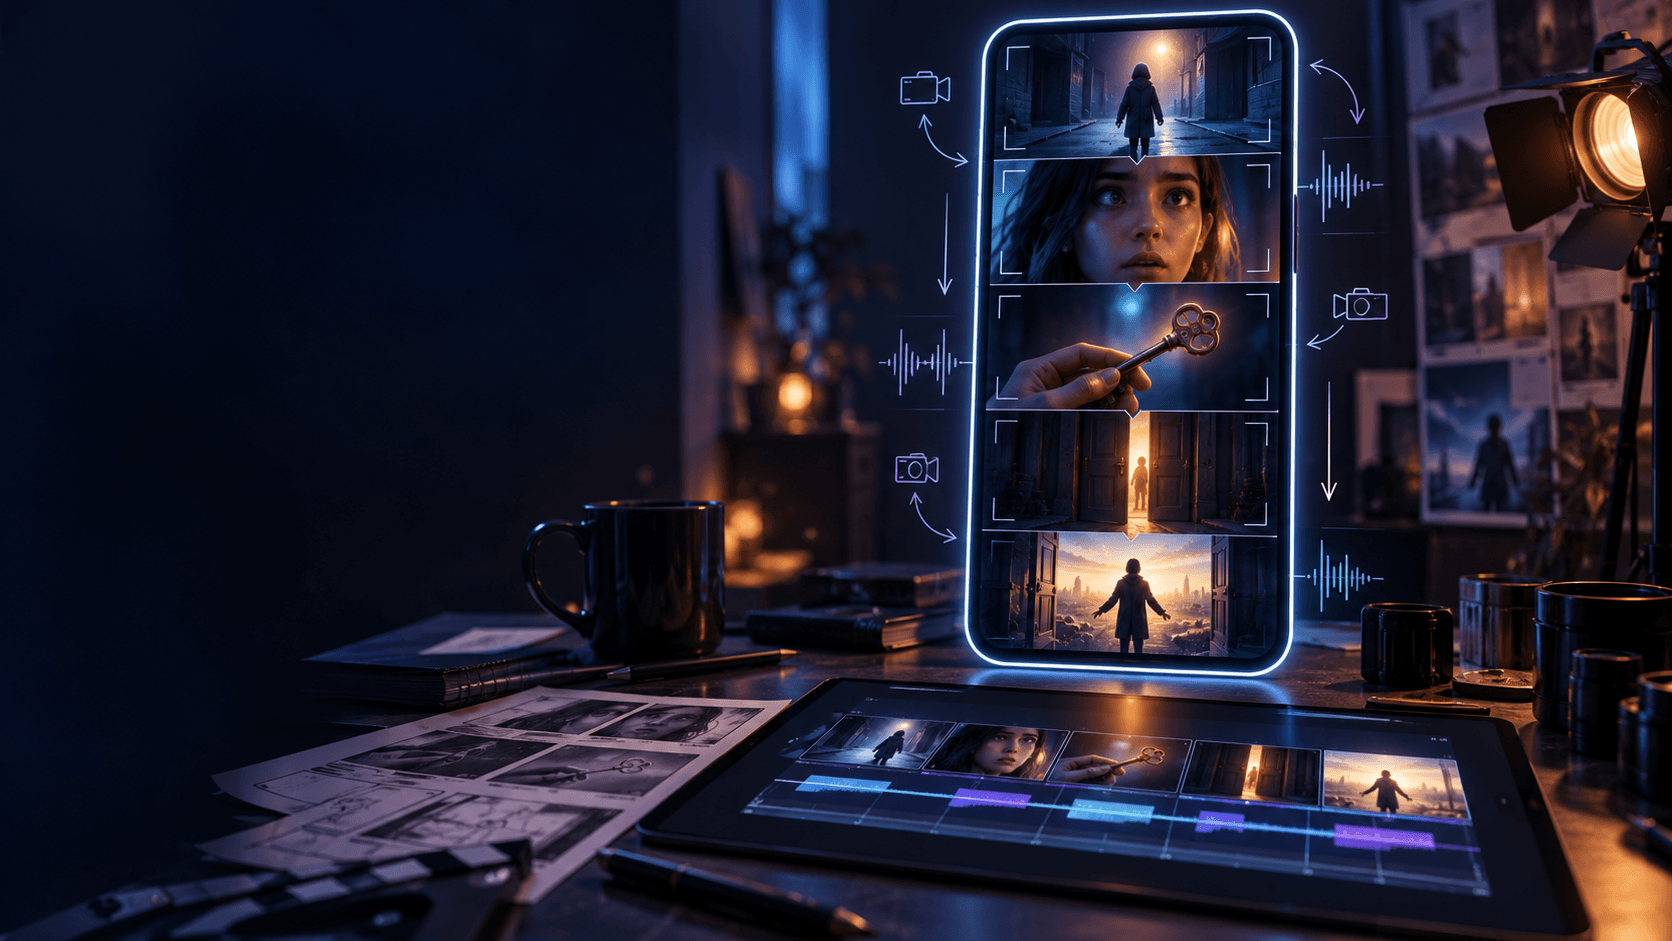
7. Build a sequence from multiple clips
For a 20-second social video, do not ask for one crowded generation. Create a shot list:
- wide establishing shot;
- medium subject action;
- close-up detail;
- reaction or product payoff;
- end card created in your editor.
Reuse the same reference image and character description. Keep lighting, lens language, and color palette consistent. Edit the strongest portions together and cover transitions with sound, cutaways, or intentional camera movement.
Final checklist
- The source image matches the target aspect ratio.
- The main subject has room to move.
- The prompt specifies subject, environment, and camera motion.
- Identity and design invariants are stated.
- The clip contains one dominant action.
- Audio, captions, and final timing are completed in an editor.
- You have permission to animate the source image and any depicted person.
Image-to-video works best when you think like a director rather than a prompt collector. Start with a strong frame, define one purposeful motion, and build the story shot by shot. When you are ready to test the workflow, animate an image with Grok Imagine on Elser AI.