How to Create Animated Characters with AI
Creating animated characters with AI is easier when you separate two jobs: character design and character motion. If you try to design and animate at the same time, the model has too much to decide, and consistency usually suffers.
The better workflow is: design first, reference second, animate third.
Define the Character
Start with a clear character brief:
name or role
age range
personality
outfit
hair and eye color
key prop
animation style
Example:
A shy teen inventor with silver goggles, a yellow raincoat, messy black hair, and a tiny robot companion.
This is specific enough to repeat.
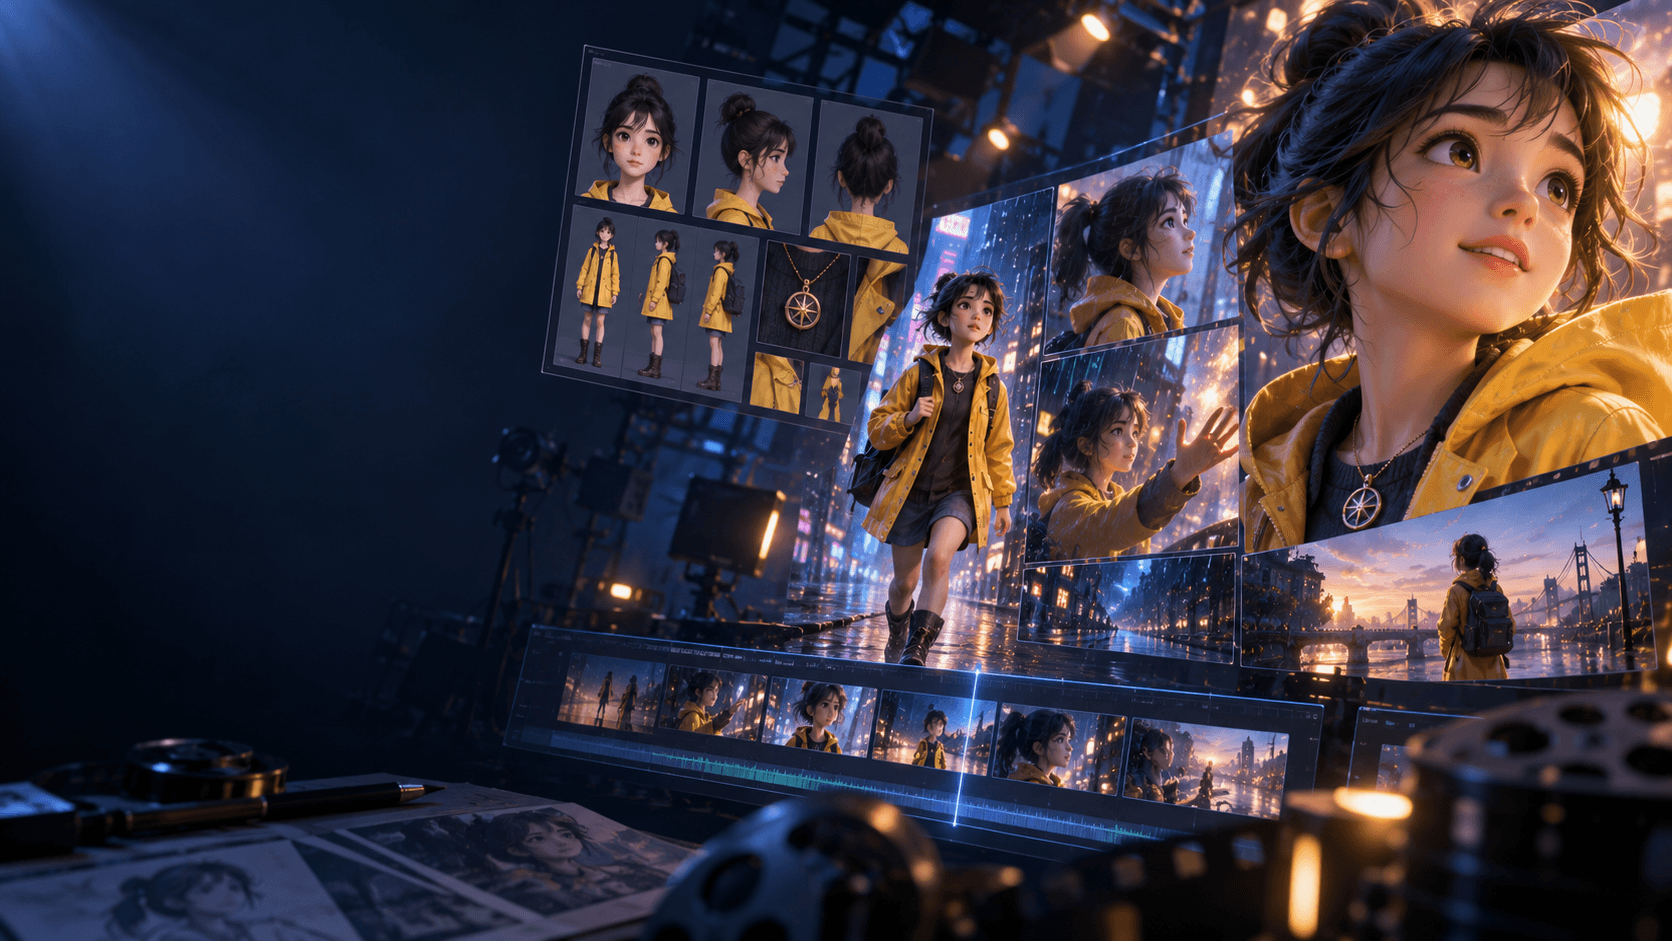
Generate a Character Reference
Use an AI character generator to create a stable character image before animation. Focus on one strong reference frame rather than dozens of random variations.
The reference should show:
face clearly
outfit clearly
body proportions
signature prop
color palette
Create Expression and Pose Variations
Once the main design works, create a few variations:
neutral pose
happy expression
worried expression
action pose
side or three-quarter view
These become useful inputs when the character needs to appear in multiple scenes.
Plan the Motion
Do not animate everything at once. Start with simple movement:
blink
smile
turn head
raise hand
step forward
hair moving in wind
Then test longer movements only after the identity stays stable.
Use Scene Context
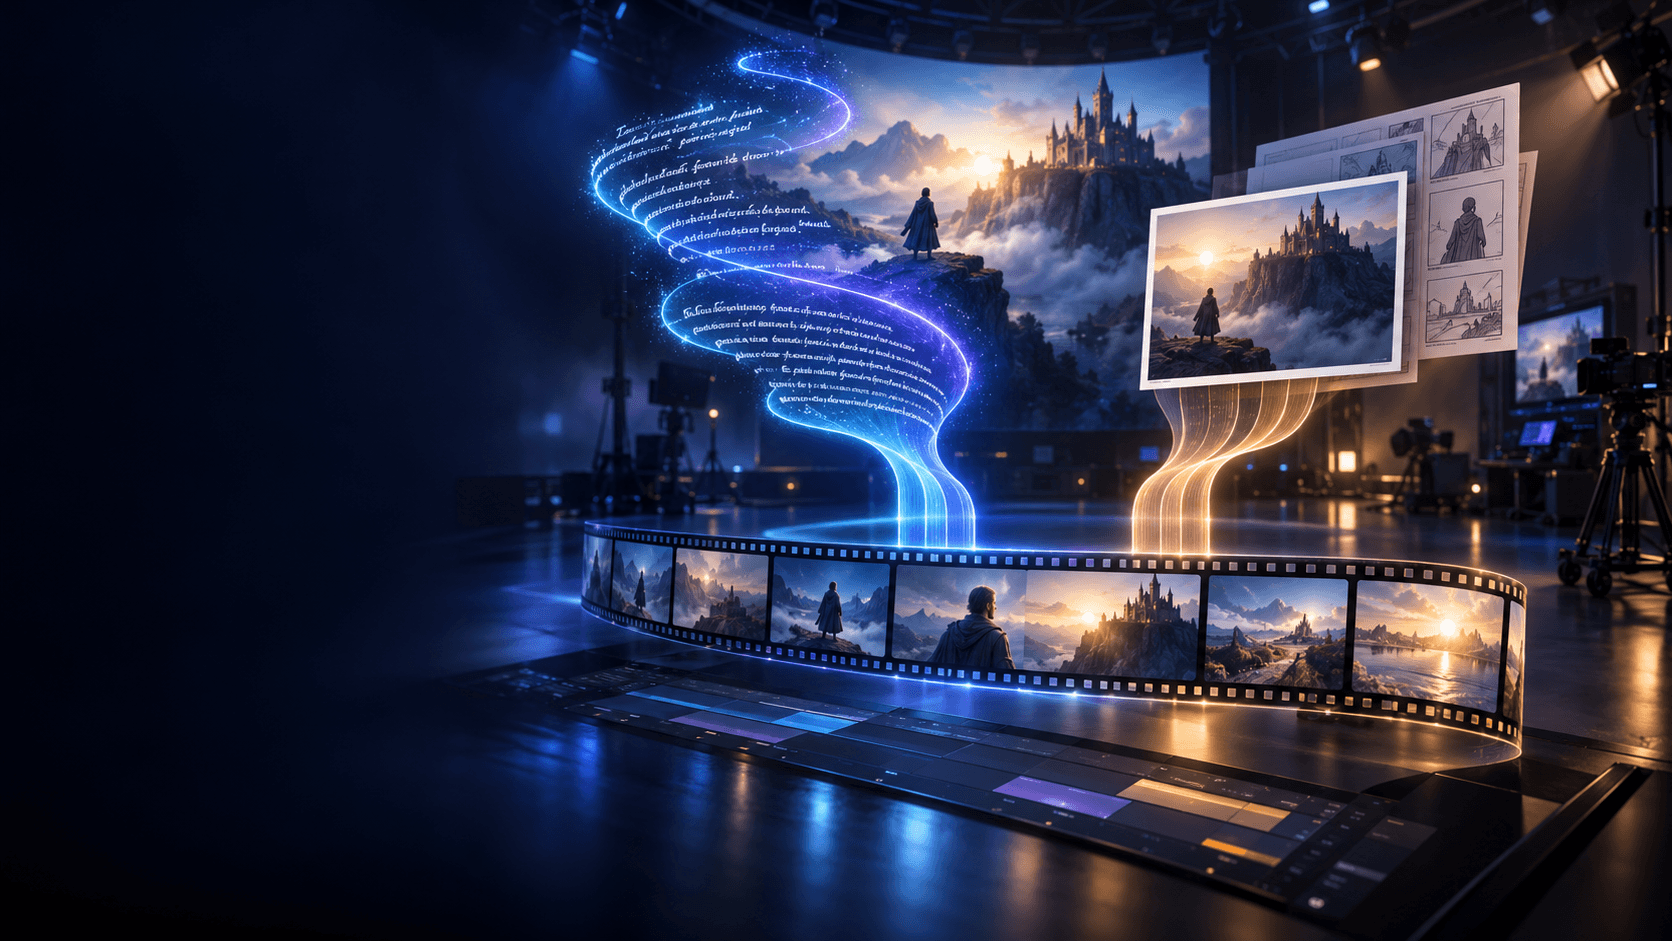
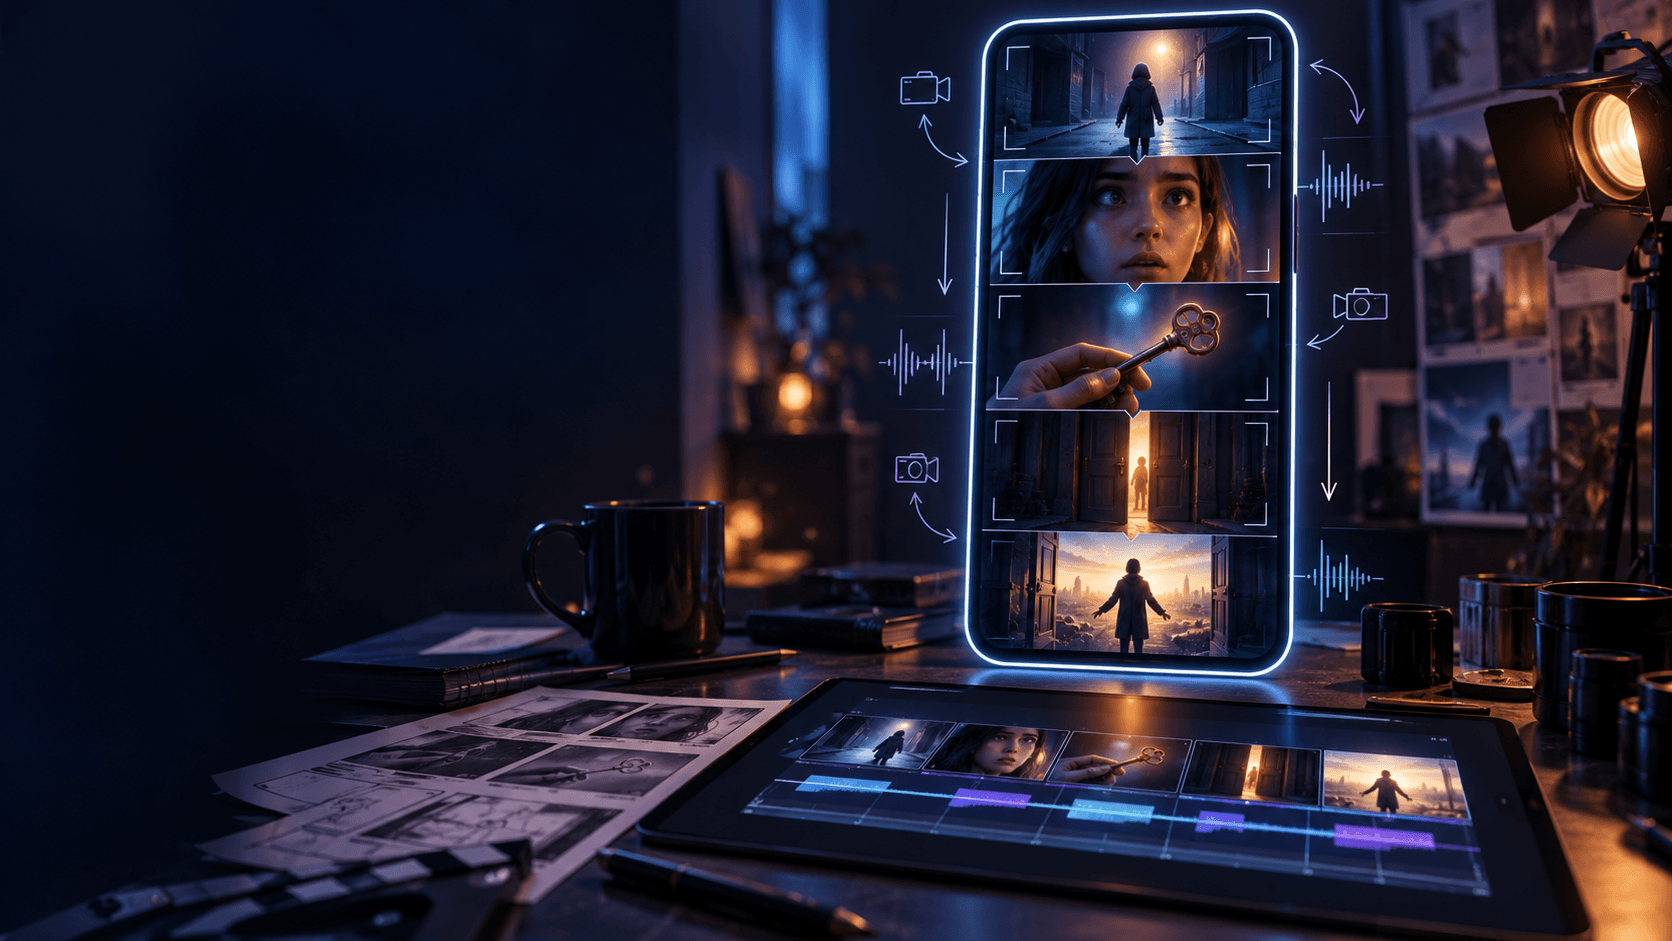
A character becomes more believable when the scene supports the motion. A simple storyboard helps decide where the character stands, what they do, and what changes during the shot.
If the character is part of a story, build the scene in an AI storyboard tool before video generation.
Final Take
The best way to create animated characters with AI is to treat identity as an asset. Build the character sheet, keep the vocabulary consistent, then animate short controlled actions.
That workflow gives you a character you can reuse instead of a one-off image that changes every time.