How to Make an AI Music Video: Song, Visuals, Lip Sync, and Editing Workflow
How to Make an AI Music Video
A music video is not just a video with a song underneath. It is the visual identity of the song.
For independent artists, producers, labels, YouTube musicians, TikTok creators, and anime music video editors, AI has opened a new path. You no longer need a full film crew, expensive locations, or weeks of post-production to create visual scenes for a track. You can turn lyrics into images, album art into animated scenes, character designs into performers, and emotional motifs into short cinematic sequences.
But the biggest mistake is treating AI music video creation as a single prompt.
“Make a music video for this song” is not a workflow. It usually produces disconnected visuals that may look impressive but do not match the rhythm, lyrics, or emotional arc of the track. A real music video needs structure. It needs visual motifs. It needs editing logic. If there is a performer, it needs identity consistency. If there is lip sync, it needs timing and close-up control. If the track has a strong chorus, the video needs a visual payoff that returns at the right moment.
Modern AI video tools are moving toward stronger audio-video integration. Google describes Veo 3 / Veo 3.1 as supporting native audio and text/image/video-based generation, while Seedance emphasizes multi-shot narrative generation from text and image with strong prompt following. Kling VIDEO 3.0 Omni also highlights multimodal understanding and stronger reference consistency. These trends are important because music videos are naturally multimodal: sound, image, rhythm, performance, and story all have to work together.
Still, tools alone do not make a good music video. The creator needs a workflow.
Elser AI can help because it gives creators a practical way to build visual scenes from references, character images, product-like album visuals, anime styles, and image-to-video prompts. If you are making an AI music video, register on Elser AI and start by building your visual concept around one strong reference image. Then generate scenes section by section instead of trying to produce the whole video at once.
Step 1: Understand the Song’s Visual Identity
Before generating anything, listen to the song and write down what it feels like. Do not start with camera prompts. Start with emotion.
Ask:
Is the song sad, confident, dreamy, angry, romantic, nostalgic, chaotic, spiritual, playful, dark, cinematic, or peaceful?
Is the energy slow, medium, fast, explosive, or hypnotic?
Does the song feel like a story, performance, dream, memory, party, confession, or trailer?
Does the chorus need a big visual payoff?
Does the bridge need a visual change?
Should the video focus on the artist, a character, a world, or abstract imagery?
This step matters because genre alone is not enough. A pop song can be sad or bright. A rap song can be aggressive or reflective. An EDM song can be dark or euphoric. An indie track can be intimate or surreal.
Write one visual concept sentence:
“This music video follows [subject/character] through [visual world] as the song moves from [emotion] to [emotion].”
Example:
“This music video follows a lonely anime singer walking through a rainy neon city as the song moves from heartbreak to self-confidence.”
That sentence becomes the creative anchor.
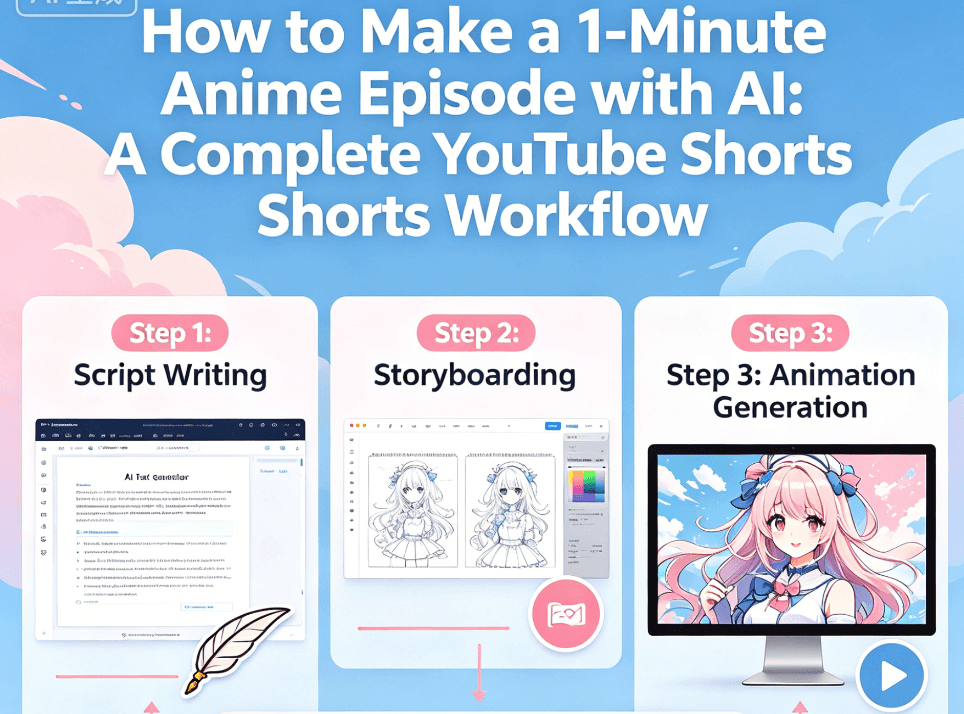
Step 2: Break the Song into Sections
Do not generate the video as one long piece. Split the song into sections:
Intro
Verse 1
Pre-chorus
Chorus
Verse 2
Bridge
Final chorus
Outro
Each section should have a different visual role. The intro sets the mood. The verse builds story. The chorus delivers the strongest repeated image. The bridge changes the emotional direction. The final chorus returns with more intensity.
For example:
Intro: empty neon street, rain, slow camera.
Verse: singer walking alone, close-ups, small gestures.
Pre-chorus: lights begin to change, city becomes more surreal.
Chorus: singer on rooftop, glowing skyline, dramatic camera movement.
Bridge: silent memory scene, soft close-up, almost no motion.
Final chorus: full visual release, brighter color, faster cuts.
This gives the music video a shape. Without section planning, AI visuals often feel like random wallpaper.
Step 3: Choose the Video Type
AI music videos can take several forms. Choose one primary format.
Performance video: shows a singer, band, rapper, avatar, or anime character performing.
Narrative video: tells a short story inspired by the lyrics.
Anime music video: uses stylized characters and emotional scenes.
Abstract visualizer: focuses on rhythm, light, particles, shapes, and atmosphere.
Lyric video: uses text as the main visual element.
Hybrid video: combines performance, narrative, and abstract shots.
The best format depends on the song and your assets. If you have an artist photo, performance video may work. If you have an anime character or OC, anime music video is strong. If the song is instrumental, abstract or cinematic visuals may fit better. If the lyrics are the main attraction, lyric video elements are important.
Elser AI is especially useful for hybrid workflows. You can upload cover art, character images, artist references, or mood visuals, then generate different shot types from the same creative direction.
Step 4: Create the Visual Anchor
A visual anchor keeps the video coherent. It might be the singer, a recurring character, a color palette, a location, an object, or a symbolic motif.
Examples:
A red umbrella in every chorus.
A glowing cassette tape.
A lonely anime singer.
A mirror that reflects memories.
A floating heart-shaped planet.
A masked dancer.
A train window at night.
A white flower growing in impossible places.
Without a visual anchor, the video may look like a collection of unrelated AI experiments.
If you use a character or performer, create a reference image and identity block:
“Use the same anime singer from the reference image. Preserve her exact face, hairstyle, outfit, body proportions, color palette, and cel-shaded anime style. Do not change her identity across scenes.”
For realistic artists or virtual performers, preserve face, outfit, age, hairstyle, and performance style. For abstract videos, preserve color palette, motif, and visual rhythm.
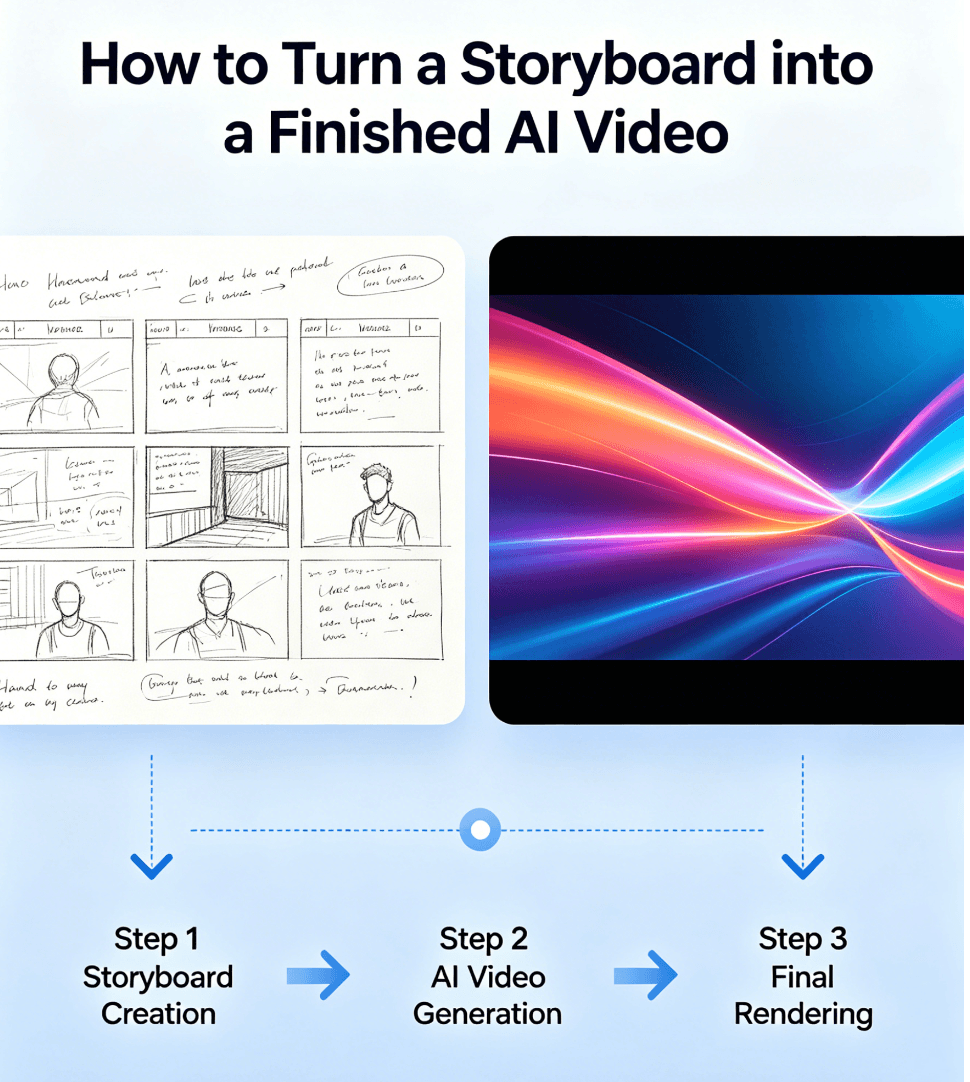
Step 5: Generate Scenes by Song Section
Generate short clips for each section. A typical music video can be assembled from many short shots rather than a few long generations.
For the intro:
“Create a slow cinematic opening for an AI music video. A rainy neon street is empty at night, reflections move on the pavement, and a red umbrella lies on the ground. Camera slowly pushes forward. Mood: lonely, atmospheric, and emotional.”
For the verse:
“Use the same anime singer from the reference image. She walks slowly through a rainy neon street, looking down with a quiet expression. Preserve her face, hairstyle, outfit, body proportions, and anime style. Camera follows from behind with subtle handheld movement. Mood: reflective and intimate.”
For the chorus:
“Use the same anime singer from the reference image. She stands on a rooftop as neon lights bloom across the city behind her. Hair and coat move in the wind. Camera slowly rises from waist level to a dramatic close-up. Mood: powerful, emotional, and hopeful. Preserve character identity and style.”
For the bridge:
“Create a soft memory-like scene. The same character stands in a quiet train carriage at night, reflected in the window. Motion is minimal, with faint city lights passing outside. Mood: fragile, nostalgic, and suspended in time.”
This section-based approach makes the video easier to edit and more aligned with the song.
Step 6: Add Lip Sync Carefully
Lip sync can make an AI music video feel more like a real performance, but it is also one of the hardest parts. Singing changes mouth shape dramatically, and face identity can drift if the model has to handle too much expression, motion, and camera movement at once.
For lip sync shots, keep the camera stable and the face clear. Use medium close-ups or close-ups. Avoid fast camera movement, dramatic face angles, and heavy shadows.
Prompt structure:
“Create a close-up performance shot of the same singer from the reference image. Preserve facial identity, hairstyle, outfit, and style. The singer performs the chorus with natural lip movement and subtle emotional expression. Camera remains stable with a slow push-in. Lighting is soft and flattering. No face morphing, no exaggerated mouth distortion, no identity drift.”
Do not make every shot lip sync. Music videos often mix performance shots with story and atmosphere. Use lip sync for key lines, chorus moments, or emotional emphasis.
Step 7: Use Lyrics as Visual Cues
You do not need to show every lyric literally. In fact, literal lyric visualization can feel cheesy. Instead, choose important lines and create visual metaphors.
If the lyric says “I’m falling through the light,” you might show the character surrounded by floating city lights, not physically falling forever. If the lyric says “you left the room cold,” you might show warm light fading from a bedroom. If the lyric says “I found myself again,” you might show a mirror reflection becoming clear.
Good music videos translate lyrics into feeling, not just objects.
For lyric videos, keep text readable. AI-generated text can be unreliable, so add final lyrics in editing. Prompt your visuals to leave clean text space:
“Keep the left side of the frame clean for lyric text overlay. Do not generate text in the image.”
Step 8: Edit for Rhythm
Editing is where the music video becomes musical. Cut on beats, but not every beat. Use slower cuts in verses, faster cuts in choruses, and visual pauses before big moments.
A simple rhythm pattern:
Intro: slow wide shots
Verse: medium shots and close-ups
Pre-chorus: movement increases
Chorus: strongest visuals and faster cuts
Bridge: quiet, minimal motion
Final chorus: return to strongest motif
Match visual intensity to audio intensity. If the chorus explodes but the video stays calm, it may feel underwhelming. If the verse is soft but the visuals are chaotic, the emotion may feel wrong.
Sound is already the foundation, so the edit should respect it.
Step 9: Create Multiple Versions for Promotion
A full AI music video is only one asset. You also need short clips for promotion.
Create:
15-second chorus teaser.
Vertical YouTube Shorts version.
TikTok hook version.
Instagram Reel.
Looping visualizer.
Lyric snippet.
Album cover motion version.
Elser AI can help generate visual variations from the same song identity. If you are an independent artist, register on Elser AI and create one full visual direction, then reuse it for promotional clips. This is a practical way to turn a song release into a content campaign.
A Complete AI Music Video Workflow
Here is the full process:
Listen to the song and define the emotional arc.
Break the song into sections.
Choose the video type.
Create the visual anchor.
Generate scenes section by section.
Use lip sync only where it matters.
Add lyrics and captions in editing.
Cut to rhythm.
Export full video and short promo versions.
This workflow works for pop, hip-hop, EDM, rock, indie, lo-fi, anime music videos, cinematic instrumentals, and experimental tracks. The style changes, but the production logic stays the same.
Final Thoughts
Making an AI music video is not about asking a model to visualize a song randomly. It is about translating sound into a coherent visual system.
Start with the song’s emotion. Build a motif. Create scenes for each section. Use lip sync carefully. Edit to rhythm. Export multiple promotional versions.
If you want to make an AI music video from song to final edit, start with Elser AI. Register, upload your cover art, artist image, anime character, or mood reference, and generate your first three scenes: intro, chorus, and final visual hook. Once those work, you have the foundation for a complete music video.