How to Make an AI Music Video with Consistent Characters
Making an AI music video is easy.
Making one where the singer looks like the same person in every scene is the hard part.
That is the problem most creators run into after the first exciting generation. The opening shot looks amazing. The character has the perfect outfit, hair, expression, and stage presence. Then the chorus arrives, and suddenly the face changes, the jacket becomes a different color, the eyes drift, and the music video starts to feel like a compilation of unrelated clips.
This is not just a cosmetic issue. Character consistency is what makes a viewer believe they are watching a performer, not a random slideshow.
In this guide, we will build a practical workflow for creating an AI music video with consistent characters. The focus is not on making one impressive five-second clip. The focus is on producing a coherent sequence that can actually be published.
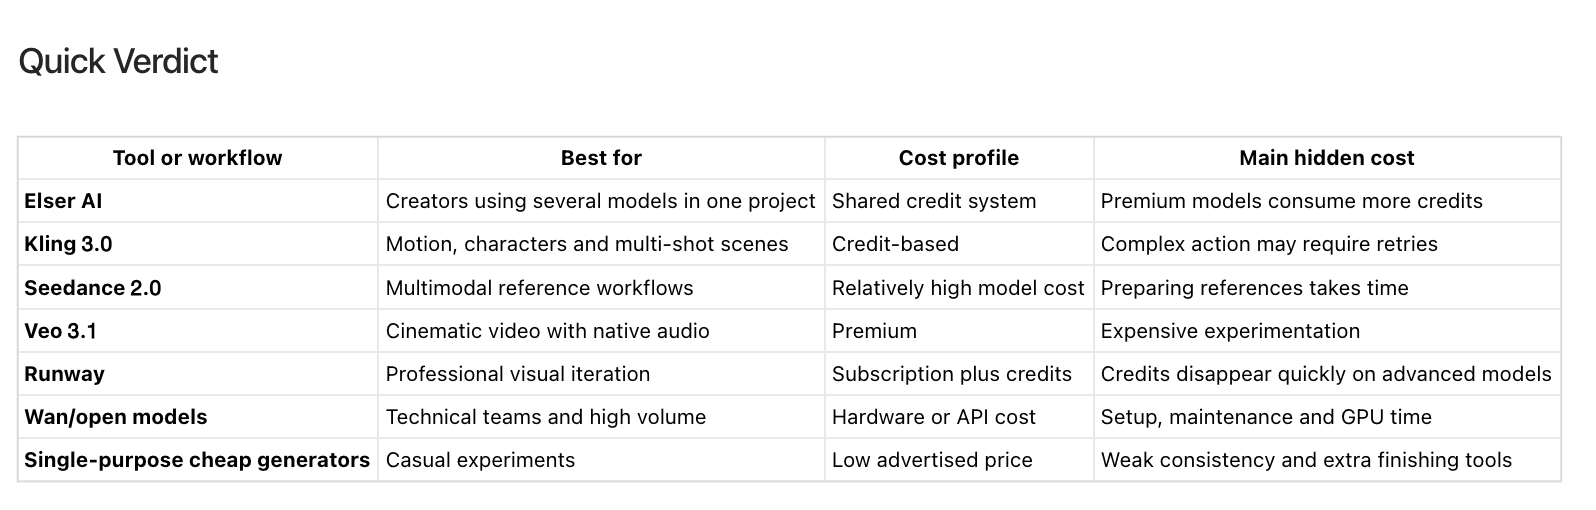
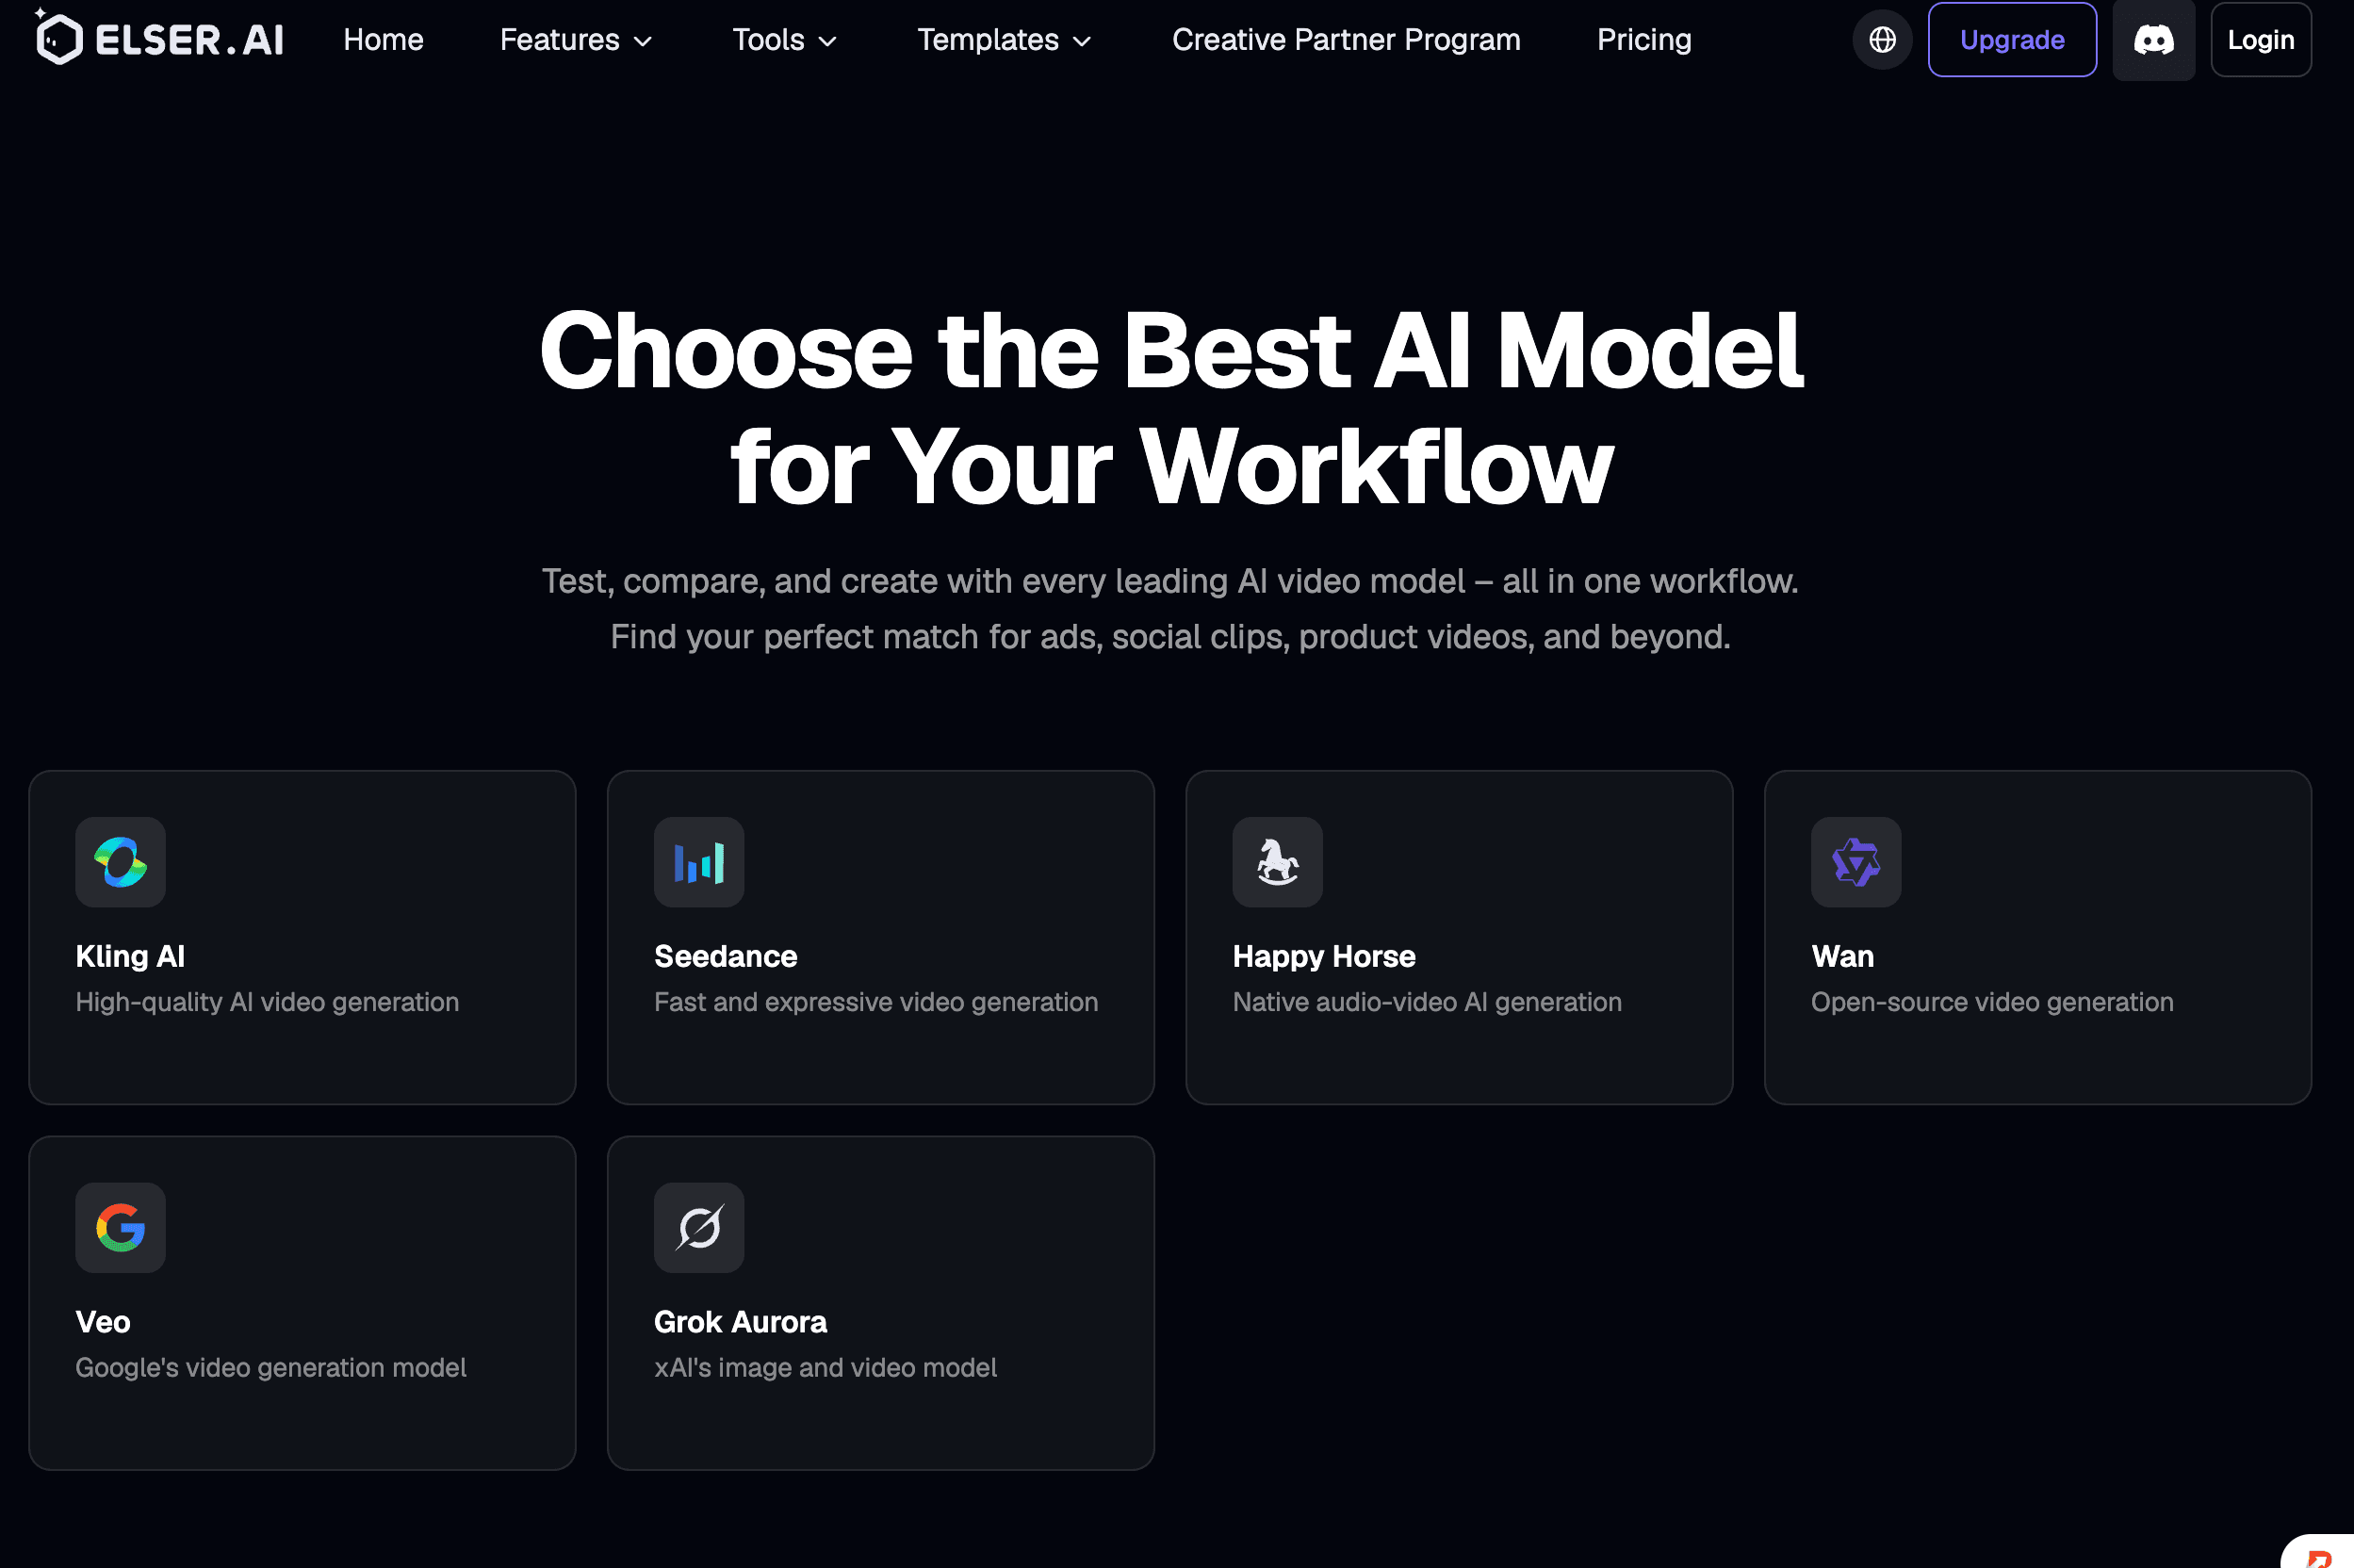
We will use Elser AI as the main workflow example because it brings character generation, storyboarding, AI video, voice cloning, music generation, sound effects, lip sync, and video enhancement into one creative pipeline. That makes it especially useful for anime music videos, virtual singers, original characters, and short-form social videos.
Start with the Song’s Structure
Most beginners start with images. Professionals start with timing.
Before generating anything, listen to the song and divide it into sections. You do not need a full music theory breakdown. You just need to understand where the emotional changes happen.
For a short AI music video, use a 30-to-45-second section. A chorus is usually best because it has the strongest hook.
Create a timing map like this:
0–4 seconds: visual intro
4–9 seconds: singer reveal
9–15 seconds: first lyric close-up
15–22 seconds: chorus movement
22–30 seconds: visual peak
30–38 seconds: final reaction or title moment
This timing map becomes your production plan. Without it, you will generate random beautiful clips and struggle to connect them later.
A music video should feel like it is responding to the track. When the beat rises, the camera can move. When the vocal gets intimate, use a close-up. When the chorus hits, reveal the strongest visual idea.
Design One Character Before You Design the World
The biggest mistake in AI music videos is changing too many things at once.
If you are creating a virtual singer, lock the singer first. Not the city. Not the lighting. Not the special effects. The singer.
A strong character reference should include:
face shape, hairstyle, hair color, eye color, age impression, outfit, body proportions, signature accessory, and color palette.
Keep the design readable. AI models struggle more when a character has ten tiny accessories, complicated asymmetrical clothing, transparent fabrics, or changing hairstyles. Simple does not mean boring. Simple means memorable.
For example, a strong virtual singer design might be:
short silver bob haircut, violet eyes, black cropped jacket, white shirt, red ribbon tie, dark skirt, ankle boots, small star-shaped earring.
The red ribbon and silver hair become visual anchors. Even if the lighting changes, the viewer recognizes the character.
Create at least three references:
front portrait, three-quarter portrait, full-body view.
For anime-style music videos, the full-body reference is especially important because outfit drift is just as distracting as face drift.
Elser AI’s character generation and OC workflow are useful here because you can build the performer as a reusable creative asset before producing the music video scenes.
Write a Character Lock Prompt
A character lock prompt is a short description you reuse across generations.
It should not be a long novel. It should be precise and stable.
Example:
“Luna, an original anime singer with short silver bob hair, violet eyes, a black cropped jacket, white shirt, red ribbon tie, dark skirt, ankle boots, and a small star-shaped earring. Keep the same face, hairstyle, outfit, body proportions, and color palette in every shot.”
You will adapt the scene around this lock, but the identity stays fixed.
For each shot, combine:
character lock, shot type, action, environment, camera movement, lighting, style restrictions, and continuity rules.
A complete prompt might look like this:
“Medium close-up of Luna, an original anime singer with short silver bob hair, violet eyes, black cropped jacket, white shirt, red ribbon tie, dark skirt, ankle boots, and star-shaped earring. She sings softly while looking slightly past camera. Neon rooftop stage at night, purple and blue lighting, gentle wind moving her hair and jacket. Slow push-in camera. 2D anime style, clean line art, flat cel shading, stable facial design, no outfit change.”
This is much better than “beautiful anime girl singing on a rooftop.”
Build a Storyboard Before Generating Video
A music video needs shot variety.
If every shot is a close-up of the singer, the video becomes visually flat. If every shot is a wide action shot, the audience loses emotional connection.
Use a six-shot storyboard for your first project:
Shot 1: establishing shot of the location
Shot 2: medium shot introducing the singer
Shot 3: close-up for the first lyric
Shot 4: movement shot during the chorus
Shot 5: symbolic or visual peak
Shot 6: final close-up or title shot
This structure gives you rhythm without becoming too complex.
In Elser AI, you can use the storyboard workflow to turn a concept or script into visual beats, then generate images and videos from those planned shots. This is important because consistency starts before animation. If the storyboard panels already disagree, the video will not magically become coherent later.
Review every storyboard frame:
Does the singer look like the same person?
Is the outfit still correct?
Is the location consistent?
Does the camera progression make sense?
Does the visual energy match the music section?
Fix these problems while the project is still in image form.
Generate Still Frames First
Never rush directly into video.
Generate the key still frame for each shot first. This gives you a controlled checkpoint. If the face changes in a still frame, it will probably get worse in motion.
For each approved image, compare it against the original character reference. Check:
eyes, hair shape, face shape, outfit, accessories, color palette, body proportions, and age impression.
If a shot is beautiful but the singer no longer looks like the same character, reject it. Do not keep it because it is pretty. Pretty inconsistency is still inconsistency.
This is where many AI videos fail. The creator falls in love with individual images instead of protecting the whole piece.
Animate with Small, Clear Movements
AI video works best when the movement is specific.
For a singing shot, avoid asking for too much at once. Do not write:
“She sings, dances, spins, jumps, smiles, points at camera, walks forward, and the background changes into a galaxy.”
That is too many actions for one shot.
Use:
“She sings the line with a gentle head movement and slight shoulder motion. Hair moves softly in the wind. Camera slowly pushes in. Keep face and outfit stable.”
For a chorus movement shot:
“Camera tracks beside Luna as she walks across the rooftop stage. She raises one hand toward the city lights on the beat. Coat and hair move naturally in the wind. Keep the same character design and outfit.”
Each shot should have one main character action and one camera action.
This restraint makes the final music video feel more professional. Ironically, trying to do less in each generation often produces a more impressive result.
Use Lip Sync Only Where It Matters
Not every shot needs lip sync.
In real music videos, editors cut away from the singer constantly. They use crowd shots, hands, instruments, skyline shots, symbolic objects, flashbacks, and motion details. You can do the same.
Use lip sync for:
close-ups, medium close-ups, emotional lyrics, chorus hooks, and moments where the singer’s mouth is clearly visible.
Avoid lip sync for:
wide shots, fast action, profile shots, heavy shadows, covered mouths, and tiny background faces.
This saves time and improves quality.
Elser AI’s lip sync and voice tools are useful because the voice and character can remain part of the same project. For a virtual singer or recurring character, you want the voice identity to be as consistent as the face.
The best workflow is:
finalize the audio, select the shots that need visible singing, generate or approve the singer’s voice, apply lip sync to those shots, then review the mouth movement in context with the music.
Do not lip-sync unfinished lyrics. Changing the audio later means doing the work twice.
Match Visual Peaks to Musical Peaks
A strong AI music video feels edited to the song.
Mark the most important moments in the music:
first vocal entrance, beat drop, chorus start, highest note, instrumental break, final word.
Then assign each one a visual event.
For example:
first vocal entrance: close-up opens from darkness
beat drop: rooftop lights turn on
chorus start: camera pulls back to reveal the city
highest note: character reaches toward the sky
final word: title appears behind her
This is what makes the video feel intentional. Without this connection, even high-quality shots can feel random.
When generating scenes, include timing language:
“movement begins slowly and reaches the strongest pose near the end of the shot.”
This gives the editor more useful footage.
Keep the World Consistent Too
Character consistency is only half the problem. The environment also needs continuity.
If the video begins on a neon rooftop, do not accidentally switch to a concert stage, empty street, glass palace, and spaceship unless the story intentionally transforms.
Create a location lock:
“Neon rooftop stage above a futuristic city at night, purple-blue lighting, wet reflective floor, distant hologram signs, light rain, cinematic anime mood.”
Reuse this across the main performance shots.
You can create variation without breaking continuity:
wide rooftop shot, close-up near railing, side angle with city behind her, low-angle shot against the rain, final shot facing the skyline.
Same location, different camera language.
That is how real music videos create visual richness without confusing the viewer.
Edit Like a Music Video, Not a Demo Reel
Once you have the clips, do not simply place them in the order they were generated.
Edit for rhythm.
Use faster cuts during energetic sections and longer shots during emotional lines. Cut on beats when appropriate, but do not cut on every beat. That becomes exhausting.
A simple rhythm might be:
intro: slow cuts
first lyric: medium pacing
chorus: faster cuts
visual peak: hold slightly longer
ending: slow down again
Keep the best shot for the chorus or final moment. Do not use your strongest visual too early unless the song demands it.
Add small sound effects only when they support the scene: wind, crowd noise, footsteps, rain, stage lights, or a soft impact when a title appears. Avoid overloading the mix. The song is still the star.
Export for the Platform
Before exporting, decide where the video will live.
For YouTube, 16:9 is usually better.
For TikTok, Reels, and Shorts, 9:16 is essential.
For profile teasers, 1:1 can work well.
Do not simply crop a wide video into vertical after the fact if the character is often near the edge. Plan the aspect ratio early.
Elser AI can help creators produce anime-style video assets and enhance the final output, but platform formatting still requires attention. Keep faces away from UI zones, leave room for captions, and avoid placing important details at the very top or bottom of vertical videos.
Common Problems and Fixes
Problem: the singer’s face changes between shots.
Fix: strengthen the character reference, simplify the design, approve still frames first, and avoid extreme angle changes early.
Problem: the outfit keeps changing.
Fix: describe fewer clothing details but make the important ones clear. Use a full-body reference.
Problem: lip sync looks unnatural.
Fix: use cleaner audio, closer framing, slower delivery, and fewer simultaneous movements.
Problem: the video does not match the song.
Fix: create a timing map before generating clips.
Problem: the final result feels random.
Fix: reduce the number of locations and build the video around one visual concept.
Problem: every shot looks good but the video feels boring.
Fix: vary shot size. Mix wide shots, medium shots, close-ups, and movement shots.
A Simple 30-Second AI Music Video Plan
Here is a beginner-friendly structure:
0–4 seconds: city rooftop at night, rain and neon
4–8 seconds: singer turns toward camera
8–13 seconds: close-up singing first line
13–18 seconds: side tracking shot during chorus
18–24 seconds: wide shot as lights bloom across the city
24–30 seconds: final close-up, singer smiles, title appears
This is enough for a complete short music video. It has atmosphere, character, performance, movement, peak, and ending.
Do not underestimate simple structures. A clear 30-second video is more valuable than an unfinished three-minute epic.
Final Verdict
Creating an AI music video with consistent characters is not about finding one perfect prompt. It is about building a repeatable workflow.
Lock the character. Map the song. Create the storyboard. Approve still frames. Animate one action at a time. Use lip sync only where it matters. Edit to the beat. Check continuity before export.
Elser AI is especially strong for this kind of project because it connects the pieces that usually get scattered across separate tools: character design, storyboard, AI video, music, voice, lip sync, sound effects, and enhancement.
That connected workflow is what helps an AI singer feel like a real character across the entire video.
Create your AI music video with consistent characters on Elser AI.