Elser AI to Seedance 2.5: A Complete Anime Video Workflow
The fastest way to waste credits on AI video is to start with the video generator. That sounds backwards, but the expensive part of animation is rarely pressing Generate. It is deciding who the character is, what the scene needs to communicate, which image controls each shot, and how the pieces will cut together.
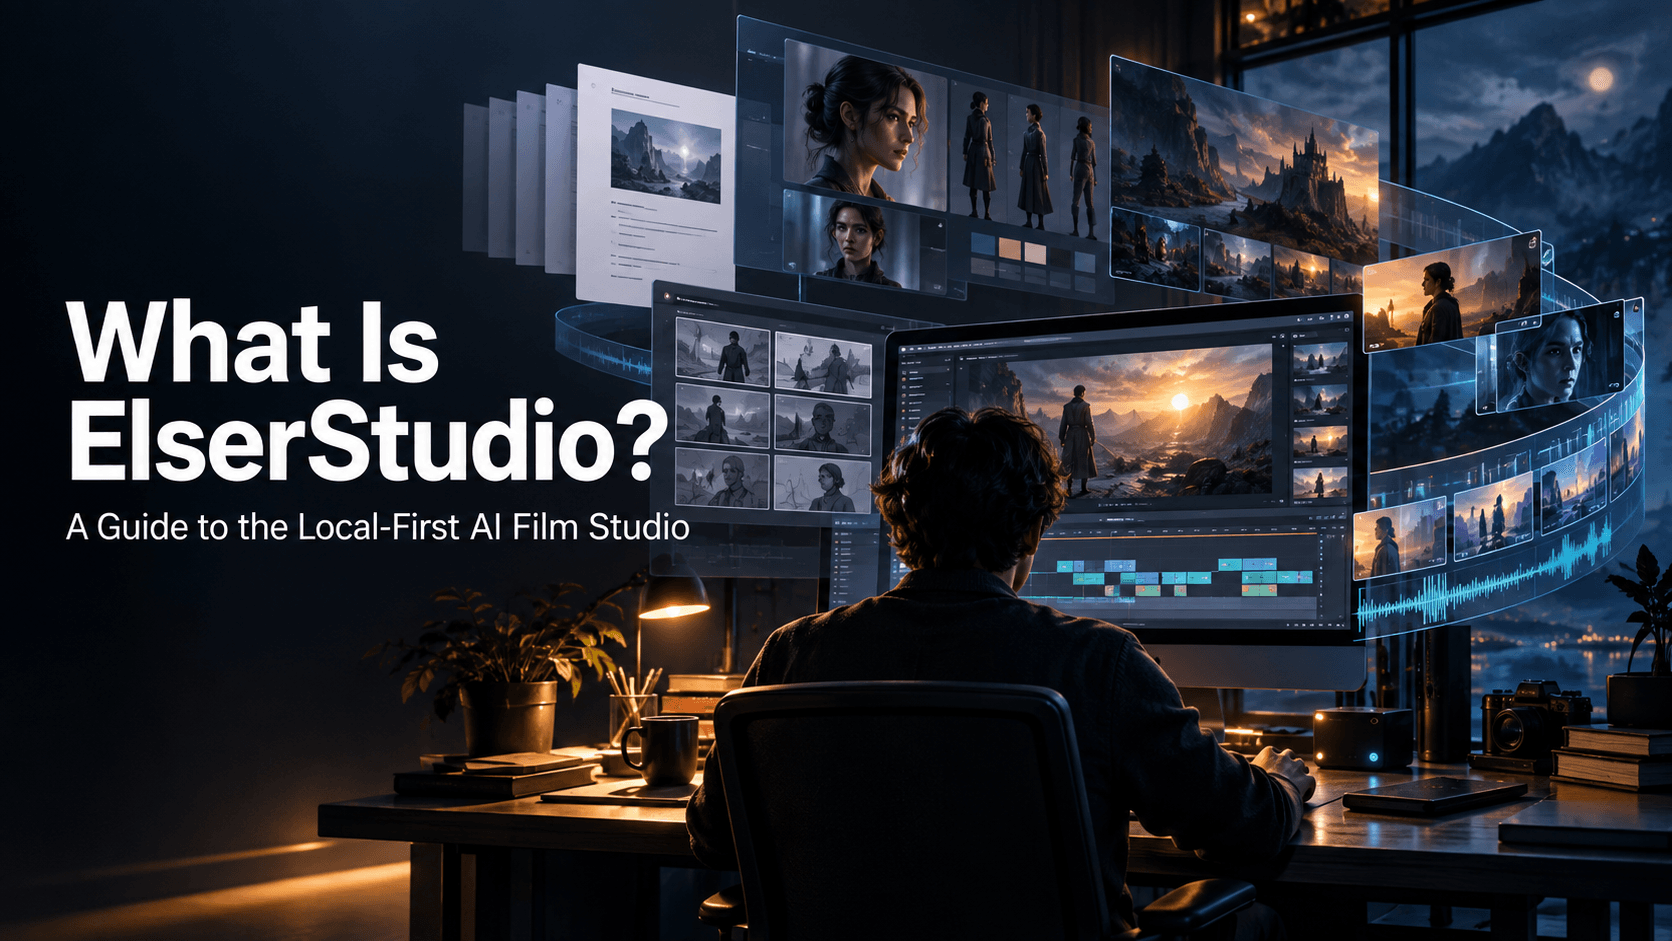
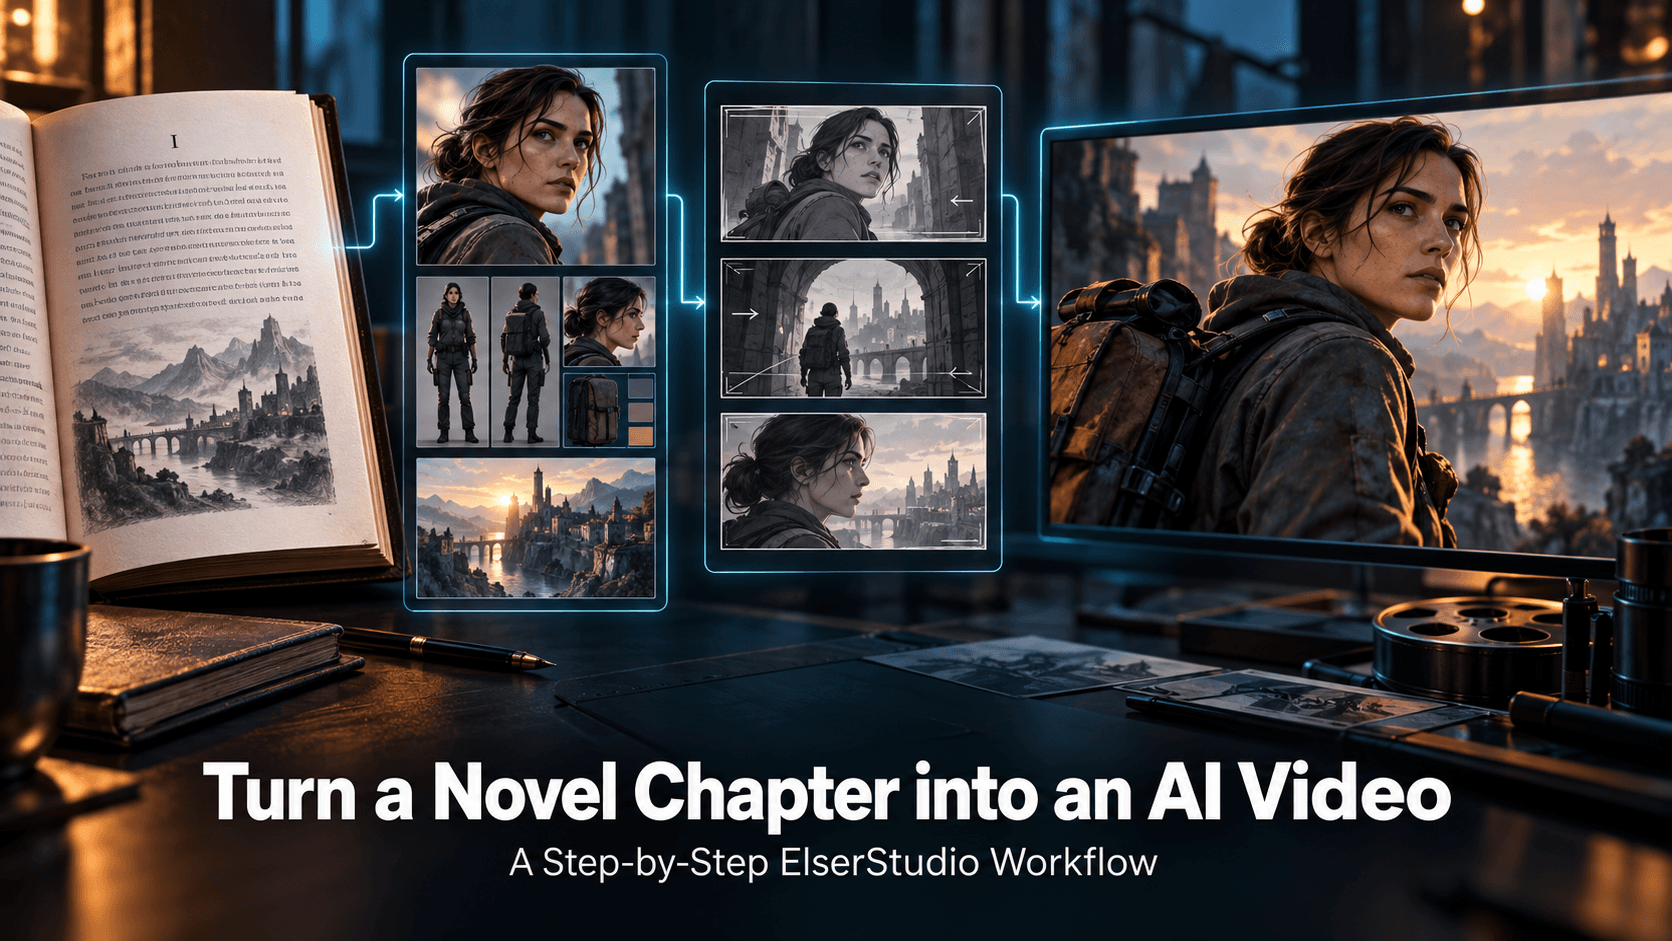
A stronger workflow begins upstream. Elser AI can organize the idea into a script, characters, storyboards, voices, and editable scenes. Seedance 2.5 can then be used for motion-focused shots where reference control matters. After generation, the clips return to an editing environment for timing, audio, subtitles, and corrections.
This guide treats the tools as parts of an editorial pipeline. It does not imply a newly announced corporate partnership. It also respects the current rollout ambiguity: on August 4, 2026, Dreamina's official Seedance 2.5 page describes 30-second generation, multimodal references, and precise editing, while still showing a “Coming Soon” label. Verify access in your own account. Model availability, credits, and controls may vary by region and plan.
Stage 1: Write a Production Brief, Not a Giant Prompt
Before creating any image, define the deliverable in five lines:
- audience;
- platform and aspect ratio;
- target length;
- single emotional promise;
- required final action.
For example: “A 35-second 9:16 anime teaser for fantasy-game fans. A young mechanic discovers a dormant skyship. The mood moves from curiosity to awe. End on the ship opening its luminous wings and a clean title card.”
This brief makes dozens of later decisions easier. It tells you the number of shots, how large the character should appear on a phone, and whether the story needs dialogue. It also stops the common mistake of asking one generated clip to establish a world, introduce a hero, explain a conflict, deliver a joke, and close with a call to action.
Use Elser AI's script workflow to turn the brief into a compact beat sheet. For a 35-second teaser, five beats are enough: hook, discovery, closer inspection, reveal, ending. Read it aloud with a timer. If the spoken script already lasts 35 seconds, there is no room for breath, reaction, or visual storytelling.
Stage 2: Design the Character as a Reusable Asset
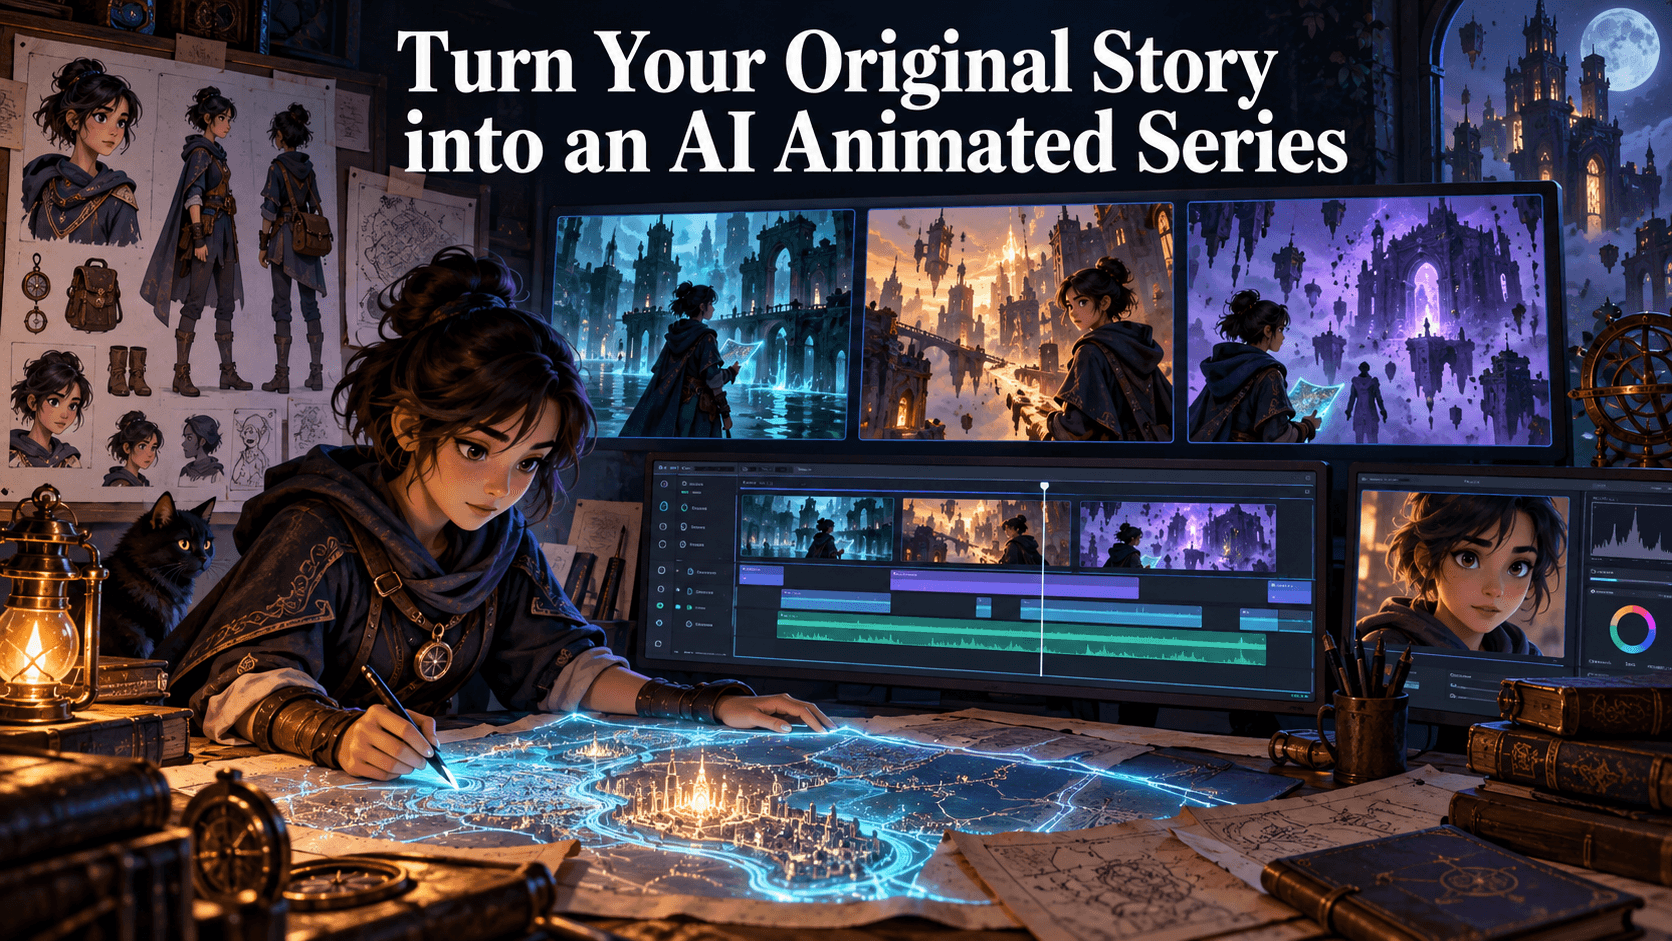
Generate the protagonist in Elser AI, then convert the chosen design into a small production pack:
1. identity portrait;
2. full-body neutral pose;
3. front and rear costume views;
4. three key expressions;
5. one prop sheet;
6. a palette swatch with written color names.
The written specification matters because colors in generated images can shift. “Rust-red scarf, midnight-blue coveralls, brass goggles” is easier to audit than “keep it the same.” Give every recurring object the same treatment. If the skyship has three fins in the storyboard and four fins in the hero frame, the video model has already received conflicting instructions.
Do not build the character around copyrighted costume elements or a celebrity likeness. Originality is not only safer; it creates stronger visual anchors because you can simplify the design for motion. A bold scarf, asymmetric tool belt, and brass goggles are easier to preserve than dense filigree across every garment.
Stage 3: Turn the Script Into a Shot Map
The storyboard is where the Elser-to-Seedance workflow becomes efficient. Instead of using a storyboard as decoration, treat it as a contract for each shot.
Every row should have one story job. If a row needs three sentences to explain its purpose, split it.
Generate a clean opening frame for each shot in Elser AI using the same character references. Keep composition close to the desired first frame, because image-to-video models tend to inherit placement. Build separate 16:9 and 9:16 compositions when necessary rather than cropping important action later.
Stage 4: Decide What Seedance Should Control
Reference-driven video works best when inputs have clear responsibilities. Assign roles:
- identity image: face and hair;
- full-body sheet: proportions and outfit;
- opening frame: composition and environment;
- motion clip, when permitted: movement and timing;
- prompt: action, camera behavior, and constraints;
- audio reference, when available: rhythm or performance cue.
Do not upload every image you generated. Dreamina markets Seedance 2.5 around rich multimodal input, but maximum capacity is not a creative target. Contradictory references can reduce control. Begin with the minimum package that answers identity, setting, and motion.
A production prompt for Shot 2 might read:
Preserve the mechanic's face, short copper hair, rust-red scarf, midnight-blue coveralls, brass goggles, and body proportions from the character references. Starting from the hangar frame, she kneels beside the dormant control crystal and brushes dust from its surface. The crystal gives one soft cyan pulse; she freezes and looks up with cautious wonder. Slow six-second dolly-in from medium shot to medium close-up. Dust motes drift in the beam of window light. No costume change, no additional person, no dialogue, no text, no cut.
This is a shot brief, not prose fiction. Strong nouns and visible verbs matter more than adjectives such as “epic” or “masterpiece.”
Stage 5: Generate in Risk Order
Do not render chronologically. Generate the riskiest shot first—the one with the most important action, greatest camera change, or hardest character interaction. If Seedance cannot execute the reveal within your budget, you want to know before polishing four setup shots.
For each shot, review:
- narrative clarity with audio muted;
- identity at the first, middle, and last frame;
- hand and prop continuity;
- camera path;
- lighting direction;
- unwanted text or symbols;
- a usable entrance and exit frame.
Record the prompt, references, settings, generation date, and selected output. A simple asset log prevents the familiar situation where a great clip exists but nobody remembers how it was made.
Retry by diagnosis. If motion is weak, strengthen the verb or provide a cleaner motion cue. If the face changes, simplify rotation and improve the identity image. If the scene feels busy, remove environmental instructions. Never rewrite everything at once.
Stage 6: Edit for Rhythm, Not for Model Prestige
Bring selected clips back into Elser AI's animation workflow or your preferred editor. The audience does not care which shot used which model. They care whether the sequence is understandable and emotionally paced.
Start with picture only. Trim dead time, protect reaction moments, and cut on clear changes in action. Then add dialogue, voiceover, music, and effects. Elser AI publicly presents voice, music, sound effects, subtitles, timeline sync, and smart regeneration as parts of its animation workflow, which makes it a natural place to assemble a longer anime short from individually controlled shots.
Avoid covering structural problems with loud music. If viewers cannot understand why the ship awakens, add a reaction or insert shot rather than another sound effect. Similarly, do not keep a visibly drifting face because the generation was expensive. A four-second clean shot is more valuable than a twelve-second shot that breaks immersion at second five.
Stage 7: Add Text and Branding After Generation
Generated text is still an unreliable place to put a product name, episode title, disclaimer, or call to action. Reserve clean negative space in the storyboard, then add typography during editing.
For vertical video, keep essential text away from platform interface areas. Add captions manually or with a controlled subtitle tool, check every proper noun, and watch the final export on a phone. A title card that looks elegant on a desktop may be unreadable at social-feed size.
A Sensible Registration-to-Export Route
If you are starting without existing assets, the most efficient route is:
1. register for Elser AI;
2. save the production brief and script;
3. create and lock one original character;
4. generate the five storyboard frames;
5. verify whether Seedance 2.5 is available in your video-model selector;
6. animate the riskiest shot first;
7. complete the remaining motion shots;
8. assemble, voice, subtitle, and export.
Registering early is useful because it gives the project a home before outputs accumulate across downloads and browser tabs. Still, keep local copies of final references and note the model used for each shot.
FAQ
Should I use text-to-video or image-to-video for anime?
Use image-to-video when character design and composition must remain recognizable. Text-to-video is useful for exploratory environments, abstract transitions, or early visual development where exact continuity matters less.
Can Seedance 2.5 make the whole short in one generation?
Even where longer output is offered, one generation is not always the best editorial choice. Separate shots give you clearer control, easier retries, and better pacing.
How many shots should a 30-second anime short contain?
Four to seven purposeful shots is a practical starting range. Action pieces may need more; an emotional monologue may need fewer. Choose shots by story function rather than a fixed formula.
Is the workflow suitable for client work?
It can be, provided you verify current product terms, own or license all inputs, avoid unauthorized likenesses and protected characters, document approvals, and give the client a realistic account of AI limitations.
Conclusion
An Elser AI to Seedance 2.5 anime video workflow succeeds when each tool receives a job it can perform clearly. Elser AI establishes story, identity, storyboard, sound, and sequence. Seedance handles selected motion shots under controlled references. Editing turns those outputs into one coherent experience.
The competitive advantage is not generating more footage. It is reaching a usable decision sooner. Start with a brief, lock the character, storyboard the beats, test the hardest shot, and preserve a production log. If you are ready to build the first assets, create an Elser AI account and begin with a five-shot story rather than an open-ended prompt. The smaller target will teach you more—and it is much more likely to become something you can publish.