How to Use an AI OC Maker: A Beginner’s Step-by-Step Guide
An AI OC maker works best when you make a sequence of small design decisions. Starting with “cool anime character” delegates so much that the result is likely to feel generic.
Step 1: Define the Character’s Job
Write role, environment, goal, limitation, and signature object. A mountain medic needs different clothing, posture, and equipment from a ballroom spy.
Step 2: Choose Three Visual Anchors
Select one silhouette feature, one facial or hair feature, and one prop or clothing construction. Too many equally loud details create noise.
Example: tall triangular silhouette; asymmetrical white braid; red folding survey instrument.
Step 3: Write the Prompt in Layers
Order information from identity to output:
[identity and age], [body and face], [hair], [clothing construction and material],
[signature object], [expression and pose], [visual style], [framing and background].
Avoid biography that cannot appear visually unless it changes pose, expression, wear, or objects.
Step 4: Use Tags Selectively
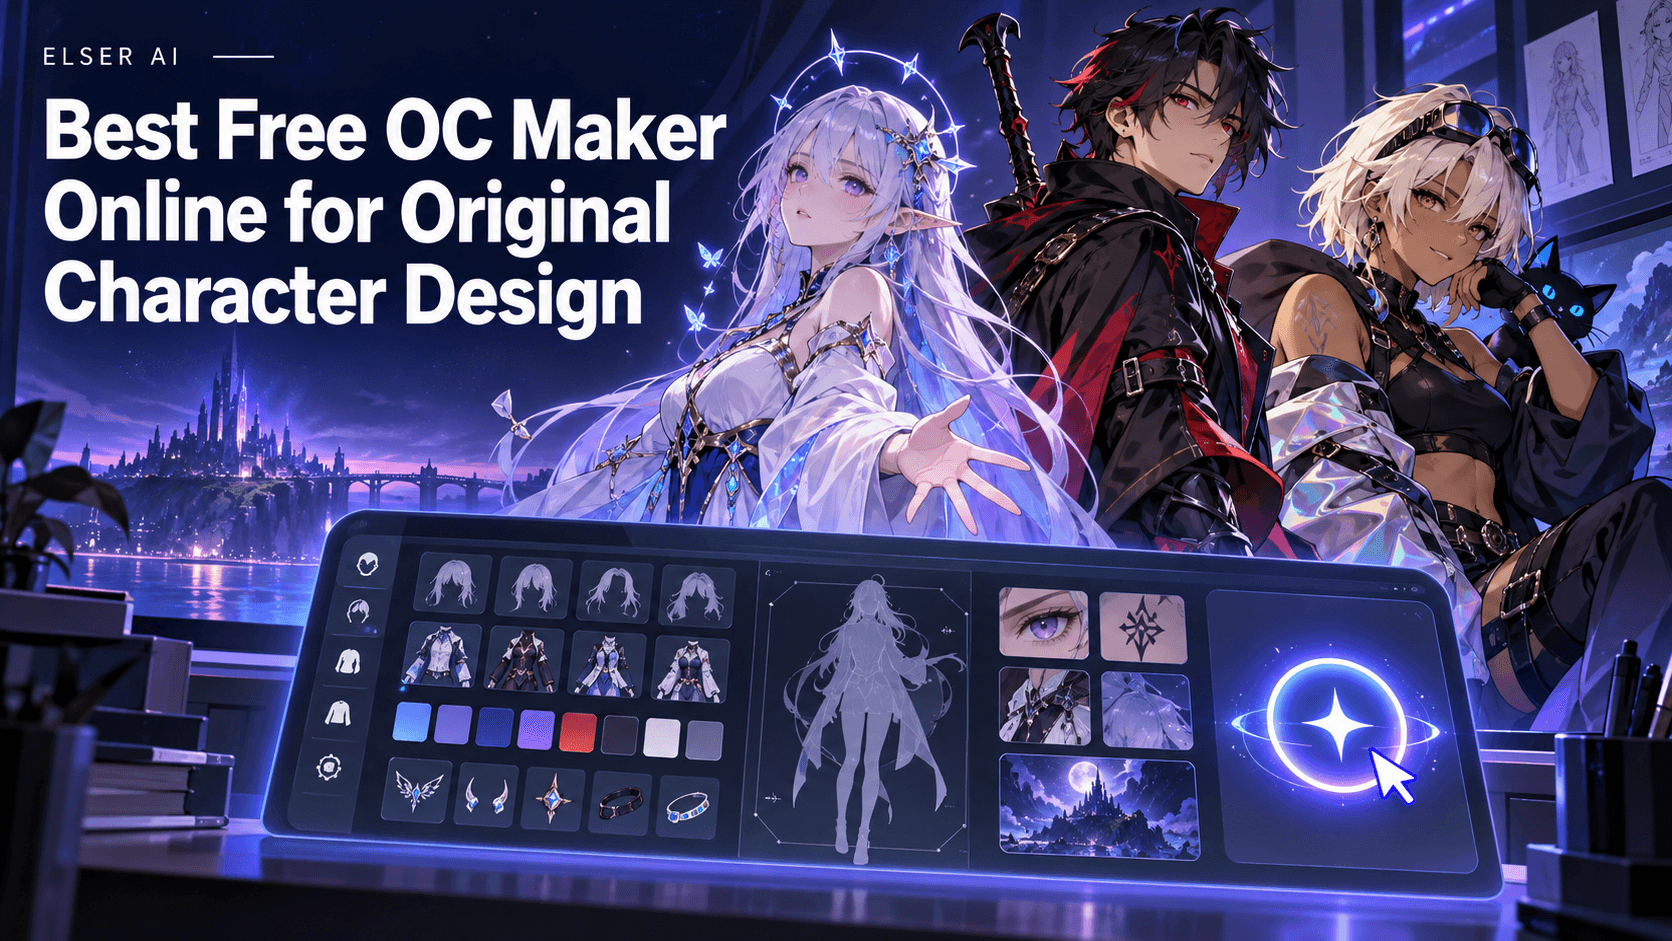
Elser’s OC Maker exposes prompt and tags for gender, style, age, body, hair, eyes, face, skin, clothing, material, and accessories. Tags are useful for decisions you want explicit. Leave irrelevant categories open rather than forcing conflicting choices.
Step 5: Add a Reference Only with a Purpose
Decide whether the image guides pose, silhouette, palette, costume, or identity. State the role in the prompt. Use images you own or have permission to upload.
Step 6: Choose the Right Aspect Ratio
Use portrait ratios for full-body or character-card assets, square for avatars, and landscape for a character within an environment. Framing instructions should match the ratio.
Step 7: Compare the First Set
Score silhouette, face, age, anatomy, outfit logic, color hierarchy, prop readability, and match to concept. Select the design easiest to reproduce, not simply the most detailed.
Step 8: Refine One Variable Group
Change hair, outfit, or pose—not all three. Explicitly preserve everything else. Save each accepted prompt and image so later experiments do not replace your canonical base.
Step 9: Build a Mini Reference Set
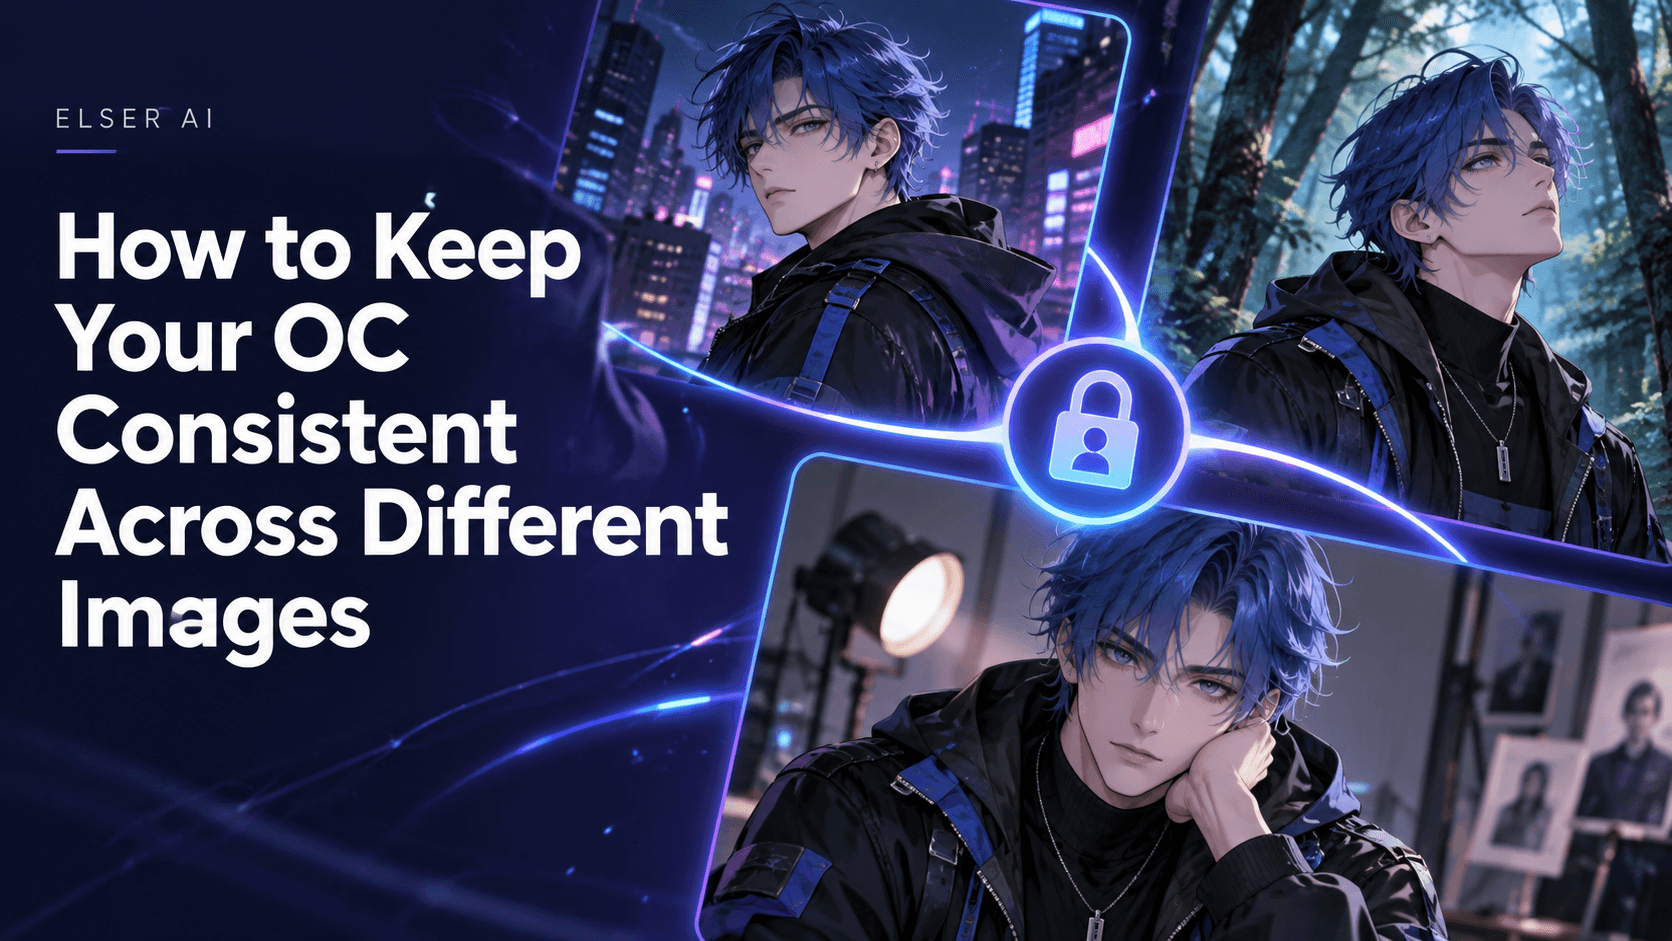
Create neutral portrait, full body, side view, three expressions, and one work pose. Note which features must remain and which may vary.
Step 10: Perform QA
Check hands, feet, eyes, asymmetrical features, clothing fasteners, prop attachment, and accidental text. Compare all views side by side. Generative output can drift; repair or reject before downstream use.
Copyable Beginner Prompt
Adult female archive courier, compact build, rectangular face, short black curls,
amber left eye and gray right eye, navy utility coat with one diagonal brass closure,
small glass message cylinder at belt, alert restrained expression, full-body neutral pose,
clean anime illustration, simple pale background, readable hands and boots.
FAQ
Do I need to know prompt engineering?
No. A clear layered description and controlled iteration matter more than jargon.
Should I use prompt or tags?
Use both when they agree: prompt for the whole design and tags for important structured attributes.
How many versions should I generate?
Enough to compare meaningful alternatives, then stop and refine. Endless generation can weaken direction.
Conclusion
Begin with function, choose a few anchors, prompt in layers, and revise deliberately. A reusable OC emerges from selection and documentation, not one lucky generation.