How to Use Elser AI: A Beginner Tutorial from First Idea to Export
Your first Elser AI project should teach you the workflow, not test the limits of generative video. Begin with a scene you can explain in one sentence and finish in a handful of shots. That constraint gives you enough material to learn scripting, character setup, storyboarding, generation and editing while keeping revisions understandable.
This tutorial uses a 25-second example: “At a rainy bus stop, a shy student returns a lost robot bird to its owner.” Menu names can evolve, so treat the sequence as a production method and follow the labels visible in your current workspace.
Before You Sign In: Make a Tiny Production Brief
Write six lines: audience, format, target runtime, protagonist, visible action and emotional finish. For the example, the audience is general social-video viewers; format is vertical; the student finds the bird, sees its worried owner and returns it; the finish is relief.
Add constraints: one location, two human figures at most, no crowd dialogue, no costume change and no readable brand signage. Constraints improve diagnosis because fewer variables can break.
Try it in your own project: Create a free account and use this 25-second exercise as your first controlled test. Use Elser AI to turn the guidance into a controlled experiment rather than a large blind batch.
Step 1: Choose Idea Mode or Script Mode
Use the idea path when you want help expanding a premise. Use the script path when scene order and dialogue are already approved. The current Elser movie page documents both routes.
If you start from an idea
Ask for a short scene with explicit duration, location, cast count and ending. Remove any subplot the expansion invents.
If you upload a script
Check that scene headings, actions and dialogue are distinguishable. Preserve essential lines but let visual descriptions become shots.
Whichever route you use, read the generated or imported script aloud. If it exceeds the target runtime at a natural pace, shorten it now.
Step 2: Edit the Scene Breakdown
The product workflow can segment the story into scenes that you can add, delete or edit. Convert the example into four beats: empty stop; student notices bird; owner appears; return and smile.
- Give each scene one job.
- Move backstory into a visual clue, not narration.
- Keep spoken lines short enough for the shot.
- Mark rain, time of day and wardrobe as global continuity rules.
A scene is not a shot. The “return” scene may need a handoff close-up plus a reaction. Keep that distinction visible in your notes.
Try it in your own project: Save your approved student and robot-bird designs before generating the remaining shots. Elser AI gives you a practical place to register and test the smallest viable version.
Step 3: Configure Format, Style and Timing
Choose aspect ratio for the final destination, not personal habit. Select a coherent visual style and a conservative shot duration. Model selection and availability change, so inspect the current selector and run a representative sample before committing the project.
Avoid mixing visual styles during the learning project. A stable watercolor-anime direction is easier to assess than switching between photorealism, chibi and manga ink.
Step 4: Build and Approve the Cast
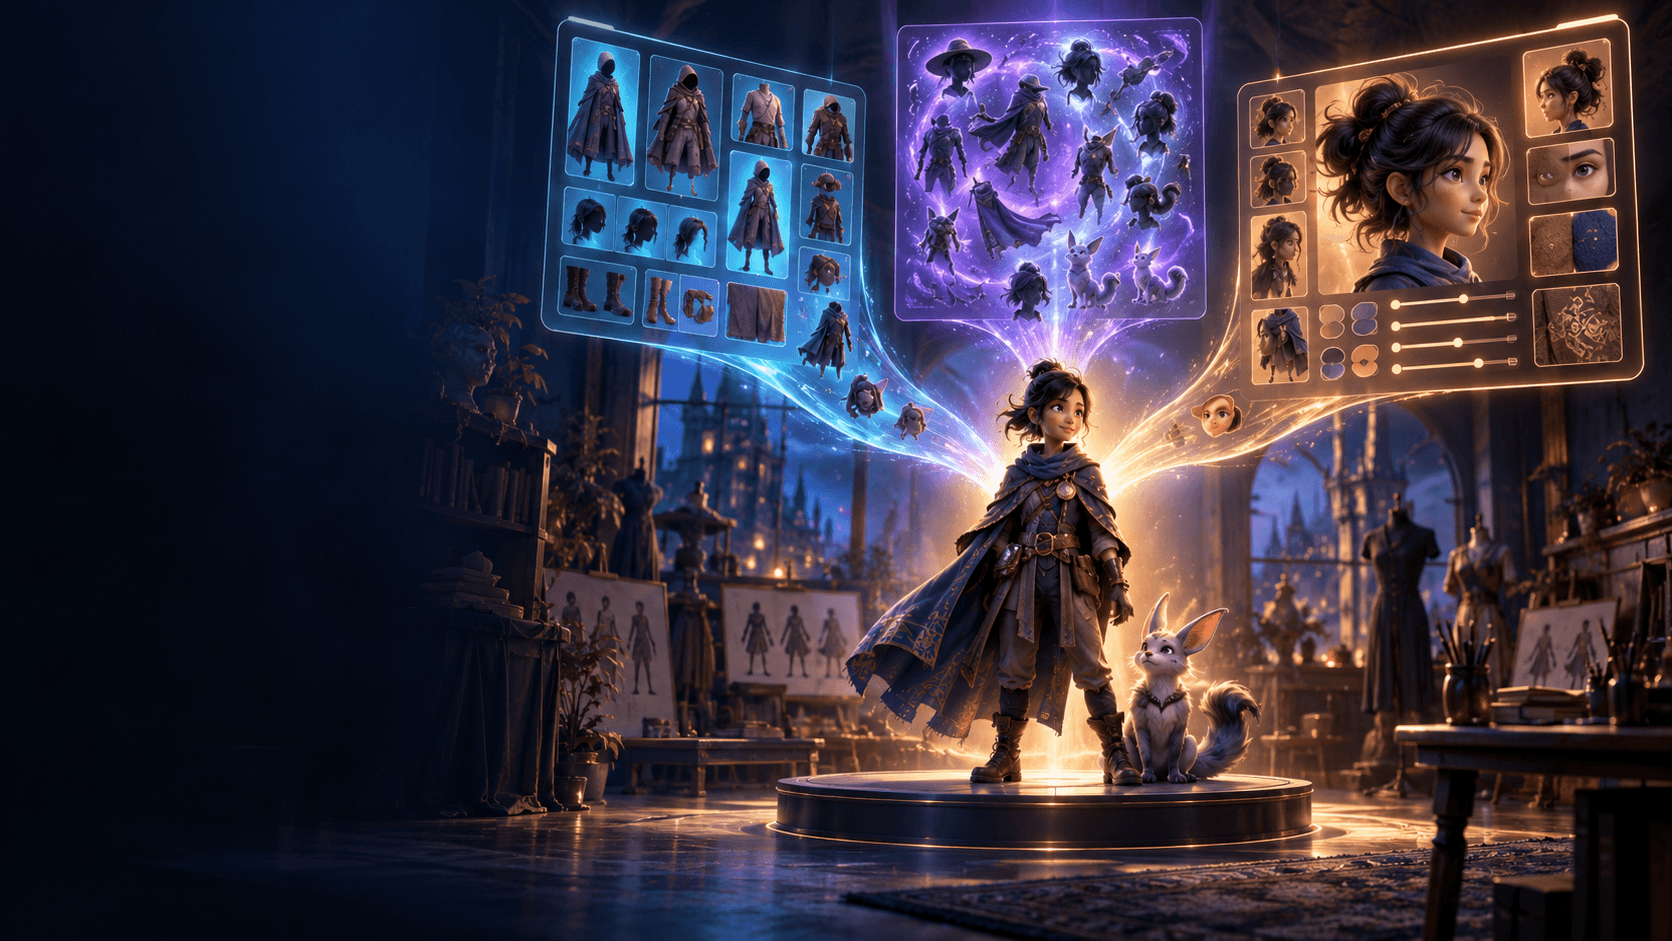
Define the student with immutable traits: short auburn hair, green raincoat, navy backpack and careful posture. Define the bird by shape, material, eye light and damaged wing. Generate neutral references first.
- Approve front or three-quarter view.
- Create one full-body reference for proportions.
- Create one close-up for face and material detail.
- Name intentional variants, such as “wet coat,” rather than overwriting the base.
Check the saved assets at thumbnail size. If silhouettes are confused there, viewers will also struggle in a fast edit.
Try it in your own project: Generate only the shots that passed the still-frame review. Create an account on Elser AI, run the test, and keep only the assets that pass your review.
Step 5: Pick a Storyboard Mode
The current product page lists Auto Storyboard, Manual and Storyboard Studio. Use automation for a fast interpretation, Manual when the script split must remain fixed, and Storyboard Studio when framing needs more attention.
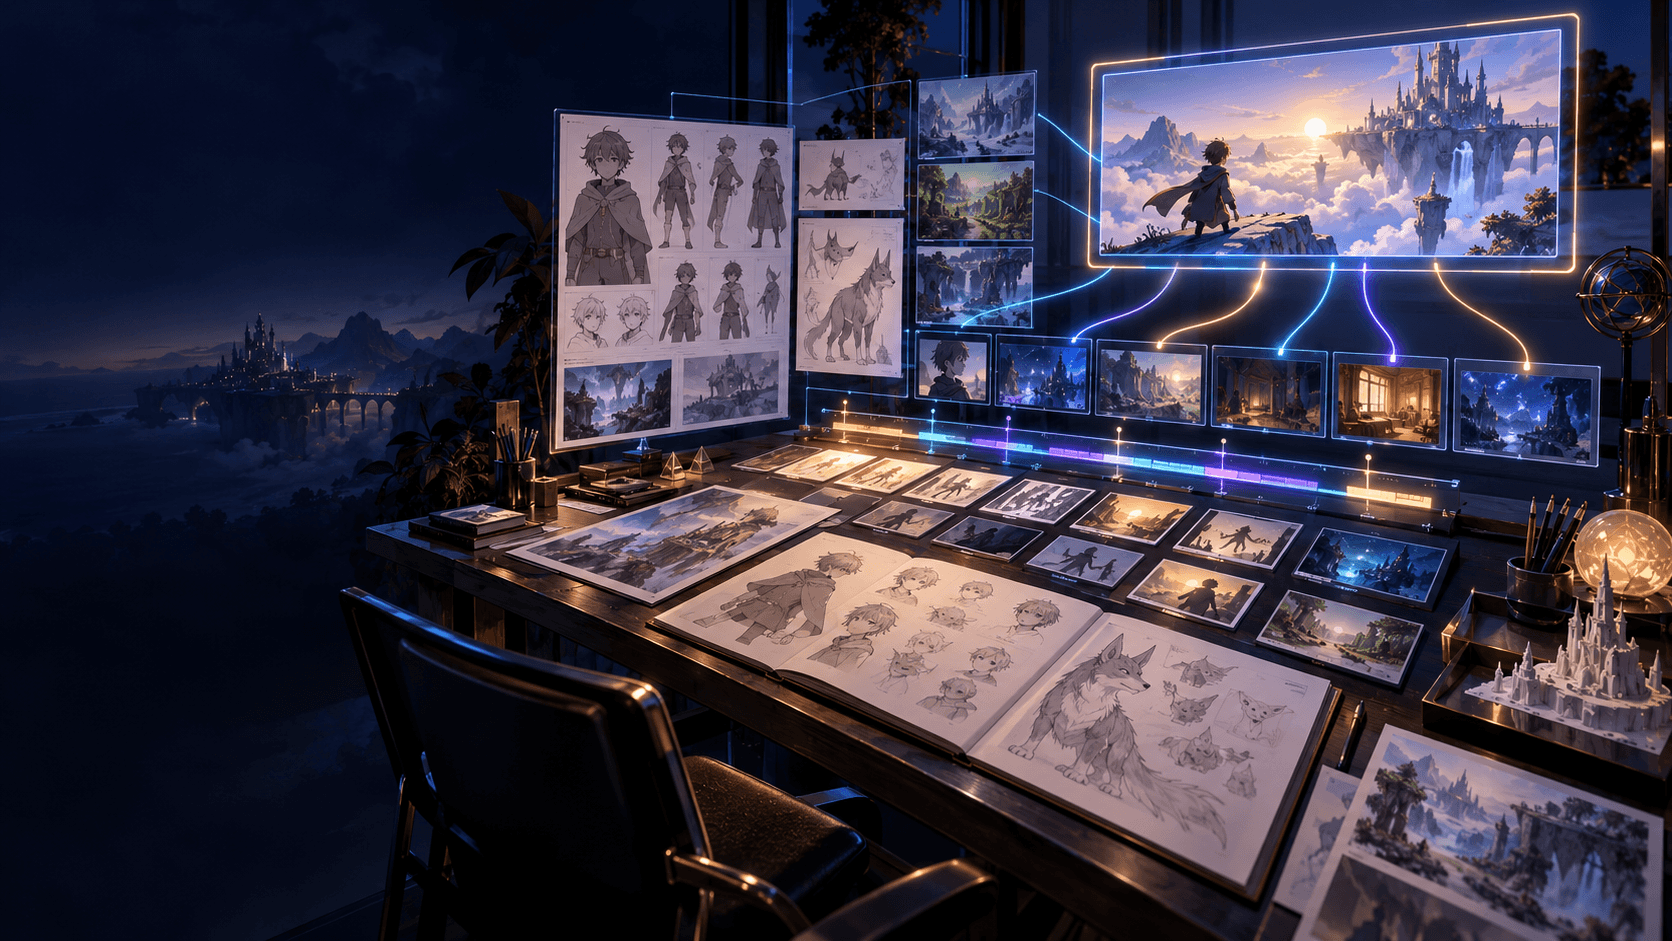
For this exercise, make four to six panels. Write framing, action, camera behavior, emotion and duration under each. Replace any panel that tries to show two different moments.
Step 6: Generate Key Frames, Then Motion
Approve composition in still form when the workflow allows it. For image-to-video, describe movement and camera behavior rather than re-describing every visible object. This follows a durable prompting principle: the source image already defines appearance.
- Shot 1: locked wide shot; rain and distant traffic move.
- Shot 2: gentle push-in; student kneels; bird eye flickers.
- Shot 3: medium shot; owner enters and stops.
- Shot 4: close handoff; restrained movement.
- Shot 5: reaction close-up; rain softens in background.
Generate alternatives only for the weakest decision. If framing is wrong, fix the frame; if motion is wrong, revise movement; do not change both at once.
Step 7: Add Voice, Sound and the Final Cut
Build audio after rough picture timing. Use rain as a continuous bed, a quiet servo sound for the bird, footsteps for the owner and perhaps one line: “You found Pip.” Duck ambience under speech and leave a beat for the student’s smile.
In the online edit stage, trim entrances and exits, match cuts on movement, and remove any shot that repeats the same information. Export a review copy, watch on the target phone or screen, and fix readability before resolution upgrades.
Beginner Troubleshooting
When something fails, name the failure precisely.
- Different face: return to approved references and reduce conflicting identity words.
- Chaotic motion: ask for one primary action and simpler camera behavior.
- Slow story: enter the scene later and cut reaction redundancy.
- Flat sound: add location ambience and one motivated effect before adding more music.
- Unexpected cost: check model, duration and resolution; pricing uses model-dependent consumption.
Keep a short experiment log. Prompting improves faster when you know which variable changed.
Define Success for a first Elser project
Before another generation, write three pass conditions for the rainy bus-stop exercise. Include one story condition, one continuity or technical condition, and one delivery condition. This converts taste into a reviewable decision. A result can be attractive and still fail if a beginner watching the result on the target device cannot understand its purpose. Record the reason for rejection so the next attempt answers evidence rather than mood.
Run a Small Representative Test
Choose the shot or asset that contains the normal difficulty of a first Elser project—not the easiest beauty frame and not the impossible climax. Keep references, format and acceptance criteria fixed. Change one variable, then compare at normal playback size. The test is finished when it produces an approve, revise, redesign or cut decision, not when it produces the largest gallery.
Keep a Decision Log
For the rainy bus-stop exercise, store the prompt, references, visible model name, settings, output ID and approval note. Add a short defect label such as “unclear silhouette,” “late reaction,” or “audio masks dialogue.” This record lets a collaborator understand why a version won and protects the project when interfaces or model catalogs change.
Frequently Asked Questions
How long should my first project be?
About 15–30 seconds is enough to test the full chain without creating an unmanageable review queue.
Should a beginner use Auto Storyboard?
It is useful for a fast first interpretation. Compare it with a controlled version if shot choice matters.
Can I upload my own script?
Yes, the current movie workflow documents a script-following route. Clean formatting improves the scene split.
When should I add voices?
After the rough cut. Actual shot duration should determine line length and pauses.
How do I know whether a result is good?
Score story clarity, continuity, motion, audio fit, technical defects and usable seconds—not beauty in a single frame.
Conclusion
A successful first project is one you can diagnose. Keep the story short, separate script decisions from shot decisions, approve character references, animate only good frames and let the edit—not endless regeneration—create momentum.