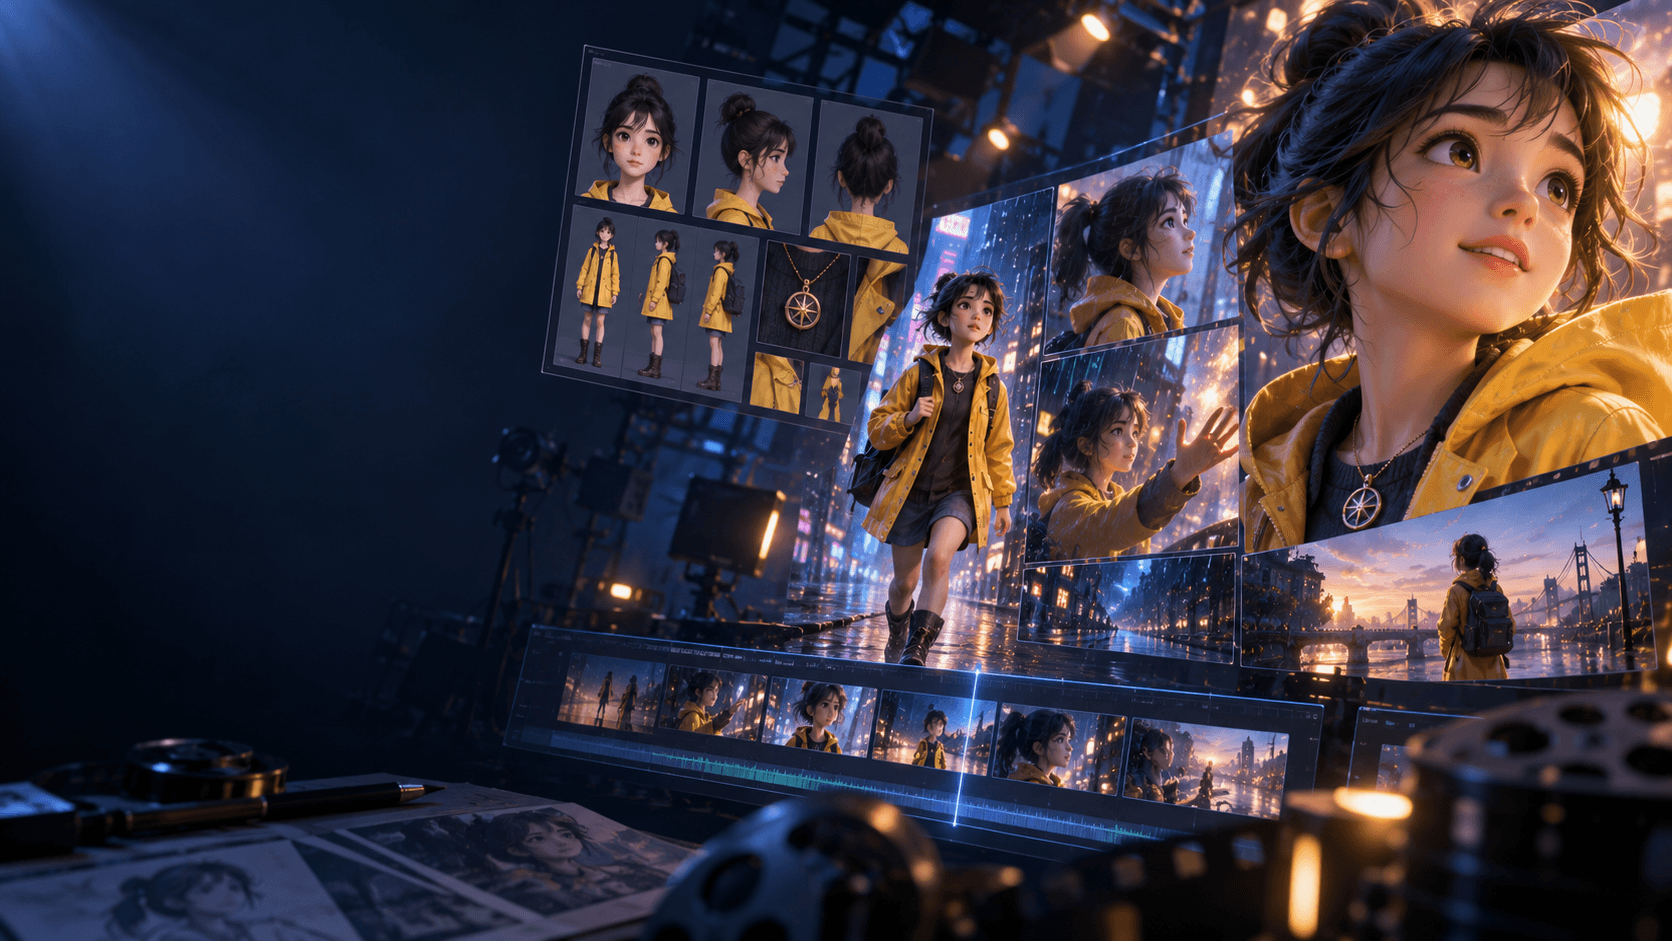
From OC Character Sheet to Animated Scene: A Practical Workflow
A character sheet proves that a design can be described from several angles. An animated scene asks much harder questions. What does the character look like between those angles? How do their clothes respond to motion? Which expressions remain recognizable? How does one shot connect to the next?
The transition from OC character sheet to animated scene works best when you treat the sheet as production evidence rather than a collage to feed into a model. Every panel should have a specific job.
Audit the character sheet before animation
Check whether the views agree. Eye color, hair length, accessories, costume seams, and body proportions should remain consistent. AI-generated sheets sometimes contain contradictions hidden by an attractive layout.
Separate the sheet into clean references:
- Neutral face and three-quarter face
- Side profile
- Full-body front and back
- Standard expressions
- Hands or signature details when important
- Approved palette
- Standard outfit and major variants
Remove labels, borders, extra poses, and unrelated characters from the images used as generation references unless the model explicitly supports a structured sheet. A clean crop gives clearer guidance.
If you still need the source images, Elser AI can help explore OC designs and visual variations in the browser. Select and clean the final views before animation.
Add information a sheet cannot show
Animation requires movement rules. Write a short performance profile:
- Posture and center of gravity
- Walking pace and stride
- Gesture size
- Default facial energy
- How the character reacts under stress
- Materials that move, such as a coat, hair ribbon, or tail
“Reserved and observant” becomes visible when the character moves slowly, keeps gestures close to the body, and looks before turning. This is more useful than repeatedly adding the adjective “reserved” to a prompt.
Choose a scene with one meaningful change
For a first test, avoid an empty loop such as waving at the camera. Give the character a small dramatic beat: they notice a message, hesitate before opening a door, hide an object, or recognize someone off-screen.
The scene should change their state. At the beginning they do not know; at the end they know. That change gives the performance a reason.
Break the scene into coverage
A compact animated scene can use three shots:
- Establishing shot: character and environment relationship
- Action shot: the important physical event
- Reaction shot: the emotional consequence
Write each shot independently while preserving state. If the character lifts a key in shot two, decide where the key is at the start of shot three. Record screen direction, lighting, wardrobe, and props.
Prompt motion rather than re-describing the image
For image-to-video, the starting frame already contains visual information. Focus the prompt on action, camera, timing, and physical constraints.
She hears a metallic click, pauses, then turns her eyes toward the closed door without moving her shoulders. Locked medium close-up. A loose strand of hair moves slightly in the draft. Keep facial structure and earrings unchanged.
This is clearer than repeating every costume color and background object. Use negative constraints sparingly; a long list of failures can distract from the intended motion.
Generate a calibration shot
Test the most identity-sensitive shot first, often a face turn or strong expression. Review frame by frame for:
- Face shape and feature placement
- Hair mass and parting
- Accessory duplication or disappearance
- Finger and prop integrity
- Clothing geometry
- Background movement that should be static
If the character fails before the action becomes complex, revise the references. Do not solve weak identity guidance with more camera motion.
Organize the character as a reusable asset
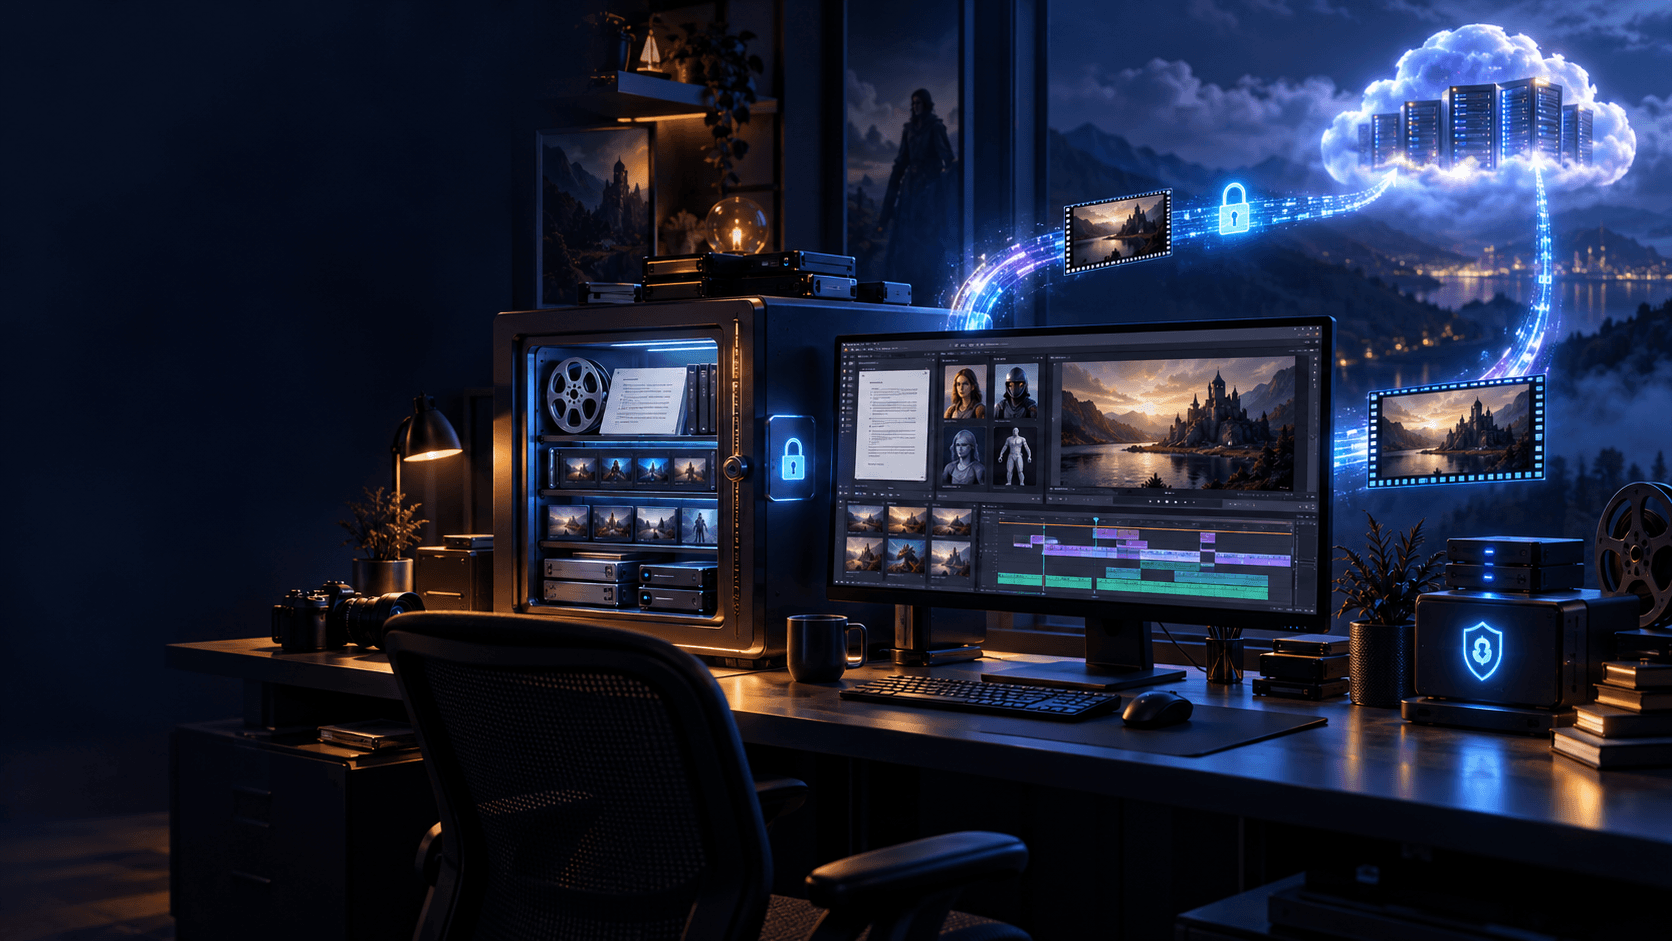
For a series, store the canonical sheet, description, prompt, voice, and versions in one place. ElserStudio uses World assets so scripts and shots can reference the same character, locations, and props. This makes the character sheet part of a production graph rather than an attachment that gets lost in folders.
Name versions intentionally: default-outfit-v1, winter-outfit-v1, or injured-state-episode-03. Do not silently replace the canonical reference halfway through a project.
Edit early, not after everything is generated
Place accepted shots on a timeline as soon as possible. A strong isolated clip may fail because the gaze points the wrong way or the motion begins too late. Trim dead frames and listen to sound transitions.
When a shot fails, identify whether the issue is identity, action, camera, continuity, or edit timing. Regenerate only when the footage cannot be repaired by a crop, trim, sound change, or adjacent reaction shot.
FAQ
Can I animate a single OC image?
Yes, but multiple consistent views improve planning and difficult angles. A single image is most reliable when the shot stays close to its original pose and framing.
Should the character sheet have text labels?
Keep labels for human documentation, but use clean image crops for models unless the tool explicitly understands structured sheets.
What is the best first animation test?
A controlled medium shot with one action, a small head or eye turn, and limited camera movement reveals identity stability without excessive complexity.
Do I need a storyboard before animation?
For one test shot, no. For a scene, even rough panels help define coverage, screen direction, and transitions before expensive generation.
Conclusion
A character sheet becomes production-ready when its views agree, its movement rules are defined, and its assets can be reused. Test one meaningful action, diagnose one problem at a time, and edit accepted footage early. Elser AI can accelerate visual exploration; ElserStudio can carry the approved OC through scripts, shots, generation, and composition.