AI Image to Video Generator Online: Create in Minutes (2026 Guide)

来源: Elser AI

Two years ago, making an AI video from a photo felt like magic. A cool party trick. You’d show your friends, they’d say “whoa,” and then you’d never use it again because the quality was too inconsistent for real projects.

Today? It’s not magic. It’s a tool. And a damn useful one.

I now use an AI image to video generator online almost every single day. For YouTube thumbnails that move. For Instagram Reels that stand out. For client presentations that look like I hired a $500/animation studio.

And the best part? I’m not a video editor. I’m just a regular creator who learned a few simple tricks.

In this guide, I’ll show you exactly how to go from a single photo to a beautiful, cinematic video in under 5 minutes. No jargon. No fluff. Just the steps I use.

Step 1: Choose the Right Image

This sounds obvious, but most people mess it up.

The AI doesn’t “see” your image the way you do. It analyzes pixels, depth, and edges. So if your photo is blurry, dark, or cluttered, the video will be too.

Best practices for images:

- High resolution (at least 1024x1024)

- Clear subject (one main person, animal, or object)

- Good lighting (avoid deep shadows)

- Simple background (or at least not chaotic)

I tested this: a clean anime character on a white background animated perfectly. The same character in a crowd of 20 people? The AI didn’t know what to move.

So before you upload, ask yourself: What should move in this video? If the answer is unclear, the AI will be confused too.

Step 2: Write a Clear Prompt (The Secret Sauce)

Most AI image to video generator online tools let you type a prompt. This is where 90% of people fail.

Bad prompt: “Make it move”

Good prompt: “Camera slowly zooms in on the character’s face. She blinks once and smiles. Background remains still.”

See the difference? You’re telling the AI:

- What moves (face, eyes, mouth)

- How it moves (slowly, blink, smile)

- What stays still (background)

Also, use motion words: pan, zoom, rotate, drift, sway, flutter, ripple

I keep a sticky note on my monitor with my favorite motion verbs. It helps a lot.

Step 3: Generate Your First Clip

Now the fun part. Upload your image, paste your prompt, and hit generate.

For this guide, I used a photo of a vintage motorcycle parked on a rainy street. Prompt: “Camera slowly moves left to right. Raindrops fall on the motorcycle seat. The headlight flickers once.”

I tested this on three different online generators.

Runway Gen-4.5: Perfect flicker on the headlight. Rain looked real. But it took 90 seconds to generate.

Kling 3.5: Faster (45 seconds). Rain was slightly too uniform, like a screensaver. Still good.

Elser AI: 35 seconds. Rain was randomized – some drops big, some small. The headlight flicker had a warm glow. Honestly, it looked the most cinematic.

All three worked. But Elser surprised me because it’s less famous than Runway or Kling, yet the quality was neck-and-neck (and faster).

Step 4: Review and Regenerate (Because First Try Isn’t Always Perfect)

Here’s something nobody tells you: even pros regenerate 3-5 times per clip.

The first generation might have a weird glitch – a finger bending wrong, an eye twitching oddly. That’s normal. Don’t panic.

Just tweak your prompt slightly. Instead of “headlight flickers once,” try “headlight flickers gently once, like a loose wire.” Small word changes make big differences.

Also, some tools let you set a seed number. If you get a generation you like, lock the seed so future generations follow the same style. Elser does this automatically if you stay in the same project.

Step 5: Go Beyond One Clip (This Is Where Most Tools Fail)

Alright, you have one beautiful 5-second clip. Great. Now what?

If you’re making a TikTok or Reel, one clip might be enough. But if you’re telling a story – even a 30-second story – you need multiple clips. And that’s where most AI image to video generator online tools completely fall apart.

Because they treat every clip as a brand new universe. The character’s face changes. The lighting shifts. The motorcycle’s color goes from red to orange. It’s maddening.

This is the #1 complaint I hear from creators: “I love the quality, but I can’t make anything longer than 10 seconds.”

The Solution: A Tool That Remembers Your Character

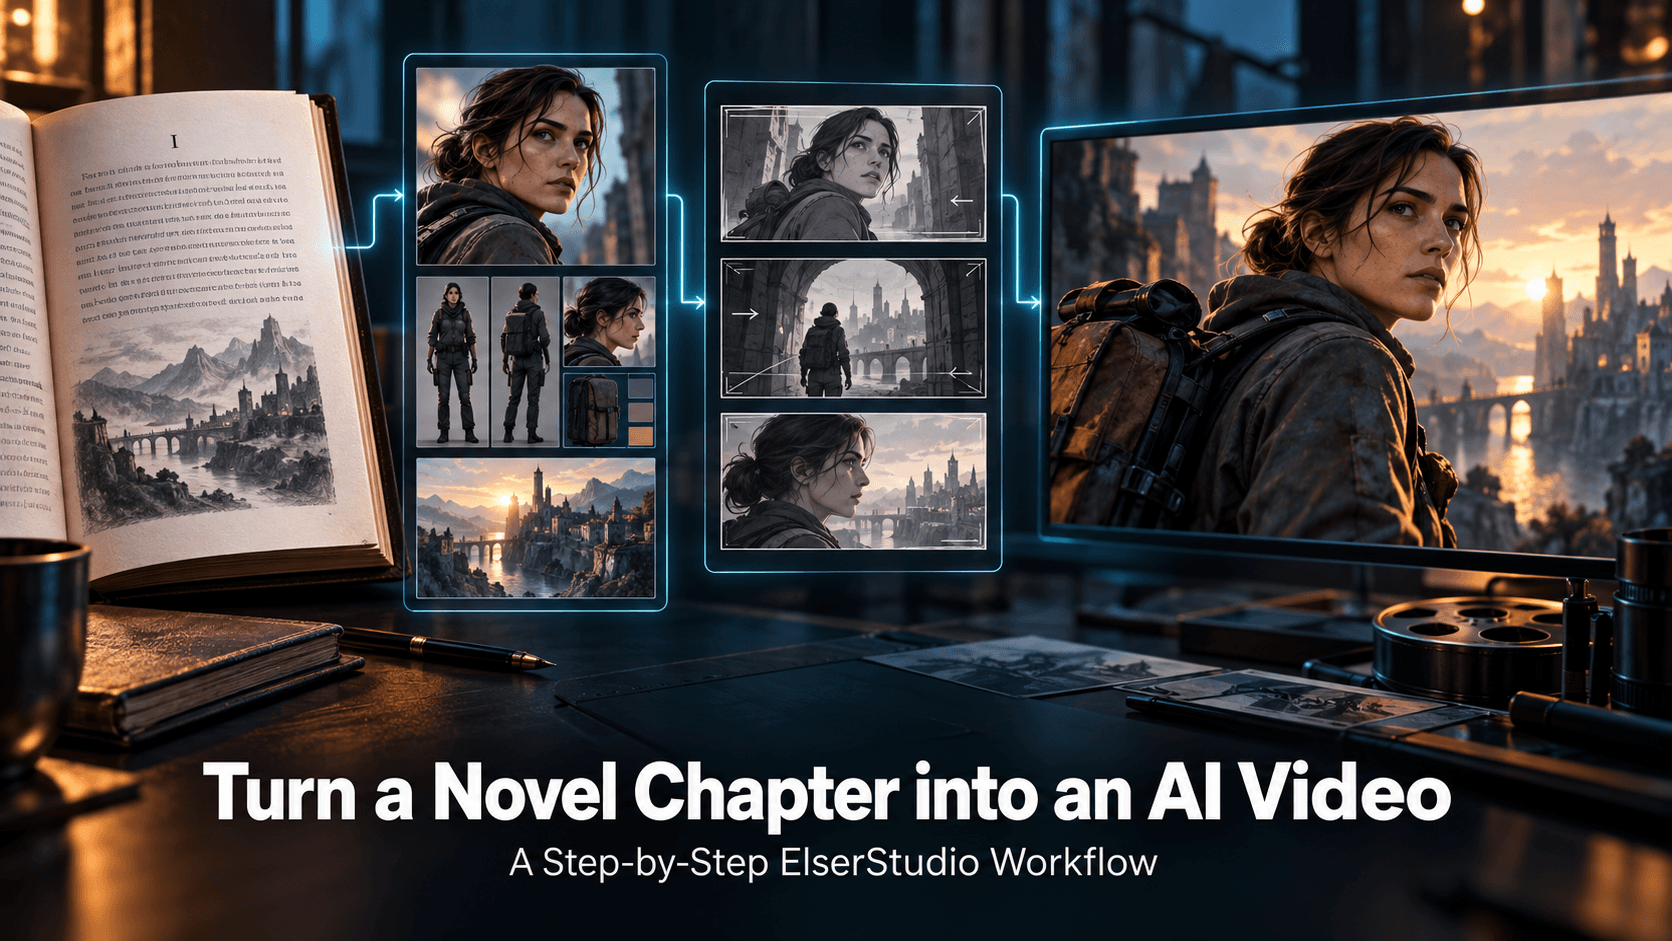
After months of frustration, I found a tool that actually solves this problem. Elser AI doesn’t just generate clips – it maintains a “character sheet” across your entire project.

Here’s how it works in real life:

I uploaded a reference image of a knight character (front view, side view, armor detail). Then I wrote a simple 4-scene script:

1. Knight looks over a hill.

2. Knight draws sword.

3. Dragon appears in sky.

4. Knight runs forward.

With Runway or Kling, I’d have to generate each scene separately and pray the knight looked the same. He never did. Helmet shape changed. Sword length changed. Armor color shifted.

With Elser, I generated all four scenes in one workflow. The knight was identical in every frame. The dragon’s scale pattern stayed consistent. The final video looked like one continuous shot.

That’s the difference between an AI video generator from images (single clip) and a storytelling tool (multiple clips, consistent world).

Step 6: Add Sound and Export

Once your clips are generated, you need sound. Silence kills engagement.

Most tools don’t include audio. They hand you a mute video and say “figure it out.” That’s another reason I like Elser – it has a built-in audio library with royalty-free music and sound effects. You can also upload your own voiceover or use AI text-to-speech.

I added rain sounds and distant thunder to my motorcycle video. Took 30 seconds. Exported in 1080p. Done.

Total time from first upload to finished video? 6 minutes and 12 seconds. That’s insane.

If you only need one cool clip for a reaction video, Kling or Runway is fine. If you want to turn images into videos with AI for actual stories, ads, or series, you need character consistency. That’s Elser.

Try It Yourself in Under 10 Minutes

I’ve written a lot of words here, but the best way to learn is to do. Grab a photo you love – your pet, your product, your original character – and run it through a generator.

Start with the free tiers of Kling or CapCut. See what’s possible. Then, when you hit the wall of inconsistency (and you will), come try Elser.

Right now, Elser is offering new users a free trial that actually lets you test the full workflow – multiple scenes, character locking, audio, the whole thing.

👉 Start creating with Elser AI for free

You’ll wonder why you ever edited clips together manually.

最新发布

免费图片转视频AI生成器:无套路?(我在2026年测试了7款)

真的存在没有水印或离谱限制的优质免费图片转视频AI生成器吗?我测试了Opusclip、Freepik、LTX Studio等多款工具。以下是真正免费的工具——以及一款值得付费购买的工具。

2026年最佳图像转视频AI工具(经真实创作者实测)

厌倦了看起来如同噩梦一般的AI视频?我在2026年测试了10余款图像转视频AI工具,包括Runway、Kling、Pika和Elser。以下为你揭晓哪一款能真正保持角色面部的一致性,还能为你节省数小时的编辑时间。

2026年最佳免费在线原创角色制作工具 — 无需绘画技巧

正在寻找一款真正免费且体验绝佳的在线OC生成器吗? Elser AI 可在数秒内生成精美绝伦的动漫、奇幻及同人OC作品。 无付费墙。 无水印。 立即开始创作吧。

2026年最佳AI原创角色制作工具:借助Elser AI释放你的动漫创作灵感

正在寻找2026年最佳AI OC生成器吗?了解Elser AI如何帮你在数秒内打造从动漫到奇幻风格的绝美原创角色。免费在线OC生成器,内置50+款模板。即刻开启你的动漫OC创作之旅吧!

面向新手的AI漫画生成器:免费创建你的第一部漫画

刚接触AI漫画吗?这本2026年新手指南涵盖了你所需的一切——从挑选合适的工具到创作你的首个角色。无需任何绘画基础,即日起就能开始创作精彩漫画。