AI Anime Production Workflow Explained: From Idea to Complete Episode in 2026 (Step-by-Step)
I used to have seventeen tabs open.
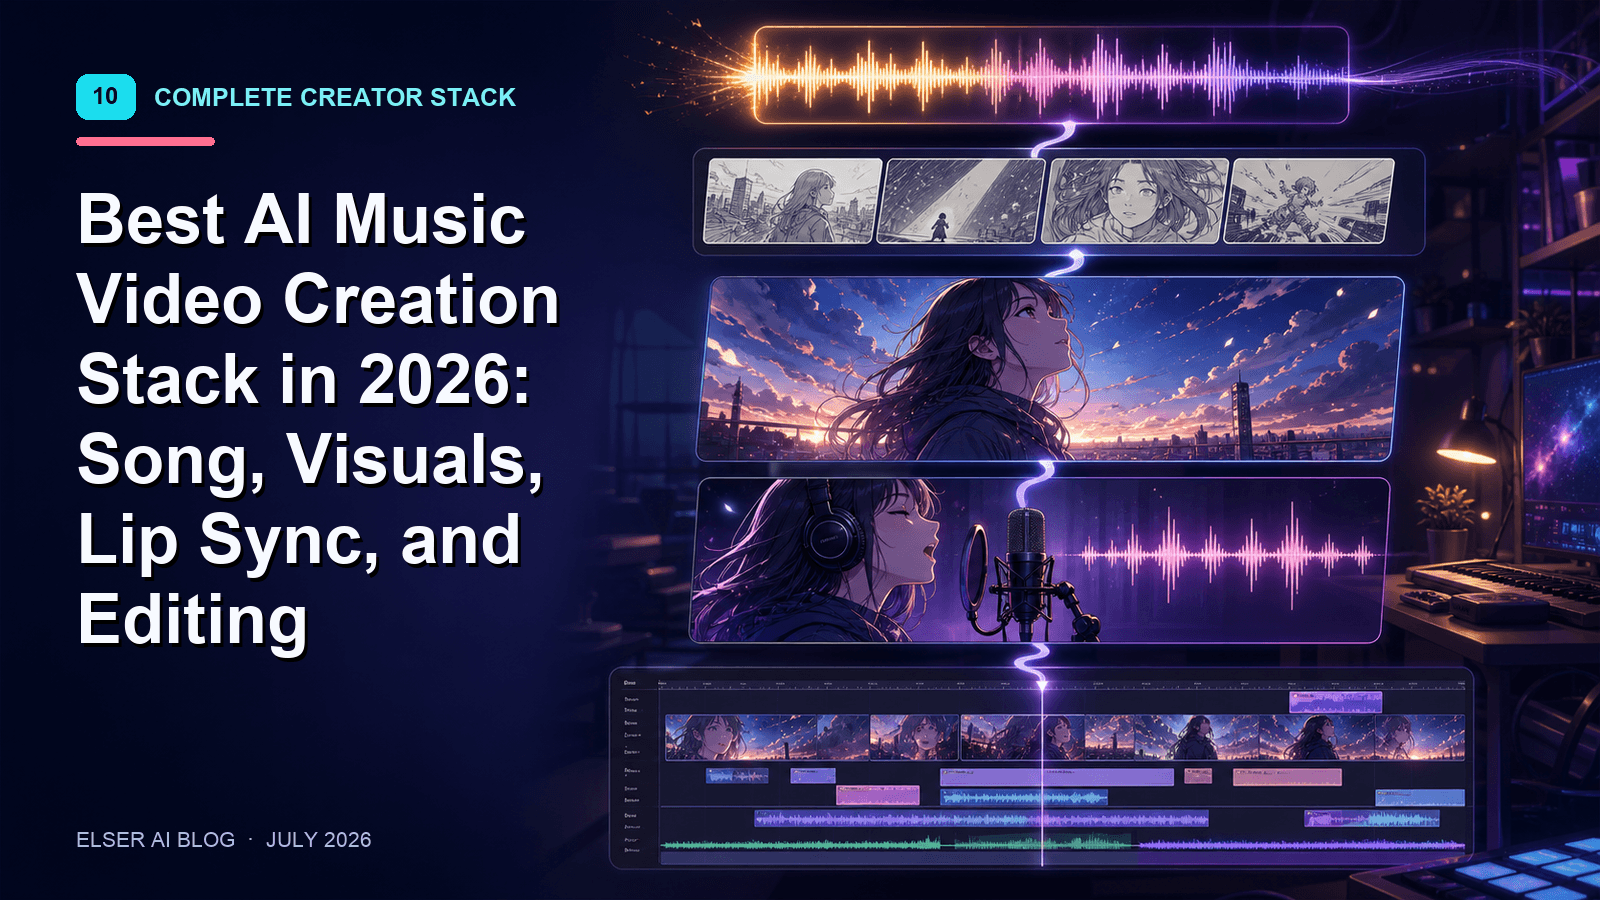
One for character generation. One for background art. One for video generation. One for lip-sync. One for audio. By the time I finished moving assets between tools, I'd forgotten what my original story was about.
That was the old way of creating anime with AI.
The new way? A streamlined production workflow where every piece talks to every other piece, characters stay consistent across every scene, and you spend your time creating instead of wrestling with file formats.
Let me show you what a professional AI anime production workflow actually looks like in 2026.
Why you need a production workflow (and not just a collection of tools)
Here's the reality check: AI tools are powerful, but they're also chaotic. Each one has its own strengths, its own quirks, and its own way of doing things.
Without a workflow, you'll generate a character in one tool, try to animate it in another, and discover that the second tool doesn't recognize the character at all. You'll spend hours exporting, converting, re-prompting, and praying.
A proper production workflow solves that by creating a logical sequence of steps where each stage feeds naturally into the next.
The 6-step AI anime production workflow for 2026
After testing every major platform and talking to creators who are actually producing serialized content, here's the workflow that consistently delivers professional results.
Step 1: Concept & Script Development
What happens here: You turn your idea into a structured script. This isn't about writing like a screenwriter—it's about defining your story's beats, characters, and key scenes.
How AI helps: Modern AI anime story generators like Doratoon and Elser AI can take a one-sentence logline and generate a complete script structure, complete with scene breakdowns and dialogue suggestions. Vidu Q3, specifically optimized for animated series production, addresses narrative continuity and audio-visual alignment from the script stage.
Pro tip: Don't skip this step. The quality of your script directly determines the quality of everything that follows. If your story is weak, no amount of beautiful animation will save it.
Step 2: Character Design & Consistency Setup
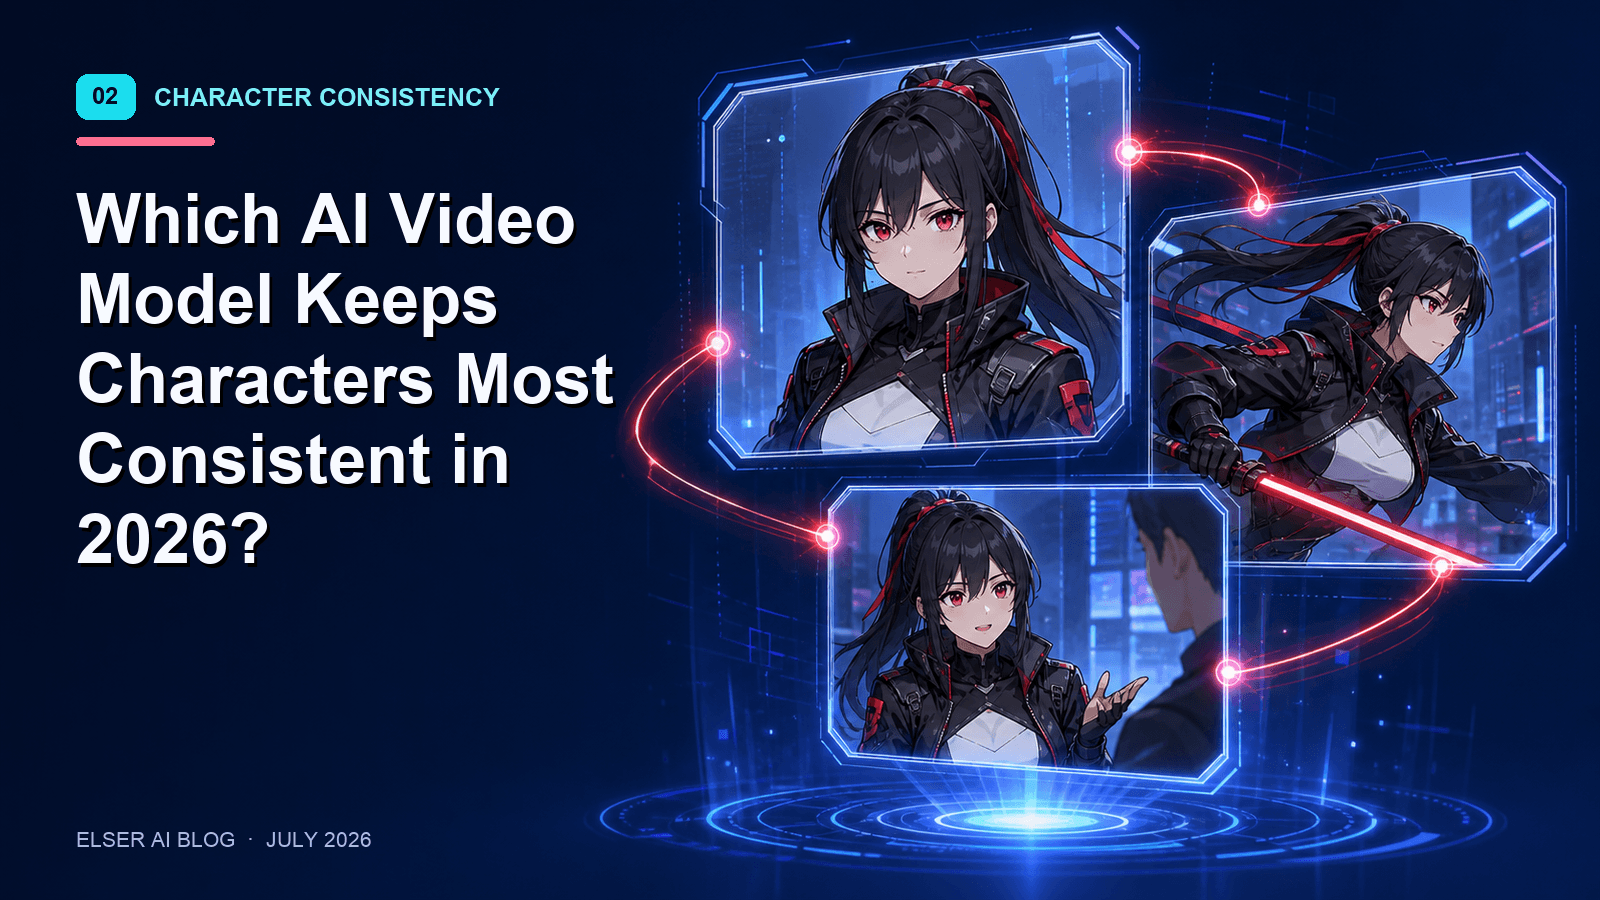
What happens here: You create your characters and lock in their visual identity so the AI remembers them forever.
How AI helps: Elser AI lets you define characters once, and the same design carries through every scene of your video. For more detailed control, PixAI offers LoRA training where you can teach the AI your unique art style or original characters. WAN 2.6 Reference-to-Video Flash supports up to 5 reference images to maintain facial features, clothing, and body proportions across every generated frame.
Pro tip: Create at least three reference angles of each character—front, three-quarter, and side. The AI will thank you.
Step 3: Storyboarding & Scene Planning
What happens here: You break your script into individual shots and plan the visual flow of your episode.
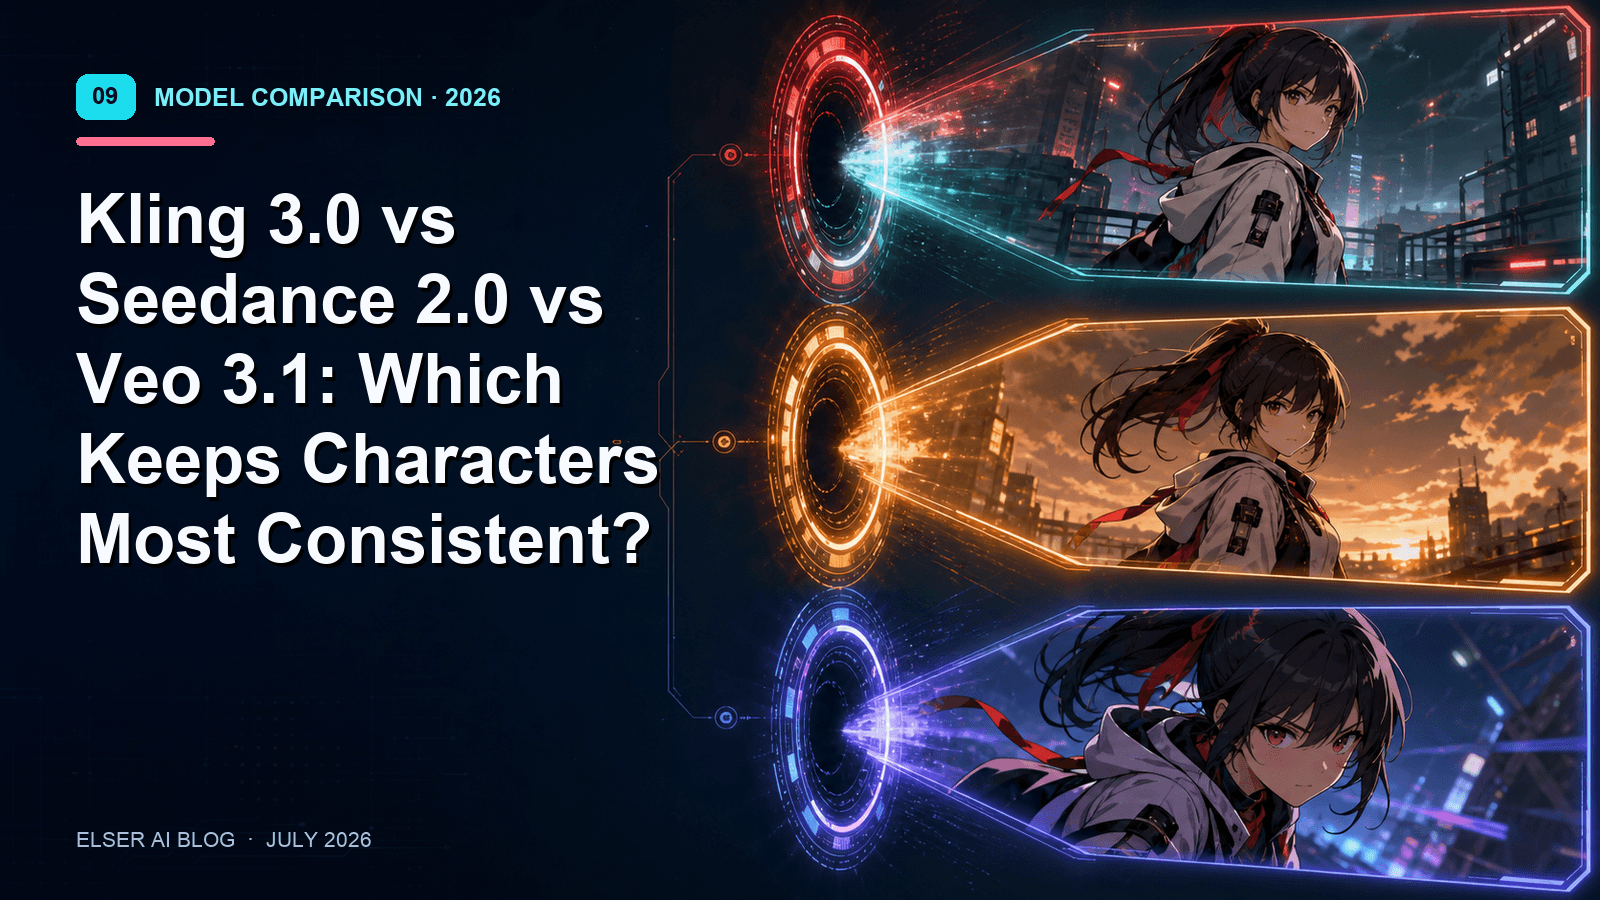
How AI helps: Kling 3.0 emphasizes multi-shot storyboarding, allowing you to generate sequences of clips that naturally flow together. You can specify shot types (wide, medium, close-up), camera movements (pan, zoom, tracking), and transitions.
Pro tip: For short-form content (30-60 seconds), plan 5-8 shots. For longer episodes (3-5 minutes), plan 15-20 shots. Don't try to storyboard an entire 10-minute episode in one go—break it into segments.
Step 4: Scene Generation
What happens here: You generate the actual video clips for each shot in your storyboard.
How AI helps: This is where the heavy lifting happens. Seedance 2.0 can reference up to 9 images, 3 videos, and 3 audio files in a single generation, giving you unprecedented control over the output. Veo 3.1 generates native synchronized audio alongside visuals, so you get sound effects and ambient noise without extra work. Kling 3.0 Pro costs roughly $0.168 per second of generated video, making it affordable to iterate.
Pro tip: Generate each scene multiple times with slight prompt variations. Pick the best one. Don't settle for the first result.
Step 5: Audio & Voice Integration
What happens here: You add voice acting, sound effects, background music, and lip-sync.
How AI helps: This used to be a separate, painful process. Now, leading platforms handle it natively. Veo 3.1 generates synchronized audio, including dialogue when provided with a script. Elser AI handles voice and lip-sync on a single platform, so your characters' mouths actually move in time with the words.
Pro tip: If you're generating dialogue, keep lines short—5-10 words per line works best for AI lip-sync.
Step 6: Editing & Export
What happens here: You assemble your generated clips, add transitions, adjust timing, and export in the right format for your platform.
How AI helps: Some all-in-one platforms skip this step entirely by generating a fully assembled video. Doratoon can generate up to 99 shots in a single pass, each up to 12 seconds, and assemble them automatically.
Pro tip: Export in the native aspect ratio of your target platform—9:16 for TikTok/Reels/Shorts, 16:9 for YouTube, 1:1 for Instagram posts.
All-in-one vs. specialized tools: Which workflow is right for you?
There's an ongoing debate in the AI anime community about whether you should use a single platform that does everything or assemble a toolkit of specialized tools.
Here's my honest take:
Choose an all-in-one platform like Elser AI or Doratoon if:
- You're just starting out and don't want to learn five different interfaces
- You're creating short-form content (under 2 minutes)
- Character consistency across scenes is your top priority
- You want to go from idea to video in under 30 minutes
Choose a specialized toolkit (Kling + PixAI + ElevenLabs) if:
- You need maximum control over every aspect of production
- You're creating longer content (5+ minutes)
- You already know what you're doing and don't mind managing multiple tools
- You have a higher budget for credits across different platforms
The workflow I actually use
Let me be transparent with you. For most of my short-form anime content (30-60 seconds for TikTok and Reels), I use Elser AI as my primary platform.
Here's why: It handles character design, script generation, scene rendering, voice acting, and lip-sync in one place. I don't need to export anything or worry about format compatibility. My characters stay consistent because the platform remembers them.
For more complex projects—like the 5-minute pilot I'm working on—I use a hybrid approach: character design in PixAI (for the LoRA training), video generation in Kling 3.0 (for the motion quality), and assembly in DaVinci Resolve. But that's a serious time investment.
How long does the full workflow take?
Let me give you realistic numbers based on actual production experience:
- 30-second short (all-in-one platform): 15-30 minutes
- 60-second short (all-in-one platform): 30-45 minutes
- 3-minute episode (hybrid workflow): 2-4 hours
- 10-minute episode (professional hybrid workflow): 1-2 days
The all-in-one workflow is dramatically faster, but the hybrid workflow gives you more creative control. Choose based on your goals, not someone else's preferences.
The biggest bottleneck isn't the AI—it's you
Here's the uncomfortable truth: The AI can generate beautiful scenes in seconds. But the human still needs to make creative decisions—what story to tell, which character designs to use, how to structure the narrative.
Your creative vision is the limiting factor. Not the technology.
So don't spend weeks optimizing your workflow before you create anything. Pick a platform, run through the steps, and make something imperfect. Then iterate.
👉 Ready to try a streamlined AI anime production workflow? Elser AI handles everything from character creation to final export in one platform. [Start your free trial today]