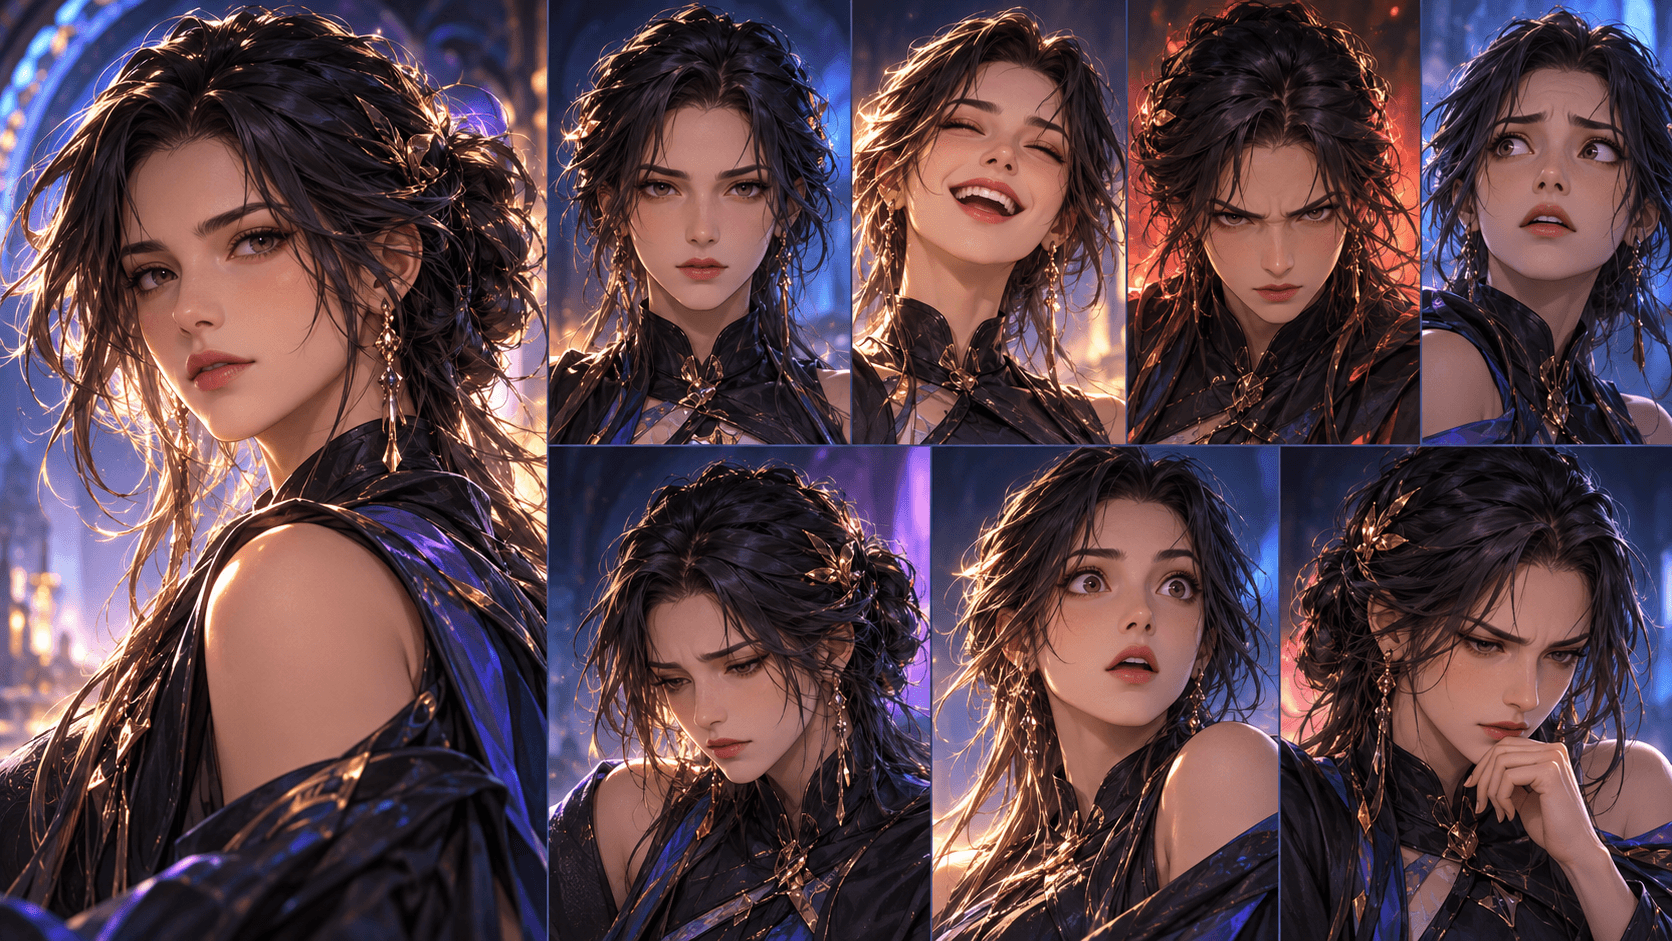
Elser AI Photoreal Comic Drama Tutorial: From Script to Final Cut
Photoreal AI drama exposes face drift, incorrect reflections, weightless motion and changing environments. Elser AI’s staged movie workflow is useful because it lets you approve script, settings, characters and storyboard before generating a final sequence.
This tutorial creates a 35-second hotel mystery.
Step 1: Use Follow Your Script
Enter a short production script:
SCENE 1 — Hotel corridor — night
A night manager checks a brass key for Room 407.
The elevator display shows only three floors.

SCENE 2 — Room 307
A guest opens the door with the security chain attached.
GUEST: “There is no fourth floor.”

SCENE 3 — Elevator
The doors open. A fourth-floor button now exists.
Choose the script-led route so the contradiction remains central. At Storyline, separate the key insert, guest line and elevator reveal into distinct visual scenes.
Open Elser AI and import this three-scene test before attempting a multi-location photoreal episode.
Step 2: Configure Realistic Settings
Select 16:9 or 9:16, a current model appropriate for photoreal work, realistic cinematic style, restrained voiceover and 3–5 second shot duration. Test model and resolution choices on one face and one corridor view because current availability and credit use can vary.
Lock the location:
Dark walnut corridor, green carpet, warm brass sconces every three meters,
elevator at south end, Room 307 on east wall, no windows,
warm practical light with cool elevator spill.
Step 3: Cast an Original Character
In Character Settings:
Original fictional night manager, early 40s,
long rectangular face, deep-set brown eyes, subtle under-eye lines,
short black hair with gray at temples, narrow shoulders,
charcoal hotel uniform, burgundy tie, blank brass oval badge,
formal restraint masking fatigue. No celebrity resemblance.
Save the approved asset and test it in even light, corridor light and profile. Reuse the same character in every shot.
Step 4: Use Storyboard Studio Like a Film Crew
Create eight controlled shots:
- wide corridor;
- manager medium tracking shot;
- key insert;
- chained-door over-shoulder;
- guest close-up;
- elevator wide;
- button insert;
- manager reaction.
Auto Storyboard can supply an initial version, but Storyboard Studio is better for matching eyelines, room geography and inserts. Approve still frames before motion.
Step 5: Animate One Physical Action
Use the approved manager and corridor keyframe.
He rotates the brass key once and glances toward the elevator.
His hand settles; uniform fabric responds naturally.
Very slow push-in, four seconds. Keep face, uniform and corridor unchanged.
Do not combine walking, speaking, turning, key handling and fast camera motion in one generation. Separate coverage and cut between it.
Step 6: Assemble and Add Audio in Elser
Place all clips into Final Cut before final voices. Trim unstable edge frames and use the key insert to bridge takes. Add carpeted footsteps, ventilation, chain movement and elevator machinery. Keep music out until the button appears.
Add dialogue and subtitles after timing is stable. Obtain consent for any cloned voice and avoid imitating recognizable performers.
Step 7: Run a Photoreal Review
Check:
- face and age across shots;
- hand and key anatomy;
- key design and door state;
- reflection and shadow direction;
- corridor architecture;
- voice identity and lip timing;
- disclosure and commercial rights.
Regenerate the individual failed scene, replace it in Final Cut and recheck adjacent cuts.
Create a Photoreal Continuity Sheet
Photoreal work makes small errors more visible. Record fixed identity features, wardrobe construction, prop dimensions, lighting direction and location materials. “Brown coat” is insufficient if the lapel shape, buttons and fabric change between shots. A better contract is “mid-thigh dark-brown waxed-cotton coat, four matte brass snaps, narrow stand collar.” Use only as much detail as the shot can reveal.
In Character Settings, approve neutral front and three-quarter views before dramatic lighting. Extreme angles can hide identity problems. Save a wardrobe variant only after the canonical face and silhouette are stable.
Use Cinematography Language with a Narrative Purpose
Lens terms are not magic decorations. A wide frame establishes relationships and space; a normal medium shot supports performance; a close-up highlights a decision or clue. In Storyboard Studio, specify camera height, shot size, subject position and one motivated movement. Avoid combining crane, orbit, zoom, handheld shake and rack focus in the same short prompt.
Example:
Eye-level medium shot, 50mm natural perspective. Nora sits on the right third of a dim laundromat booth; the empty opposite chair remains visible. Fluorescent key light from above, weak green cast, rain reflections outside. Slow push-in only after the voicemail mentions her brother. Preserve face, coat and red cassette recorder.
This prompt ties technique to story information.
Control Physical Interaction and Motion
Hands, reflections, crowds and object transfer often expose realism failures. Break complex action into separate approved beats: reach, contact, lift, reaction. Keep the camera locked while testing the performance. Once object continuity works, add subtle camera movement if it improves the scene.
Compare the generated clip with its key image. Check fingers, eye line, prop placement, clothing seams and background geometry. If the error appears only during movement, revise the motion instruction rather than rebuilding Character Settings.
Match Dialogue, Room Tone and Cut Rhythm
Photoreal images invite viewers to expect plausible sound. Add room tone appropriate to the location before music: fluorescent buzz, distant dryers, rain against glass. Voice performance should match the subject's distance and posture. A whispered close-up and a wide shot across a room should not have identical acoustic presence.
In Final Cut, let reaction shots finish. AI video can tempt creators to cut around artifacts so aggressively that performances become mechanical. Prefer a shorter episode with three believable moments over a longer montage of unrelated spectacle.
Ethical and Legal Review
Use fictional, consented or properly licensed identities and voices. Do not imply that a real person performed an action they did not perform. Keep records of reference rights and disclose synthetic media where the distribution context requires it. Photoreal quality increases the need for provenance; it does not reduce it.
Export Gate for the Elser Pilot
- Identity anchors survive wide, medium and close shots.
- Lighting direction and time of day remain coherent.
- Props do not change shape or hand without cause.
- Motion obeys gravity and established geography.
- Dialogue timing matches visible performance.
- The scene is clearly fictional and rights-cleared.
Run this gate on a 15-second proof in Elser AI before producing the full episode. Photoreal workflows reward disciplined tests more than high generation volume.
Run a Three-Shot Camera Test
Before the full scene, generate an establishing wide, a dialogue medium and an emotional close-up with the same Elser character and location. This is a compact stress test for identity, lighting and production design. Put the frames side by side and inspect face proportions, hairline, coat construction, practical light positions and background materials. If they cannot coexist in one physical scene, repair the storyboard or character asset before motion.
Next, animate only the medium shot with one gesture and one camera move. Review the first, middle and last frames. A clip can look convincing at playback speed while briefly changing hands, jewelry or facial structure. Decide in advance which errors are unacceptable, which can be hidden by an editorial cut and which require regeneration.
Finally, assemble the three shots with temporary dialogue and room tone in Final Cut. Check eye lines and screen direction: if Nora looks left toward another character, the reverse angle must preserve that relationship. Photoreal credibility often depends more on these ordinary film rules than on surface detail.
Keep an Accepted-Take Log
For each approved clip, note its Elser scene name, duration, character variant, prompt version and known limitations. Mark the exact usable range if only part of the clip is stable. This prevents accidental replacement of a good take and helps a collaborator understand why a cut occurs early. The log also reveals recurring failure patterns; if object transfer repeatedly causes drift, design future boards around inserts or off-screen handoffs.
FAQ
Can Elser AI create realistic cinematic video?
The current product page lists realistic cinematic among available directions and allows model/style configuration. Results depend on shot design and current models.
Why start with Storyboard Studio?
Photoreal continuity depends on geography, coverage and inserts. Directed panels reveal errors before motion.
Can I use a celebrity as the character?
Use an original fictional character or properly licensed likeness and voice. Follow applicable law and platform rules.
Conclusion
Elser’s workflow helps photoreal creators behave like a compact film crew: approved script, controlled Settings, original Cast, directed Storyboard, restrained motion and sound-led Final Cut. Create the hotel test in Elser AI and judge the assembled sequence, not a single frame.