How to Edit and Assemble AI Video Scenes in Elser AI
AI generation produces options. Editing produces the story.
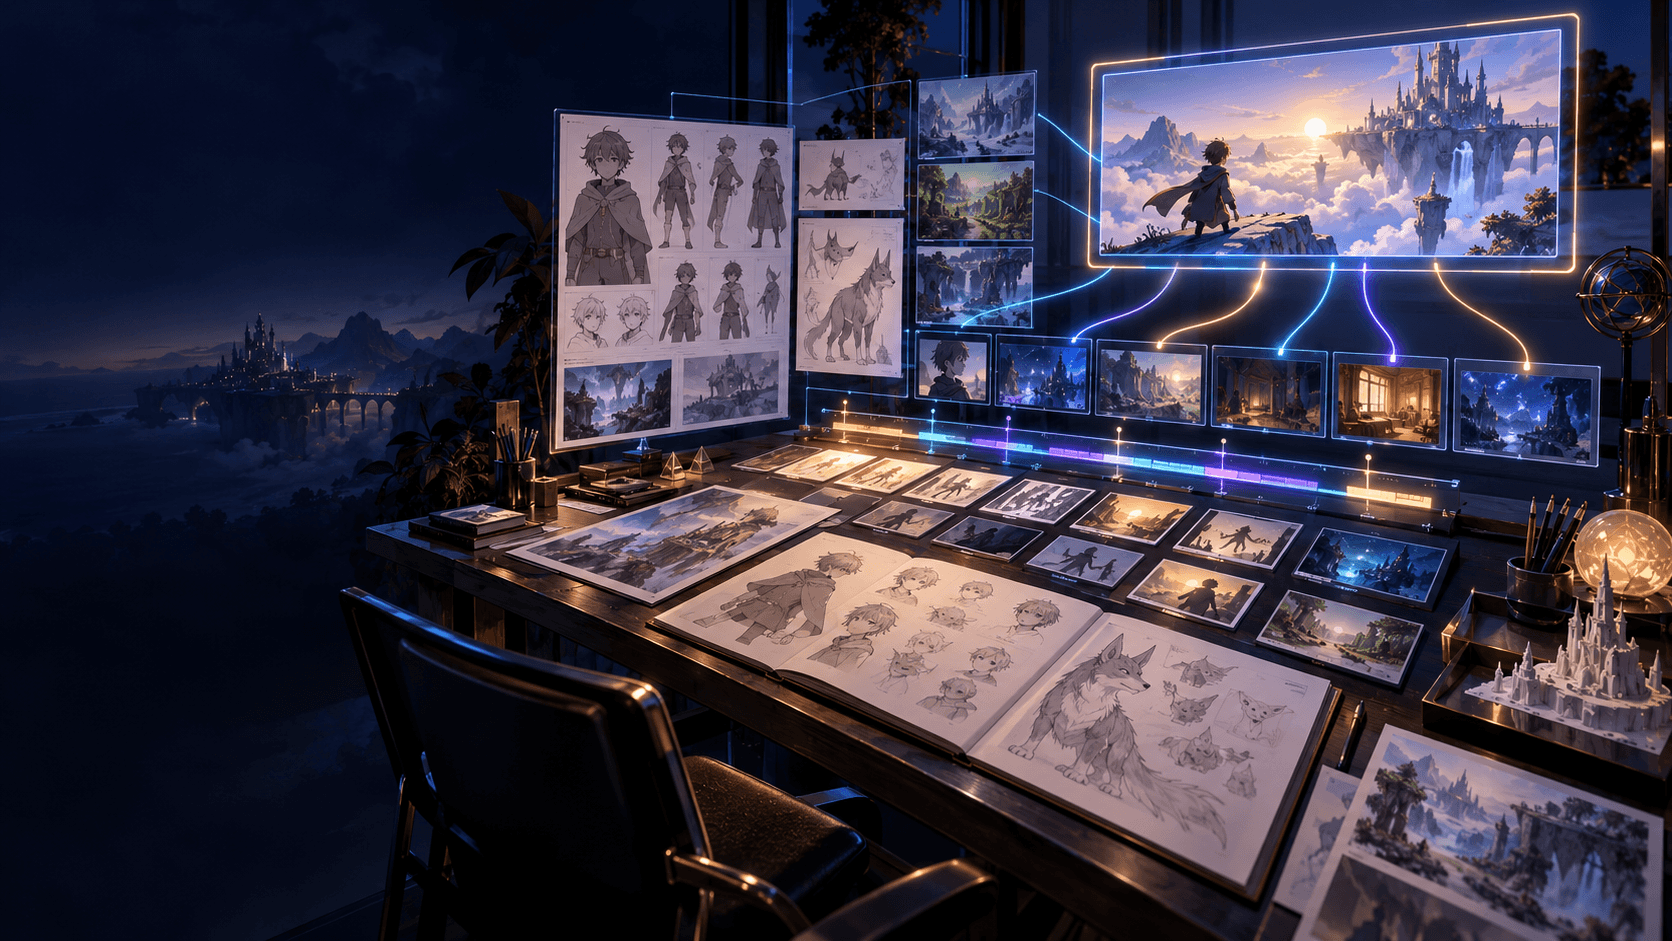
Two clips can be individually impressive and still fail together because the character turns the wrong direction, lighting jumps, a prop changes hands or both shots repeat the same information. Elser AI's public movie workflow includes online editing, scene refinement, transitions and export after storyboards and generation. The editor's task is to convert separate outputs into one continuous experience.
Stop Generating and Build an Assembly
Creators often postpone the rough cut while trying to perfect every shot. That is backwards. Put the best available version of every planned scene on the timeline as early as possible. Use temporary frames where footage is missing.
The assembly answers questions no isolated clip can:
- Is the story understandable?
- Is the opening too slow?
- Are there repeated reactions?
- Does the reveal arrive at the right moment?
- Which shot is genuinely missing?
- Which “beautiful” clip has no narrative job?
See the whole film early: Place one candidate for every storyboard beat in Elser AI, watch the uninterrupted sequence and list only the gaps that prevent understanding.
Organize Takes Before Choosing Them
Use stable names:
S03_SH02_T04_closeup-key-turn_approved-character.mp4
The fields identify scene, shot, take and content. Keep notes:
| Take | Story clarity | Identity | Motion | Match | Decision | | T01 | 4 | 5 | 2 | 4 | Hold for insert | | T02 | 5 | 4 | 4 | 5 | Select | | T03 | 3 | 5 | 5 | 2 | Reject: wrong direction |
Do not choose only by visual polish. A slightly simpler clip that cuts cleanly can be more valuable than a spectacular take that breaks continuity.
Edit in Passes
Pass 1: story
Ignore fine transitions. Arrange shots so cause and effect are clear. Remove anything that does not change information, emotion or action.
Pass 2: performance
Choose the strongest looks, gestures and reactions. Let the listener's face carry parts of a dialogue scene.
Pass 3: continuity
Check character identity, costume, prop, geography, time and lighting at every cut.
Pass 4: rhythm
Trim starts and ends, shape pauses and vary shot duration according to attention.
Pass 5: sound and finish
Add final voice, ambience, effects, music, subtitles and transitions. Mixing cannot repair unclear story structure, so it comes later.
This order keeps cosmetic work from hiding structural problems.
Cut on Meaningful Change
A shot usually becomes ready to leave when:
- the required information is visible;
- the action crosses a clear point;
- the character's emotion changes;
- a sound motivates a new view;
- the audience asks a new question.
Enter late enough to avoid dead setup and leave before the clip becomes unstable. Generated clips often contain a strong two-second section inside a longer imperfect take. Use the useful section rather than preserving the full duration.
Use Reaction Shots as Structural Tools
A reaction is not filler. It interprets an event and creates an edit point.
If a complex continuous shot fails—character opens a box, sees a creature, steps back and speaks—divide it:
- insert of hand opening box;
- creature detail;
- character reaction;
- dialogue close-up;
- wider consequence.
This is easier to generate, easier to repair and often more dramatic.
Repair Continuity at the Cheapest Level
Not every mismatch deserves regeneration.
Trim
Remove unstable frames at the beginning or end.
Reorder
A different shot order may hide a direction or timing problem.
Insert
Cut to a prop, environment or listener while difficult action occurs.
Reframe
Crop or reposition only when resolution and composition allow it.
Sound bridge
Carry dialogue or ambience across the cut to create continuity.
Regenerate
Regenerate when identity, story information or the core action is wrong. Return to the storyboard and prompt; do not request a random replacement.
Maintain Screen Direction
If a character exits frame right and the next shot shows them moving left without a clear viewpoint change, viewers may believe the character reversed direction.
Use landmarks, eyelines and establishing shots. When direction errors cannot be fixed, insert a neutral close-up or environmental shot that resets orientation.
For conversations, keep speakers on consistent screen sides unless you intentionally cross the axis and show the transition.
Shape Pacing with Information Density
Shot length should follow what the viewer must process.
- Establishing views need enough time to read geography.
- Familiar action can be shorter.
- New visual information needs a hold.
- Emotional reactions need breathing room.
- Fast action benefits from brief shots but still needs clear silhouettes.
A common AI-video mistake is giving every clip its generated default duration. That creates mechanical rhythm. Trim by attention, not by file length.
Use a timing map:
| Beat | Purpose | Planned | Edited | Reason | | Arrival | Geography | 5s | 3.5s | Location reads quickly | | Discovery | Question | 4s | 4.5s | Need eye-line pause | | Reveal | Payoff | 5s | 6s | New design needs recognition |
Choose Transitions by Story Logic
Most shots should use a cut. Use a dissolve for time, memory or emotional blending; a fade for a strong beginning or ending; a motivated wipe when an object crosses frame; and a match cut when shape or motion links two scenes.
Avoid using transitions to disguise unrelated compositions. If the cut feels wrong, check screen direction, action, lighting and story connection first. Elser AI's workflow allows transition adjustment, but availability of a transition does not make it narratively appropriate.
Build Audio Across the Timeline
Audio can make separate generations feel as if they share a world.
- Continue room tone across cuts.
- Start the next scene's sound before the picture changes.
- Let footsteps or machinery motivate an edit.
- Use consistent voice performance for recurring characters.
- Place music changes at story turns.
- Avoid restarting ambience with every clip.
For a dialogue exchange, carry the speaker's voice over the listener's reaction. This reduces lip-sync workload and improves pacing.
Regenerate with Neighbor Context
When replacing a shot, define its relationship to both neighbors:
Replacement for S04_SH03. It follows a close-up of the protagonist looking screen right and precedes an insert of the blue key on the table. Generate a medium shot: protagonist reaches toward the key with the right hand, body facing screen right, same coat and warm window light. End before contact so the insert completes the action.
The prompt specifies editorial entry and exit states. A standalone description would not.
Create Platform Versions Intentionally
Do not export one master and blindly crop it everywhere.
For vertical delivery:
- keep faces and props near the central safe area;
- reduce side-by-side staging;
- reposition subtitles;
- consider alternate close-ups;
- check interface overlays;
- use a separate first frame designed for the feed.
For widescreen, preserve geography and negative space. Create a clean master before adding platform-specific text.
Final Review Protocol
Watch muted
Verify visible causality and continuity.
Listen without watching
Check speech, ambience, transitions and emotional shape.
Watch at 1.5× speed
Repeated or slow beats become obvious.
Watch once without pausing
Simulate the audience. Take notes afterward rather than polishing while viewing.
Technical pass
Check resolution, aspect ratio, black frames, clipped audio, subtitle spelling, rights and export settings.
FAQ
Can I edit generated scenes inside Elser AI?
The current movie page describes online editing, scene refinement, transition adjustment and export after storyboard generation.
Should I regenerate every imperfect clip?
No. First test trimming, inserts, sound bridges or a different cut. Regenerate when the core identity, action or story fact is wrong.
How do I make separate AI clips feel consistent?
Reuse character references, match lighting and direction, preserve ambience across cuts and design clear entry and exit states for each shot.
How long should each shot be?
Long enough for the intended information or emotion to register, but no longer. Default generated duration is not an editorial rule.
What is the best transition for AI video scenes?
Usually a direct cut. Use visible transitions only when they communicate time, memory, movement or a deliberate visual relationship.
Conclusion
Editing AI video in Elser AI is the process of choosing, shortening and connecting. Build the assembly early, edit in passes, repair mismatches at the cheapest level and regenerate only with clear neighbor context.
The final cut should feel inevitable even when every source clip began as an option.