How to Make an Anime Short with Elser AI
The fastest way to finish an anime short is to make fewer decisions during generation. Decide the story, character rules, shot purpose and target length first; then use AI to execute those decisions one controlled scene at a time.
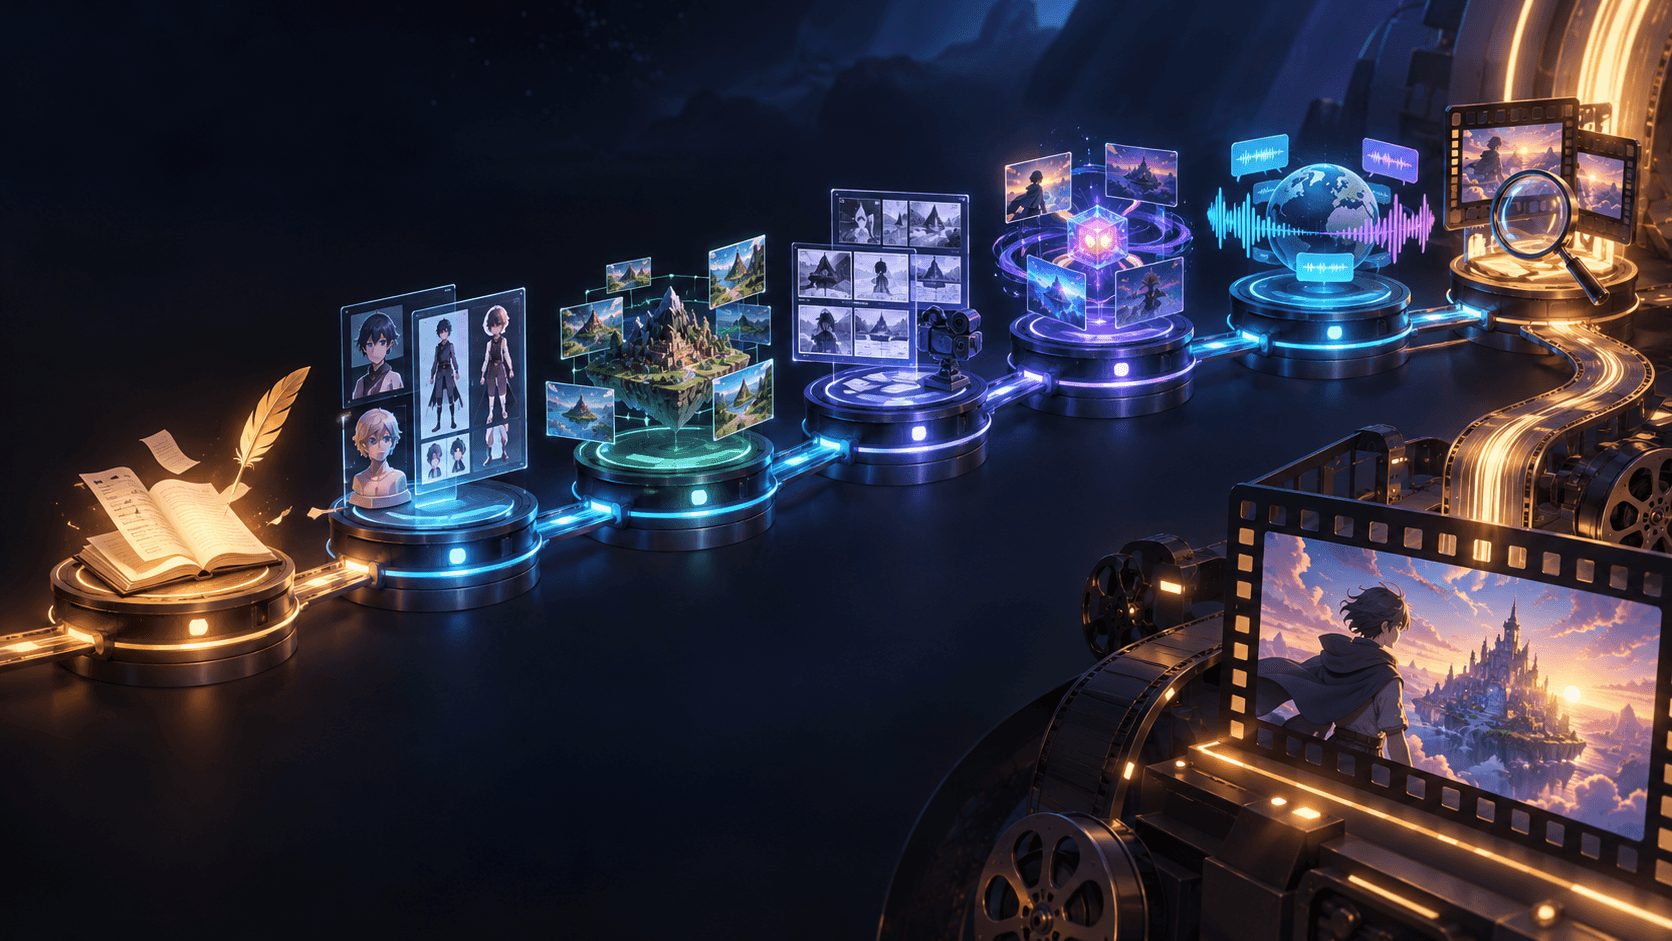
Elser AI supports the full path from a one-sentence idea or uploaded script through scene editing, character setup, storyboarding, image and video generation, voiceover, music, online editing and export. That does not make direction automatic. Your job is to choose what the audience must understand, which details must remain stable and which generated takes deserve a place in the final cut.
This tutorial builds a practical 30–45 second anime short with one protagonist, one location and one visual turn. That scope is large enough to feel complete and small enough to finish.
Start with a Production-Sized Premise
A premise is production-ready when it contains a character, visible goal, obstacle and ending change.
Weak premise:
A magical girl has an adventure.
Usable premise:
During the last train home, a shy apprentice notices a paper crane trapped outside the window, folds a glowing twin from her ticket and guides it through the storm.
The second premise implies a location, protagonist, prop, problem and payoff. It can be shown without explaining a fictional universe.
For a first short, impose these limits:
- 30–45 seconds;
- four to seven shots;
- one speaking character;
- one primary location;
- one important prop;
- one clear visual transformation;
- no crowd, costume change or complex fight.
These are not creative restrictions forever. They are a way to learn the complete workflow before increasing production risk.
Build the smallest complete version: Open Elser AI, choose the anime/movie workflow and enter a premise that can be staged in one location.
Choose the Right Story Entry Point
Elser AI publicly describes two useful starting routes.
Start from one idea
Use this when the premise exists but the plot does not. Let AI expand the concept, then edit the result before generating visuals. Remove unnecessary characters, locations and exposition. Keep only actions the camera can show or audio can deliver.
Follow your script
Use this when scene order, dialogue and descriptions are already approved. Upload or paste the script and preserve its structure. Even then, review the scene split: a script scene may contain several visual beats that need separate shots.
Neither route removes authorship. Idea expansion is a draft, while script following is an interpretation. Stop at the storyline stage and approve the text.
Convert the Story into Six Visual Beats
For the train example, the story could become:
- Wide shot: nearly empty train in heavy rain.
- Medium shot: apprentice sees the paper crane outside.
- Insert: she folds the ticket into a second crane.
- Close-up: the folded crane begins to glow.
- Tracking shot: both cranes fly together beside the window.
- Reaction and ending: she smiles as the storm clears.
Every beat changes information or emotion. If two shots perform the same job, combine them. If a beat contains “and then” several times, split it.
Add target durations before generating. For a 36-second short, try 6, 5, 6, 5, 8 and 6 seconds. Timing exposes overlong dialogue and impossible action early.
Create and Lock the Main Character
Elser AI's character workflow can generate, customize, save and reuse characters. Treat the saved character as a production asset, not merely an attractive portrait.
Create a compact character lock:
- Face: oval, small mole under right eye, calm brows.
- Hair: chin-length black bob, one silver hairpin.
- Outfit: navy apprentice coat with cream collar.
- Palette: navy, cream, muted gold.
- Prop: worn paper train ticket.
- Performance: contained, observant, small gestures.
Approve a clear reference before building scenes. Check front and three-quarter views, hairstyle silhouette, costume seams, accessories and proportions. Avoid “improving” the design separately inside every shot prompt. Repetition of the same stable descriptors is a feature, not dull writing.
Select a Storyboard Mode
The current Elser AI movie page lists three approaches:
- Auto Storyboard: fastest interpretation of the story.
- Manual: useful when the existing script structure must remain dominant.
- Storyboard Studio: finer control over shot order, framing and coverage.
For a first draft, Auto Storyboard can reveal a visual direction quickly. Switch to closer control if it combines beats, adds characters or misses the emotional reveal.
For every panel, record:
| Field | Decision | | Purpose | What changes for the audience? | | Framing | Wide, medium, close-up or insert | | Action | One visible event | | Camera | Static, push, pan or tracking—and why | | Continuity | Character, prop, weather, screen direction | | Duration | Planned seconds |
Reject beautiful panels that do not serve the story.
Generate Keyframes Before Motion
An approved still frame is a quality gate. It lets you evaluate composition, identity and environment without the additional instability of motion.
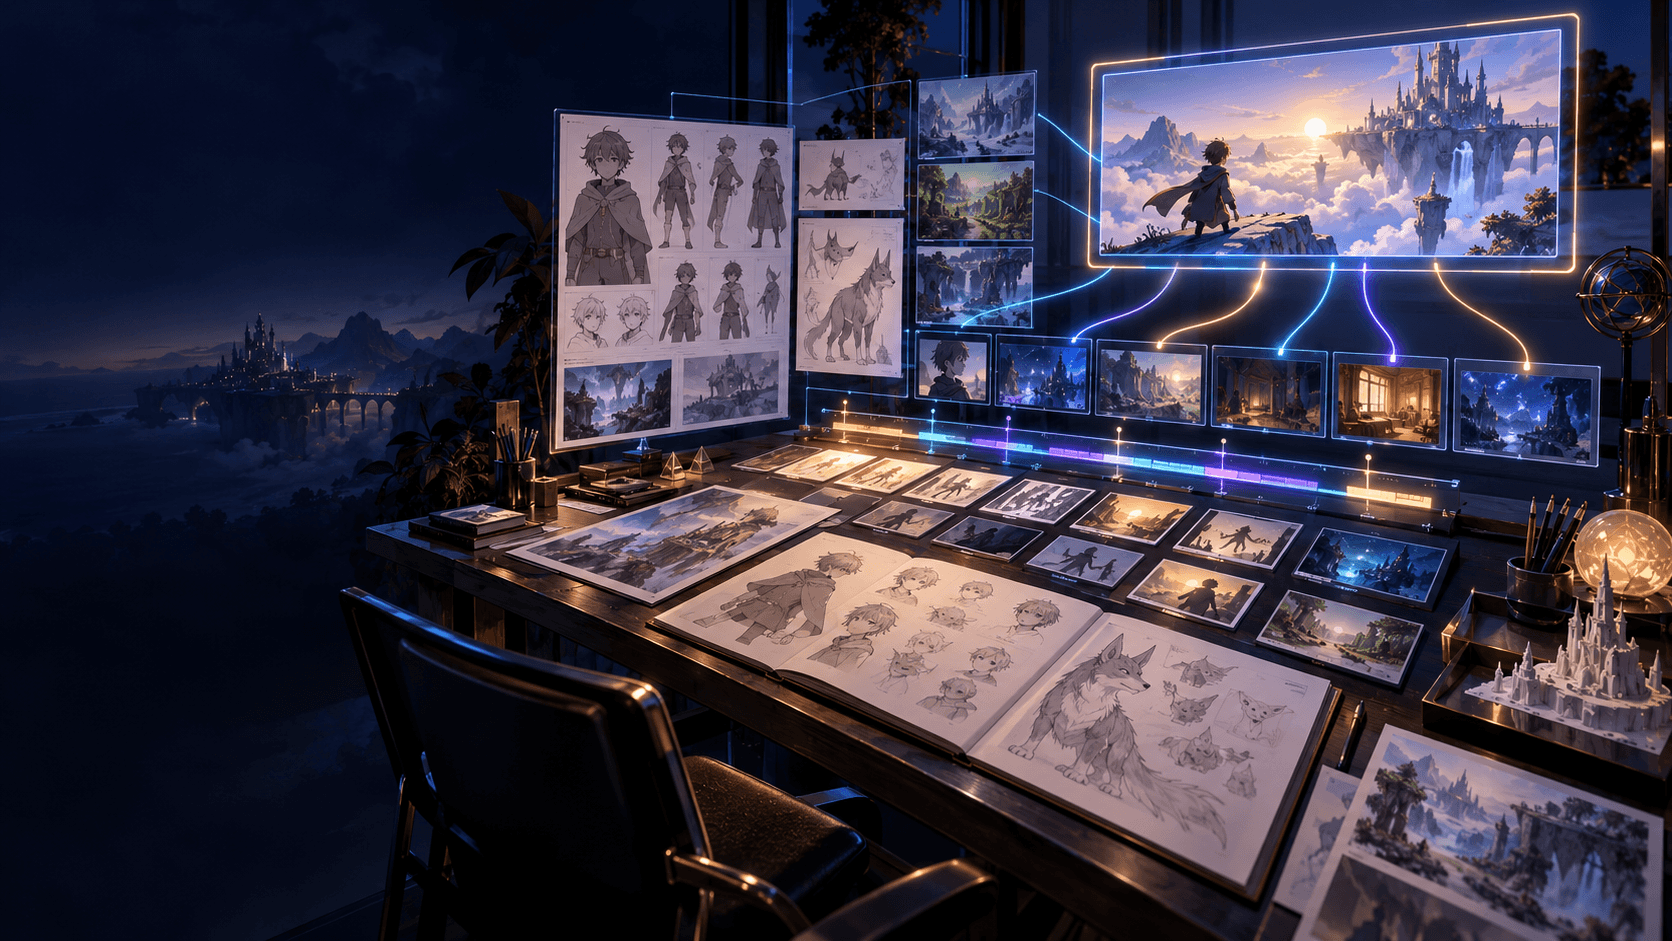
Generate or refine one keyframe per shot. Review them as a contact sheet:
- Does the character remain recognizable?
- Is the hairpin always on the same side?
- Does the train geography make sense?
- Does the paper ticket become the correct crane?
- Does lighting evolve deliberately rather than randomly?
- Can viewers understand the sequence without dialogue?
Fix failures at the earliest stage. Regenerating a still is cheaper and clearer than trying to repair a moving clip whose first frame is already wrong.
Animate with One Primary Motion
Image-to-video works best when the keyframe defines appearance and the prompt defines motion. Write prompts in this order:
- primary character action;
- secondary environmental movement;
- camera behavior;
- ending state;
- preservation constraints.
Example:
The apprentice slowly raises the folded crane toward the window; the crane begins to glow; rain streams diagonally outside; subtle push-in; end on her surprised eyes. Preserve the exact face, black bob, silver hairpin, navy coat, train interior, prop shape and anime line style. No new characters, no costume change, no camera spin.
Ask one short shot to do one thing. Complex hand interactions, rapid turns and several simultaneous characters increase drift. Use inserts, reaction shots and sound bridges instead of demanding continuous realism.
Add Dialogue, Voice and Sound After Picture Timing
Do not finalize narration before the cut exists. First place the usable clips in order and discover the actual gaps.
For this story, one line may be enough:
“You were trying to get home too.”
Elser AI's public audio tools include voice generation or cloning, lip sync, music and sound effects. Give the voice a performance brief: quiet, relieved, one small breath before “home,” no theatrical projection. Use voice cloning only with the speaker's informed permission and review rights for any commercial use.
Build the soundtrack in layers:
- train and rain ambience;
- ticket fold and window vibration;
- soft magical tone at the glow;
- restrained music entering after the discovery;
- a deliberate breath of silence before the final image.
Music should shape the turn, not cover unclear storytelling.
Assemble the Final Cut
Elser AI's movie workflow includes online editing, scene refinement, transitions and export. In the rough cut:
- remove repeated establishing shots;
- enter each shot late and leave early;
- hold the important reveal longer than setup;
- prefer cuts motivated by action, gaze or sound;
- use transitions only when time, place or viewpoint changes;
- check that audio begins and ends naturally.
Watch once muted. If the story collapses without dialogue, strengthen visible action. Listen once without picture. If speech and effects compete, simplify the mix.
Export for the destination aspect ratio only after the composition passes a safe-area review. A horizontal cinematic frame may need a separate vertical edit rather than a crop.
Quality-Control Checklist
Before publishing, review four passes:
Story pass
Can a new viewer explain what the character wanted, what changed and why the ending matters?
Character pass
Check face, hair, costume, prop, scale, handedness and emotional progression.
Motion pass
Look for face drift, warped hands, melting backgrounds, unwanted camera acceleration and inconsistent physics.
Audio and delivery pass
Confirm dialogue intelligibility, legal use of voices and music, natural fades, correct subtitles and platform-safe framing.
FAQ
Can Elser AI make an anime short from one sentence?
The current movie workflow supports starting from one idea and expanding it into a segmented script. Review and edit the expansion before generating scenes.
Do I need to draw the character first?
No. Elser AI includes character generation and customization. A supplied reference can still be useful when you already have an approved design.
Which storyboard mode should a beginner use?
Auto Storyboard is useful for a fast first interpretation. Use Manual when script structure is fixed and Storyboard Studio when individual shot decisions need closer control.
How long should my first AI anime short be?
Aim for 20–45 seconds with one location and one main character. Completing the full pipeline teaches more than attempting an unfinished episode.
How do I keep the character consistent?
Save an approved character asset, keep a compact list of locked traits, reuse the same references and review every keyframe before animation.
Conclusion
Making an anime short with Elser AI is not one generation. It is a sequence of approvals: premise, script, character, storyboard, keyframe, motion, sound and edit. The smaller and clearer those decisions are, the more useful AI becomes.
Start with one visual turn, build six purposeful shots and finish the cut. A completed 30-second story is the foundation for a stronger three-minute one.