How to Turn Anime Images into Videos: Bring Your Still Art to Life with AI in 2026
Why animate your existing anime images?
Maybe you already have a collection of anime character art. Maybe you've been generating images for months but haven't figured out the video part. Maybe you're an illustrator who wants to bring your drawings to life without learning traditional animation.
Whatever your situation, animating still images is one of the fastest ways to create publishable anime content in 2026.
Here's why: Image generation has been mature for longer than video generation. The quality ceiling for still anime art is extremely high. Video generation is catching up, but the best results often come from starting with a great static image and animating it, rather than generating video from scratch.
How image-to-video actually works in 2026
The technology has evolved significantly. Instead of simply "wiggling" a static image, modern image-to-video models understand depth, motion, and character structure.
Most tools in this category use some form of motion prediction or video diffusion that takes your image as the first frame and generates subsequent frames that naturally extend the scene.
But here's the catch: Different tools are optimized for different types of motion. Some are great for subtle animations (blinking, breathing, hair moving in the wind). Others excel at dramatic camera movements (zooms, pans, tracking shots). A few can even animate characters walking, running, or gesturing.
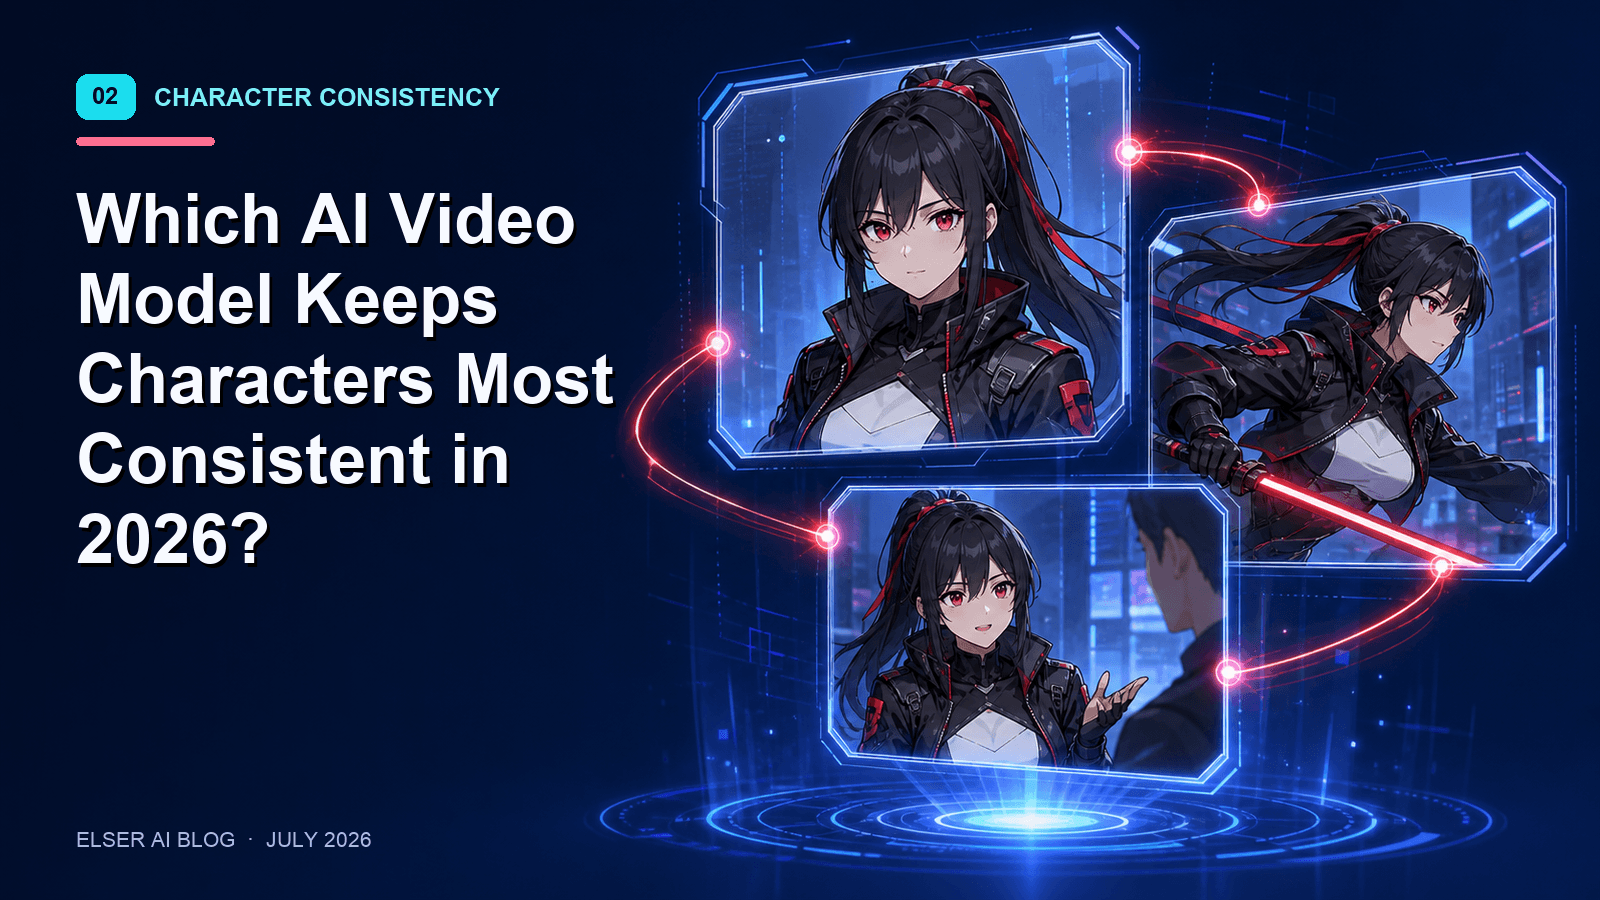
The best tools for turning anime images into videos in 2026
Let me break down what actually works based on extensive testing.
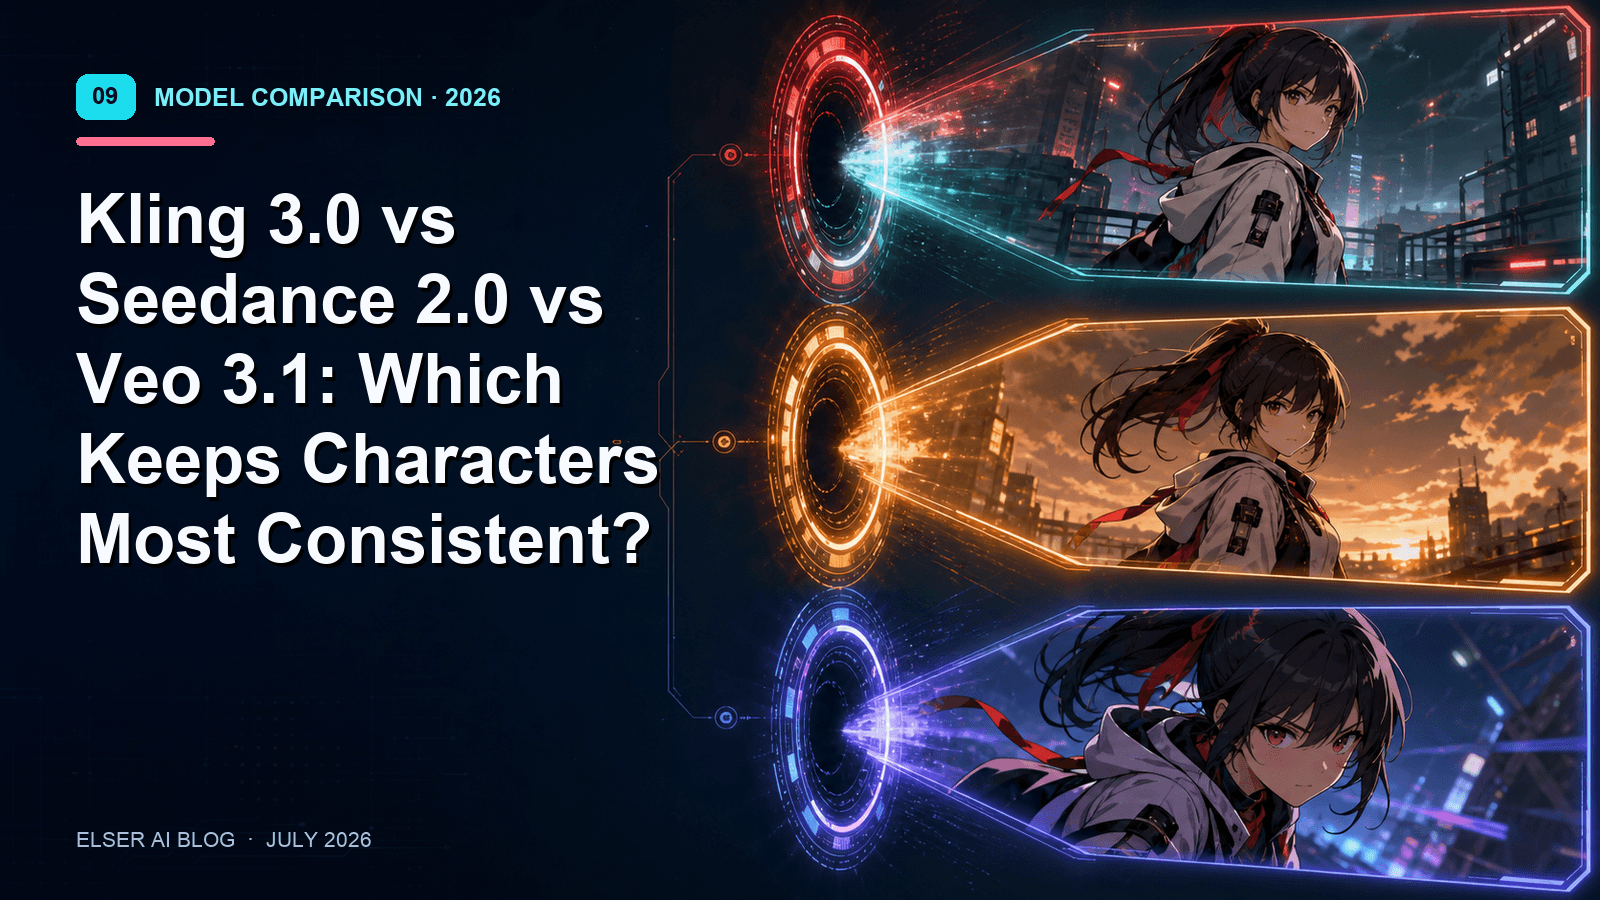
Tool 1: Kling 3.0 Image-to-Video
What it does: Takes your static image and generates up to 10 seconds of video where characters can move naturally—walking, turning, gesturing—while maintaining the original design.
Best for: Full character animation where you want significant movement.
Limitations: Character identity can drift slightly during complex motions. Multiple reference images help.
Cost: Included in Kling's standard pricing (~$0.168/sec for Pro).
Tool 2: Seedance 2.0 Reference-to-Video
What it does: Supports up to 9 reference images, allowing you to show the AI multiple angles of your character before animation begins.
Best for: Maintaining character consistency during complex or long animations.
Limitations: Setup takes longer due to multiple reference requirements.
Cost: Competitive with Kling.
Tool 3: WAN 2.6 Reference-to-Video Flash
What it does: Maintains facial features, clothing, body proportions, and distinctive characteristics across every generated frame when provided with multiple reference images.
Best for: Scenes where your character needs to stay perfectly recognizable.
Limitations: Less accessible than consumer-focused tools.
Tool 4: Veo 3.1 Image-to-Video
What it does: Generates synchronized audio alongside video, so animated images come with sound effects and ambient audio.
Best for: Creating complete short clips where audio matters as much as visuals.
Limitations: Higher cost tier.
Tool 5: Pika 2.5 Image-to-Video
What it does: Simple, accessible motion animation for still images. Good for subtle movements like hair blowing, leaves rustling, or eyes blinking.
Best for: Light animation where you don't need full character movement.
Limitations: Limited to subtle motion; not suitable for walking or complex actions.
Step-by-step: How to turn your anime image into a video
Here's a workflow that works consistently across most platforms.
Step 1: Prepare your source image.
Your image should be high-resolution (at least 1024x1024) and clearly show the character or scene you want to animate. Avoid cluttered backgrounds or overlapping elements that might confuse the AI.
If you have multiple angles of the same character, gather them now. You'll use them as references.
Step 2: Choose your motion type.
Decide what kind of animation you want. Different motion types require different tools and prompts:
- Subtle motion (breathing, blinking, hair movement): Pika 2.5 or Kling with low motion strength
- Camera movement (pan, zoom, dolly): Most tools support this—specify in your prompt
- Full character animation (walking, turning, gesturing): Kling 3.0 or Seedance 2.0
- Lip-sync (character speaking dialogue): Veo 3.1 or Elser AI
Step 3: Upload to your chosen tool.
Most platforms have an "image-to-video" or "reference video" mode. Upload your image(s) and write a prompt describing the motion you want.
Example prompt for Kling 3.0 image-to-video with an anime character portrait:
"The character slowly turns their head to look at the camera. Their hair blows gently in the wind. Subtle breathing motion in the chest. Cinematic lighting. Smooth 60fps animation."
Step 4: Generate and iterate.
Your first generation might not be perfect. Adjust your prompt. Try a different motion strength setting. Add a second reference image.
Don't expect magic on the first try. The best results usually come from 2-3 iterations.
Step 5: Add audio (if needed).
If your tool didn't generate audio natively, add sound effects or background music in a simple video editor like CapCut or DaVinci Resolve.
Advanced technique: Animating a character across multiple scenes
Here's where things get really interesting.
You don't have to animate each image in isolation. You can create a consistent character by using multiple reference images and generating scenes sequentially.
Here's the advanced workflow I use for multi-scene animations:
1. Generate or create 3-5 reference images of your character from different angles
2. For Scene 1, use these references to generate the first video clip
3. Extract a key frame from the end of Scene 1 (most tools let you do this)
4. Use that key frame as a reference for Scene 2, maintaining visual continuity
5. Repeat for each scene in your sequence
This technique creates surprisingly smooth transitions between scenes, and your character stays consistent throughout.
What you can actually create
Let me give you realistic expectations:
- Single image to 5-second subtle animation: 2-3 minutes of work
- Single image to 10-second full character animation: 5-10 minutes including iterations
- 3-scene sequence from multiple reference images: 20-30 minutes
- Complete 30-second short from image assets: 45-60 minutes
These times assume you're using modern tools and have your references ready. If you're learning the process for the first time, double the estimates.
Common problems and how to fix them
Problem: The character's face distorts during animation.
Fix: Use more reference images. Most distortion happens when the AI doesn't have enough information about how your character looks from different angles.
Problem: The motion looks robotic or unnatural.
Fix: Lower the motion strength setting if your tool has one. Sometimes less is more. Also try adding "natural, organic motion" to your prompt.
Problem: Background elements warp or melt.
Fix: This usually happens when the background is complex or has fine details. Try simplifying your background or using a tool with better motion consistency like Seedance 2.0.
The secret most people miss
Here's something I learned the hard way: Not every image is worth animating.
Some images are perfect as they are. Beautiful compositions that don't need movement to be effective. Forcing animation onto them often makes them worse, not better.
The best candidates for image-to-video are images with clear foreground elements (characters), simple backgrounds, and a natural sense of motion (hair that could blow, clothing that could flutter, eyes that could blink).
Choose your images carefully. Animate the ones that want to be animated. Leave the rest as gorgeous stills.
👉 Ready to bring your anime images to life? Elser AI turns static character art into animated videos while keeping your characters perfectly consistent. [Start animating today]