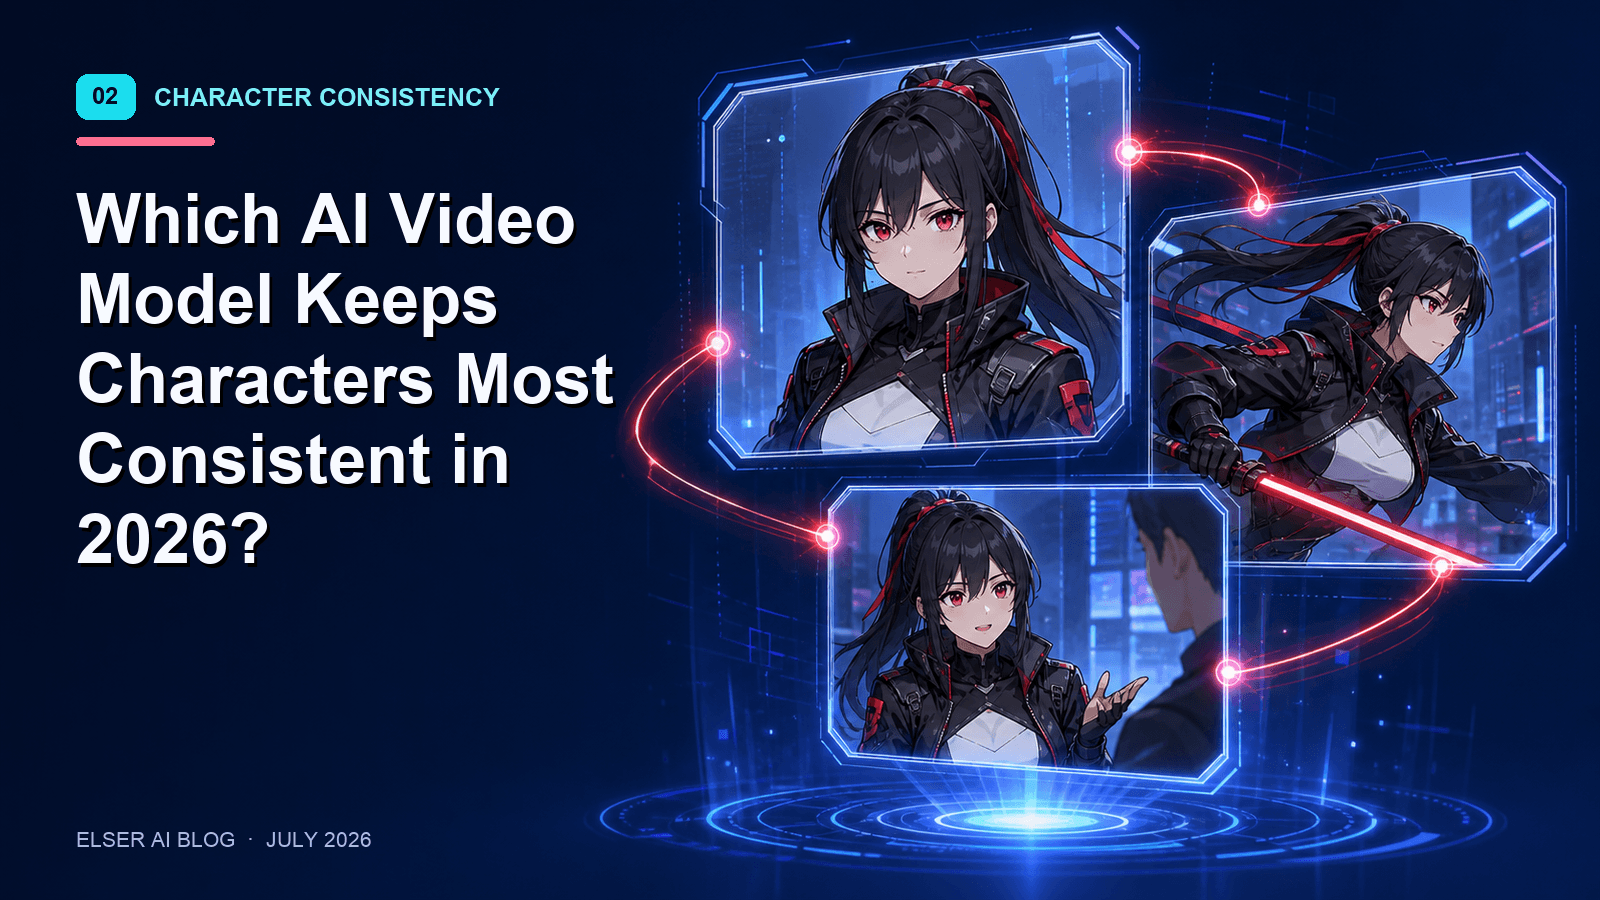
Kling 3.0 Complete Guide
Kling 3.0 Complete Guide
Kling 3.0 has quickly become one of the most searched AI video models because it sits right at the intersection of “cinematic motion” and “creator usability.” The catch is that most people evaluate it with the wrong test: a single long prompt and a single lucky output. If you want consistent results, you need a workflow that treats Kling 3.0 like a production tool: plan the shot, lock references, generate in passes, and edit aggressively.
This guide is written for creators who want a repeatable Kling 3.0 workflow inside an Elser AI production mindset: generate in passes, pick winners, and cut aggressively. It focuses on what to generate first, what settings actually matter, how to prompt without prompt soup, and how to troubleshoot the failure modes you’ll see in real work.
For a primary-source anchor on the release, see Kuaishou’s announcement about Kling 3.0 in their official press release.
What Kling 3.0 is best for
Kling 3.0 is a strong fit when you want:
Short, high-impact clips that depend on motion feel and camera language
Reference-first generation where you start from an image or keyframe and animate forward
Iterative creative direction where you generate multiple takes and pick winners
It is a weaker fit when you need:
perfect long-form continuity without heavy planning
a single prompt to generate an entire story sequence without revisions
How Kling 3.0 usually shows up in real workflows
Depending on where you access it, Kling 3.0 typically appears as a set of practical modes rather than a single “make video” button. The most common patterns creators use are:
Text-to-video for ideation, quick concept exploration, and style discovery
Image-to-video for control, consistency, and brand or character stability
Reference-led iteration where you keep the same subject and only vary motion or camera between takes
Edit-first workflows where generation is one step inside a larger editing pipeline
Even if you never touch every mode, you’ll get better results faster when you pick the mode that matches your constraint: “I need something new” (text-to-video) versus “I need the same subject to survive” (image-to-video).
The most useful mental model
Treat Kling 3.0 like a “shot generator,” not a “movie generator.”
If you’re trying to make a mini film, think in 4–8 shots, each with a clear job:
1) establish the location
2) introduce the subject
3) show an action beat
4) show a reaction beat
5) land a payoff shot
When you design shots this way, your prompts get shorter and your outputs get more stable.
Core concepts you should understand before prompting
Shot intent beats prompt length
A one-line shot intent usually outperforms a 200-word prompt.
Use this structure:
Subject: who/what is on screen
Action: what changes in the shot
Camera: framing + movement
Mood: lighting + emotional tone
Style lock: a short, stable style constraint you reuse
Motion has a budget
If you ask for too many movements at once (complex action + fast camera + heavy VFX + background changes), you increase failure probability. Start with:
subtle motion first (micro expression, gentle camera push)
then strong motion second (clear action beat)
Consistency is a workflow problem
Most “model inconsistency” complaints come from changing too many variables:
different camera distance between takes
new style adjectives each generation
switching environments every shot
Instead, lock a reference pack and reuse it across shots.
Settings that actually matter
Different access routes expose different controls, but the same handful of settings usually decide whether a clip is usable:
Aspect ratio and framing: decide this first, then write prompts that match the frame
Motion strength: start subtle, then increase only when the shot is stable
Camera movement: one camera move per shot is a good default
Clip duration: shorter clips are easier to keep coherent and easier to cut
Retries and take selection: plan to generate multiple takes and pick winners
If you’re troubleshooting, treat settings like a debugging system: change one thing at a time so you know what caused the improvement.
A complete workflow that produces usable shots
Step 1: Build a two-keyframe pack
Create two images of the same subject:
Medium shot to test body motion and overall stability
Close-up to test face stability and fine-detail drift
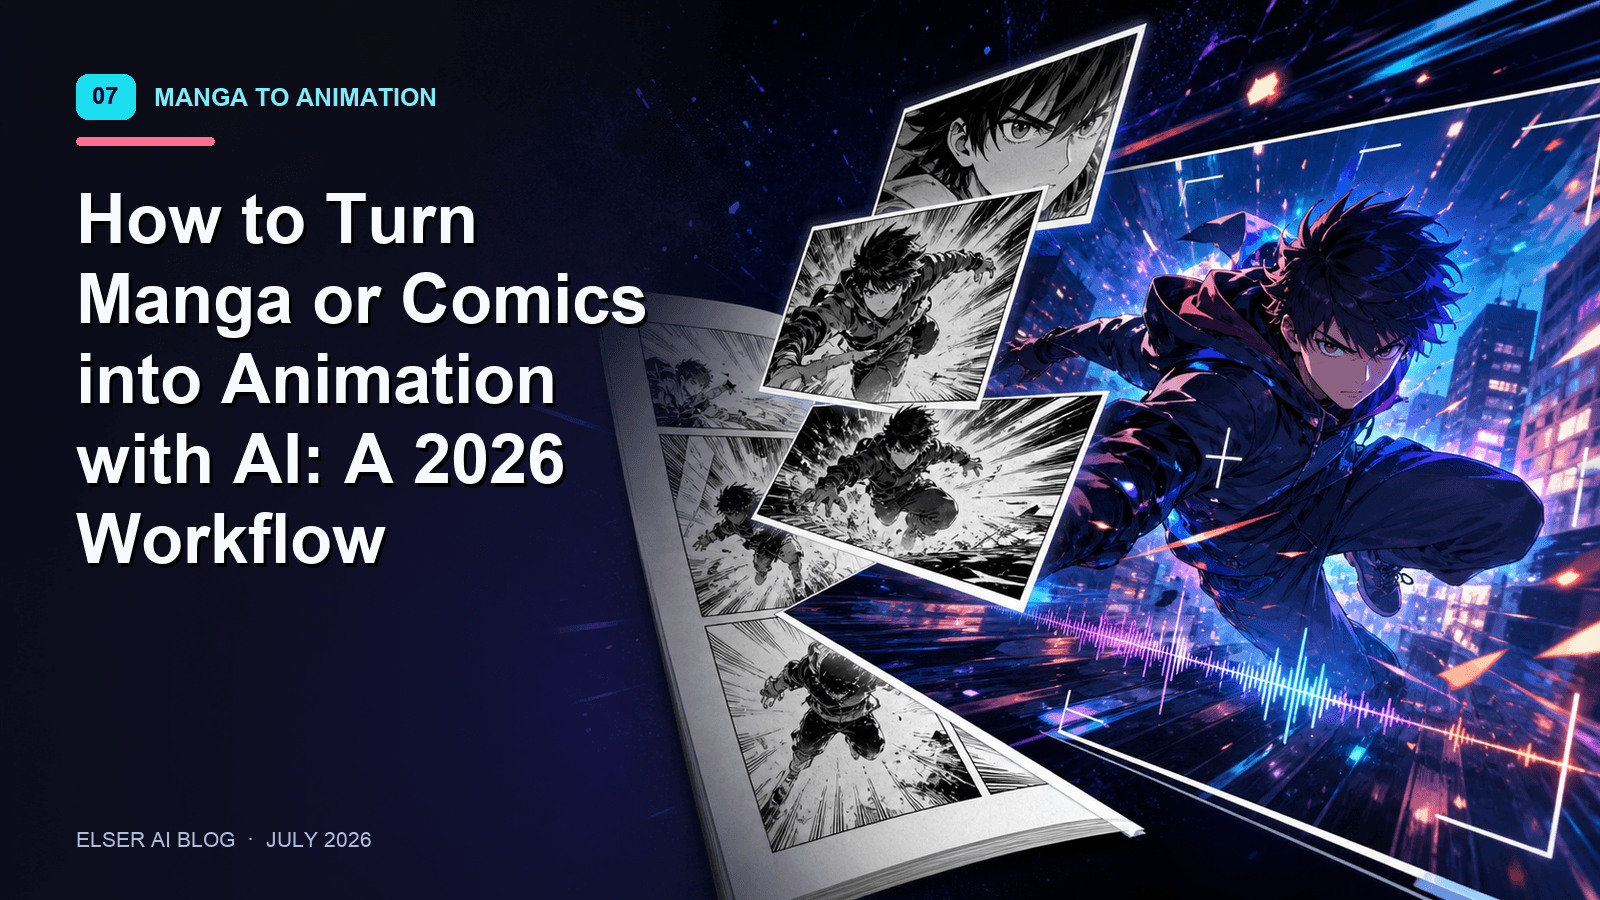
If you don’t have keyframes yet, generate them first with an AI anime art generator so your tests start from a consistent visual anchor.
If the close-up fails, do not scale to multi-shot storytelling yet.
Step 2: Write a shot list before you generate
Even for a 10-second clip, a shot list stops you from generating random clips that cannot be edited.
Use this format:
Shot 1: establishing, slow push-in
Shot 2: subject reveal, slight pan
Shot 3: action beat, minimal camera
Shot 4: close-up reaction, hold and breathe
Step 3: Generate in passes
Pass-based generation keeps you from “fixing everything at once.”
Pass A: pick the strongest keyframes
Pass B: generate subtle motion versions
Pass C: generate strong motion versions for the winners
Pass D: cut the sequence and see what you actually need next
Step 4: Score outputs like an editor
Score each shot (1–5):
1) identity stability
2) motion believability
3) camera stability
4) scene coherence (lighting/background)
5) editability (would you ship this shot?)
Editability is the real KPI. Stunning-but-unusable shots slow you down.
Prompt frameworks that work in practice
Framework 1: The one-sentence shot intent
Use this when you want stability:
Subject + action + camera + mood + style lock
Example pattern (do not copy as-is; adapt to your subject):
“A lone traveler turns toward camera, slow push-in, dusk lighting, melancholic mood, cinematic anime style.”
Framework 2: The shot card
Use this when you’re directing multiple shots:
Framing: wide / medium / close
Action: one primary action beat
Camera: one movement max
Lighting: one clear setup
No-go list: what must not change
The “no-go list” is the hidden weapon for consistency. It’s how you tell the model what not to rewrite.
Framework 3: The consistency loop
For a repeating character:
keep the same short descriptor line for identity
keep the same style lock
only change action and camera between shots
If you change the identity line every time, you are telling the model it’s allowed to drift.
Prompt templates you can reuse
The goal of templates is not to make your prompts longer. It’s to make them more consistent across takes.
Template 1: Reference-first cinematic shot
Subject: [who/what] (same identity line every time)
Action: [one action beat]
Camera: [one move: slow push-in / gentle pan / static]
Mood: [lighting + emotion]
Style lock: [short stable style phrase]
Constraints: keep identity stable; avoid warping; avoid background morphing
Template 2: Product-style loop
Subject: [product] on clean background
Action: slow rotation or subtle parallax
Camera: static or micro push-in
Lighting: soft studio lighting, clean reflections
Style lock: crisp, commercial, high clarity
Constraints: preserve logo shape; no melting edges; stable background
Template 3: Character reveal shot
Subject: [character identity line]
Action: turns toward camera, subtle expression change
Camera: slow push-in, medium shot
Mood: [time of day], [emotion]
Style lock: [anime / cinematic / comic] (keep stable across sequence)
Constraints: keep hairstyle and outfit consistent
Template 4: Action beat shot
Subject: [character identity line]
Action: one clear action (jump / step forward / draw weapon / gesture)
Camera: minimal movement (avoid stacking motion)
Mood: high tension, directional light
Style lock: [short stable style]
Constraints: preserve face; preserve hands; avoid background distortion
Template 5: Multi-shot continuity header
Use this as a header you paste into every shot prompt, then only change action and camera:
Identity: [character identity line]
Style lock: [short stable style]
World: [location + lighting baseline]
No-go: do not change outfit; do not change hairstyle; do not change age; do not change art style
How to get better camera motion
Most AI video failures look like this:
the camera moves in two directions at once
the background warps under motion
the subject “slides” instead of moving
Use camera moves that are easy to render cleanly:
slow push-in
slow pull-back
gentle pan
handheld micro-shake (use carefully)
Avoid stacking: “fast dolly zoom + whip pan + complex action” is a drift magnet.
Three complete mini workflows
These are common “complete guide” outcomes. Each one is built to minimize drift and maximize editability.
Workflow A: A 10-second cinematic reel
1) Pick one subject and one location
2) Generate two keyframes (medium + close-up)
3) Write a four-shot list (establish → reveal → action → payoff)
4) Generate subtle motion for each shot first
5) Replace only the weakest shot with a second take
6) Cut aggressively and add sound in edit
Workflow B: A character-led anime teaser
1) Lock the character identity line and style lock
2) Keep the environment stable for 2–3 shots before switching locations
3) Use medium shots more than close-ups early (stability first)
4) Use one camera move per shot (slow push-in is the safest)
5) Save the strongest “payoff shot” for last and generate more takes there
Workflow C: A product loop for ads
1) Use a clean keyframe with good edges and readable logo placement
2) Choose one motion: slow rotate or subtle parallax
3) Keep the background simple to avoid warping
4) Generate three takes, then pick the cleanest one
5) Add text overlays in post when possible
How to handle text, logos, and UI
If your use case involves on-screen text, treat it as a separate problem:
Keep text large and minimal.
Prefer adding final text in editing when possible.
If you must generate text in-model, reduce motion and reduce background complexity.
How to handle audio-led clips
If you’re creating a scene where timing matters (dialogue beats or music-driven pacing), you should:
design shots around timing first
keep action beats simple
cut more often (shorter shots hide artifacts)
For capability context, Kuaishou’s release notes highlight audio integration for Kling 3.0.
Troubleshooting: the failure modes and fixes
Problem: the character changes between shots
Fixes:
reuse the same reference image and the same identity line
keep camera distance stable between neighboring shots
reduce motion intensity
Problem: motion looks “mushy” or low-energy
Fixes:
ask for one clear action beat, not five small ones
add a simple camera push rather than complex subject motion
shorten the clip and cut faster
Problem: the background warps under camera movement
Fixes:
reduce camera movement
simplify background
use a medium shot instead of wide establishing shots until stable
Problem: hands and faces degrade
Fixes:
reduce motion intensity
avoid extreme close-ups until the model is stable in medium shots
choose a cleaner keyframe with fewer small details
How to scale from single clips to sequences
If you want multi-shot storytelling, your first goal is not “more shots.” It’s “more repeatable shots.”
Use a two-layer plan:
Layer 1 (continuity): identity line, style lock, environment constraints
Layer 2 (shots): action + camera per shot
When continuity is stable, shot variety becomes easier.
Pricing and limits without getting stuck on numbers
Most creators burn time because they plan a 60-second story and only later discover their access route is optimized for shorter clips, limited retries, or credit-based generation. A better approach is:
treat your first output as a test scene, not the final deliverable
plan for multiple takes and select winners
scale from 1 shot → 4 shots → 8 shots, only when stability holds
If you’re comparing access routes, focus on constraints that affect production: retry limits, export quality options, and whether you can keep the same subject stable across takes.
Publishing and disclosure
If you publish AI-generated or heavily AI-altered video, platform policies can affect what you should disclose, especially for realistic people, news-like content, or sensitive topics. Before you ship, review YouTube’s guidance on altered or synthetic content.
Where to run Kling 3.0 inside Elser AI
If your goal is to test reference-first motion quickly and keep comparisons fair, you can animate the same keyframe through Kling 3.0 using Elser’s Kling 3 AI video generator. When you want to route that output into a broader creator workflow, start from Elser AI.
FAQ
Is Kling 3.0 better for text-to-video or image-to-video?
For most creators, image-to-video is the faster path to consistency because the reference frame anchors identity and composition. Text-to-video is great for exploration but usually needs more iteration.
Why do my results look great once and then worse on the next run?
Variance is normal in generative video. Reduce variables: keep the same keyframe, keep the same identity line, and change only one thing at a time (motion strength or camera move).
What is the best way to get cinematic motion without artifacts?
Use subtle camera motion (slow push-in) with a stable keyframe, keep backgrounds simple, and cut aggressively. Shorter, cleaner shots usually outperform longer shots with complex movement.
How do I keep a character consistent across multiple shots?
Build a small reference pack (medium shot + close-up), keep a stable identity descriptor line, reuse the same style lock, and avoid changing camera distance too dramatically between adjacent shots.
What should I do if the background keeps warping?
Reduce camera motion, simplify the background, and switch from wide shots to medium shots until the model holds geometry consistently. Once stability improves, reintroduce wider establishing shots.
Is it better to add captions and logos in-model or in post?
In most cases, adding text in post is cleaner and more controllable. If you must generate text in-model, reduce motion and background complexity to improve legibility.
What aspect ratio should I generate for YouTube Shorts and Reels?
If your target is Shorts or Reels, plan for 9:16 and design compositions that read on a phone: centered subject, clean silhouette, and simple backgrounds. If your workflow starts in 16:9, crop tests early so you don’t discover framing problems after rendering.
How long should my prompts be for Kling 3.0?
Long prompts can work, but they often hide contradictions. A better approach is a stable prompt scaffold: one identity line, one style lock sentence, then a short per-shot line for action and camera. If your results are unstable, shorten the “variable” part first.
What’s the best way to improve sharpness and export quality?
Start with a clean, high-quality keyframe; it affects everything downstream. Prefer subtle motion and medium shots when you need clean faces and hands. Then do upscaling and sharpening as a controlled post step rather than forcing the generator to do everything at once.
How do I reduce flicker in repeated takes?
Flicker often comes from excessive motion, overly detailed backgrounds, or inconsistent lighting cues. Reduce motion intensity, simplify backgrounds, and keep lighting rules consistent shot-to-shot. If you’re building a sequence, keep camera distance stable between adjacent shots.