How to Turn a Script into Video with AI: A 6-Step Creator Workflow
If you want to turn a script into video with AI, the biggest mistake is treating the script like a finished visual plan. A script tells you what happens. It usually does not tell you what the camera sees, what details need to stay consistent, or how one shot should transition into the next. That is why the strongest script-to-video workflow is not prompt first. It is planning first, then generation, then polish inside a structured creator pipeline like Elser AI.
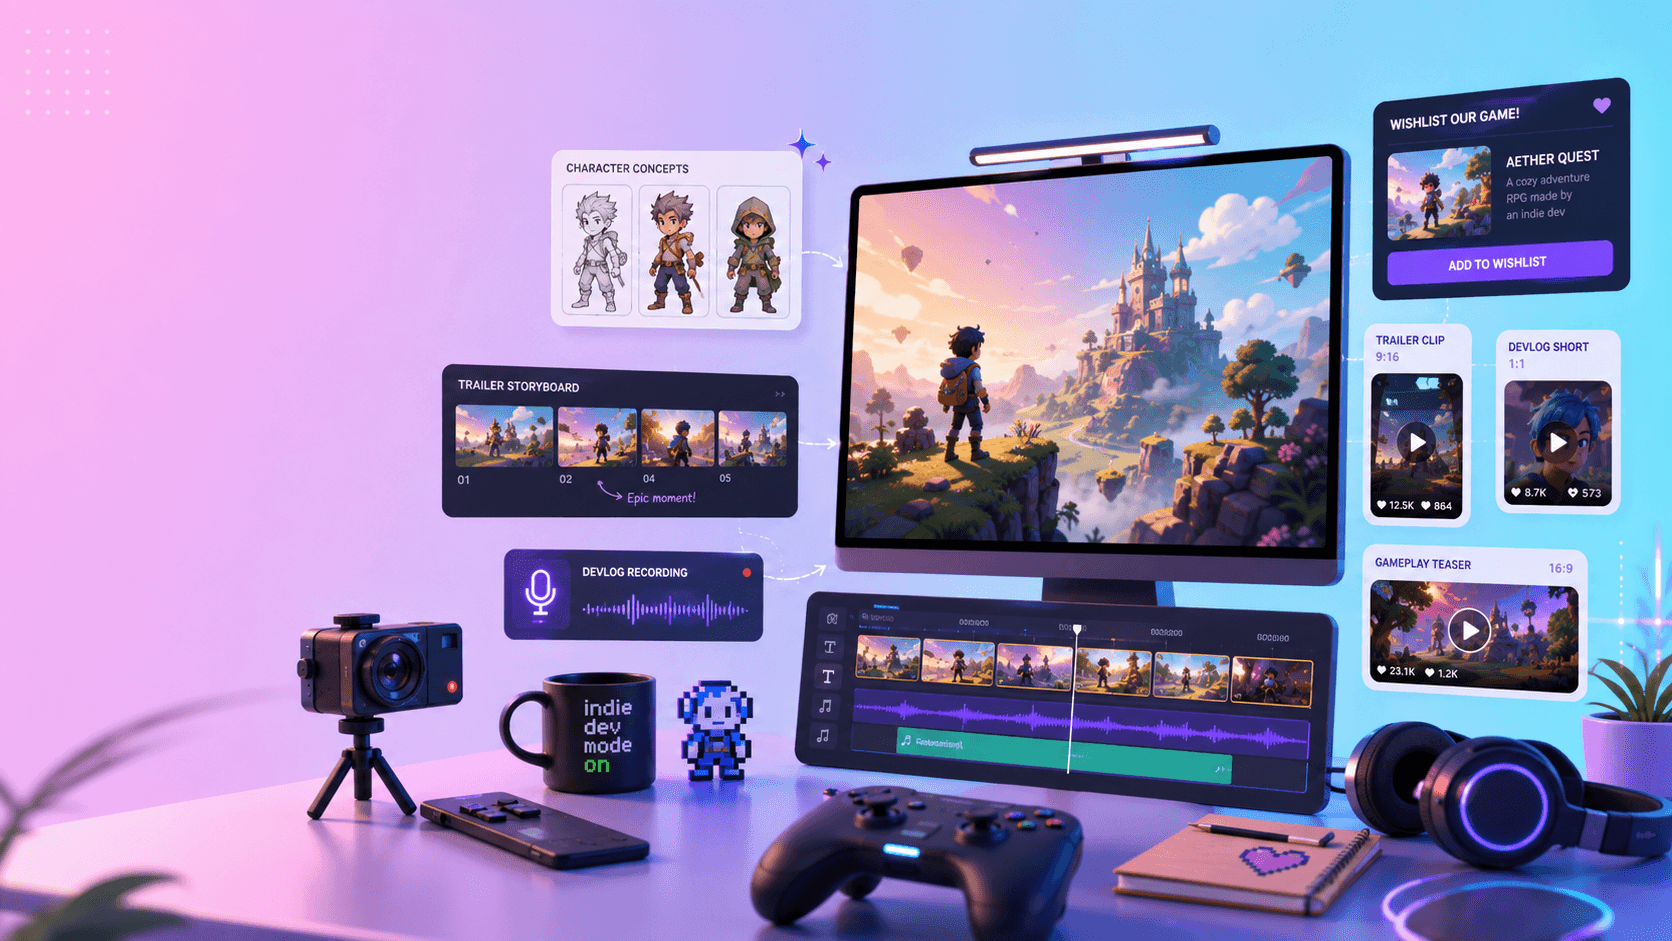
We reviewed the current Elser AI workflow pages for storyboard planning, character setup, image animation, and video generation to shape a practical process that matches how creators actually work. The short answer is simple: break the script into beats, turn those beats into shots, lock your main character and visual style, generate key frames, animate only the strongest frames, and then finish with timing and audio.
Quick Answer: How to Turn a Script into Video with AI
If you want the fastest version, use this order:
1. reduce the script into visual beats
2. turn the beats into a shot list
3. lock the main character and visual style
4. generate key frames for each shot
5. animate only the strongest frames
6. polish timing, sequence, and sound
That workflow gives you much more control than pasting a full script into a single generator and hoping the result holds together.
What You Need Before You Start
You do not need a full production team to do this well, but you do need a clean input.
Prepare these five things first:
- a short script or scene excerpt
- one clear main character or subject
- a rough mood or style direction
- a target runtime
- a simple shot goal for each scene
If your script is still messy, reduce it before you generate anything. A one-minute scene with four or five clear beats is far easier to turn into video than a long draft with too many moving parts.
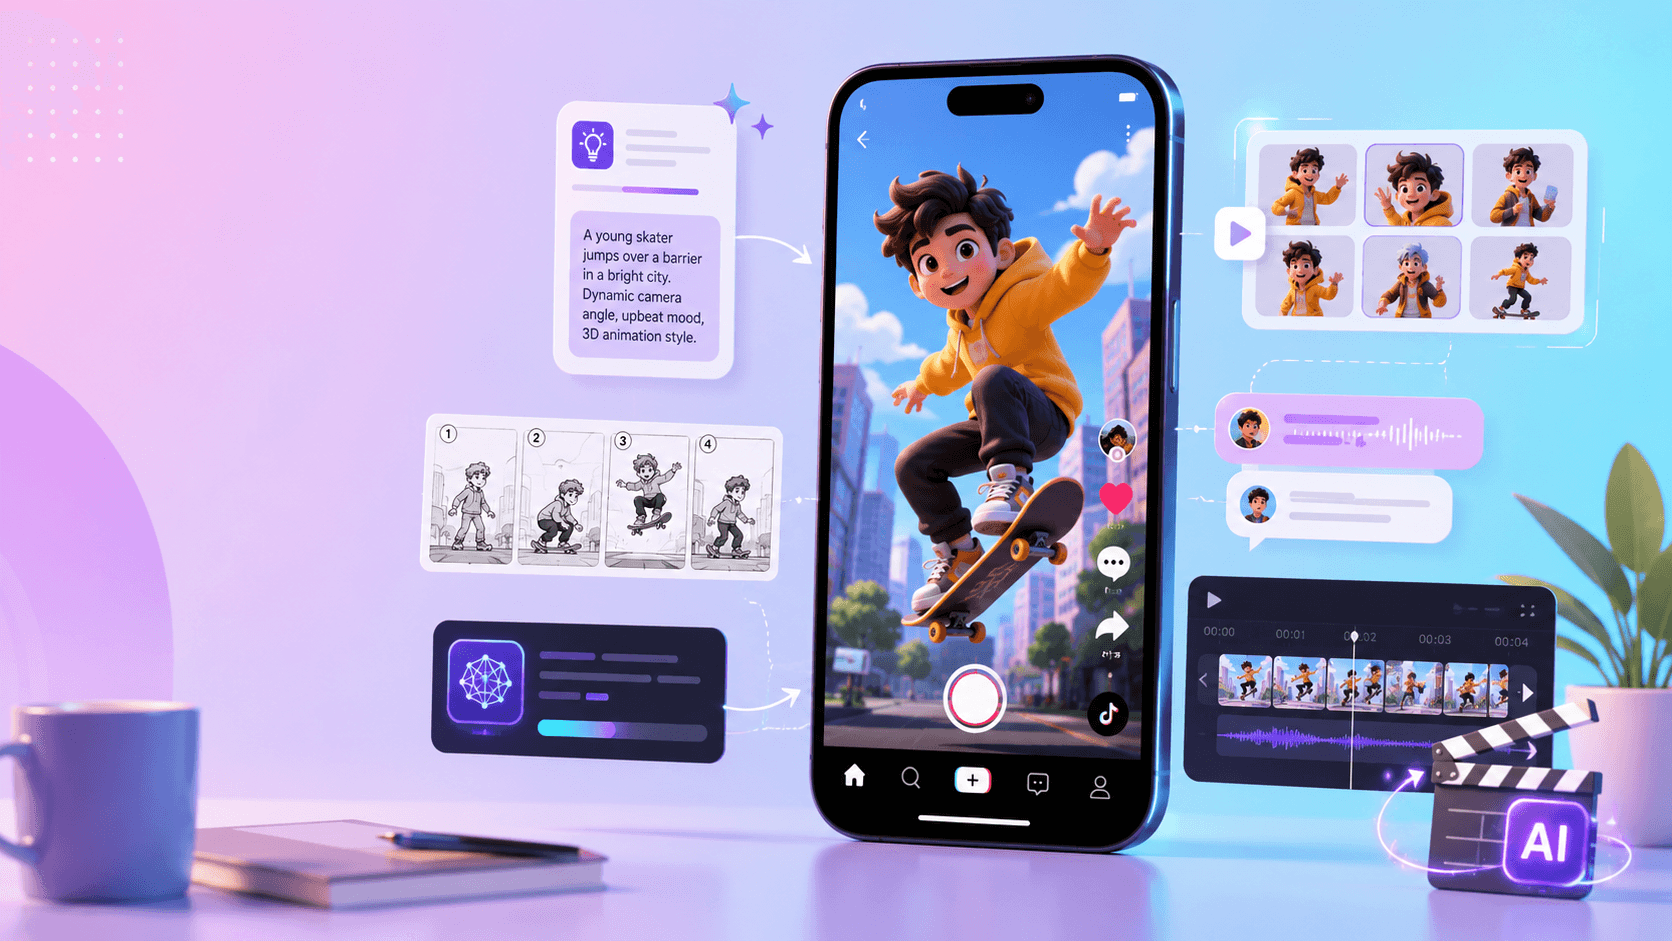
Step 1: Reduce the Script Into Visual Beats
Do not paste the full script into a generator and expect a finished result. First, strip the script down to visual beats. Each beat should answer one question: what does the viewer need to see in this moment?
A good beat list is usually shorter than people expect. For a one-minute scene, four to six beats are often enough:
- entrance
- discovery
- reaction
- escalation
- ending beat
That is already far more usable than a dense paragraph of description.
Step 2: Turn Beats Into Shots With Clear Framing
Once you know the beats, turn them into shots. This is where an [AI Storyboard Generator] becomes useful. You are no longer trying to solve the whole video. You are deciding whether each moment is a wide shot, a medium shot, a close-up, or a transition beat.
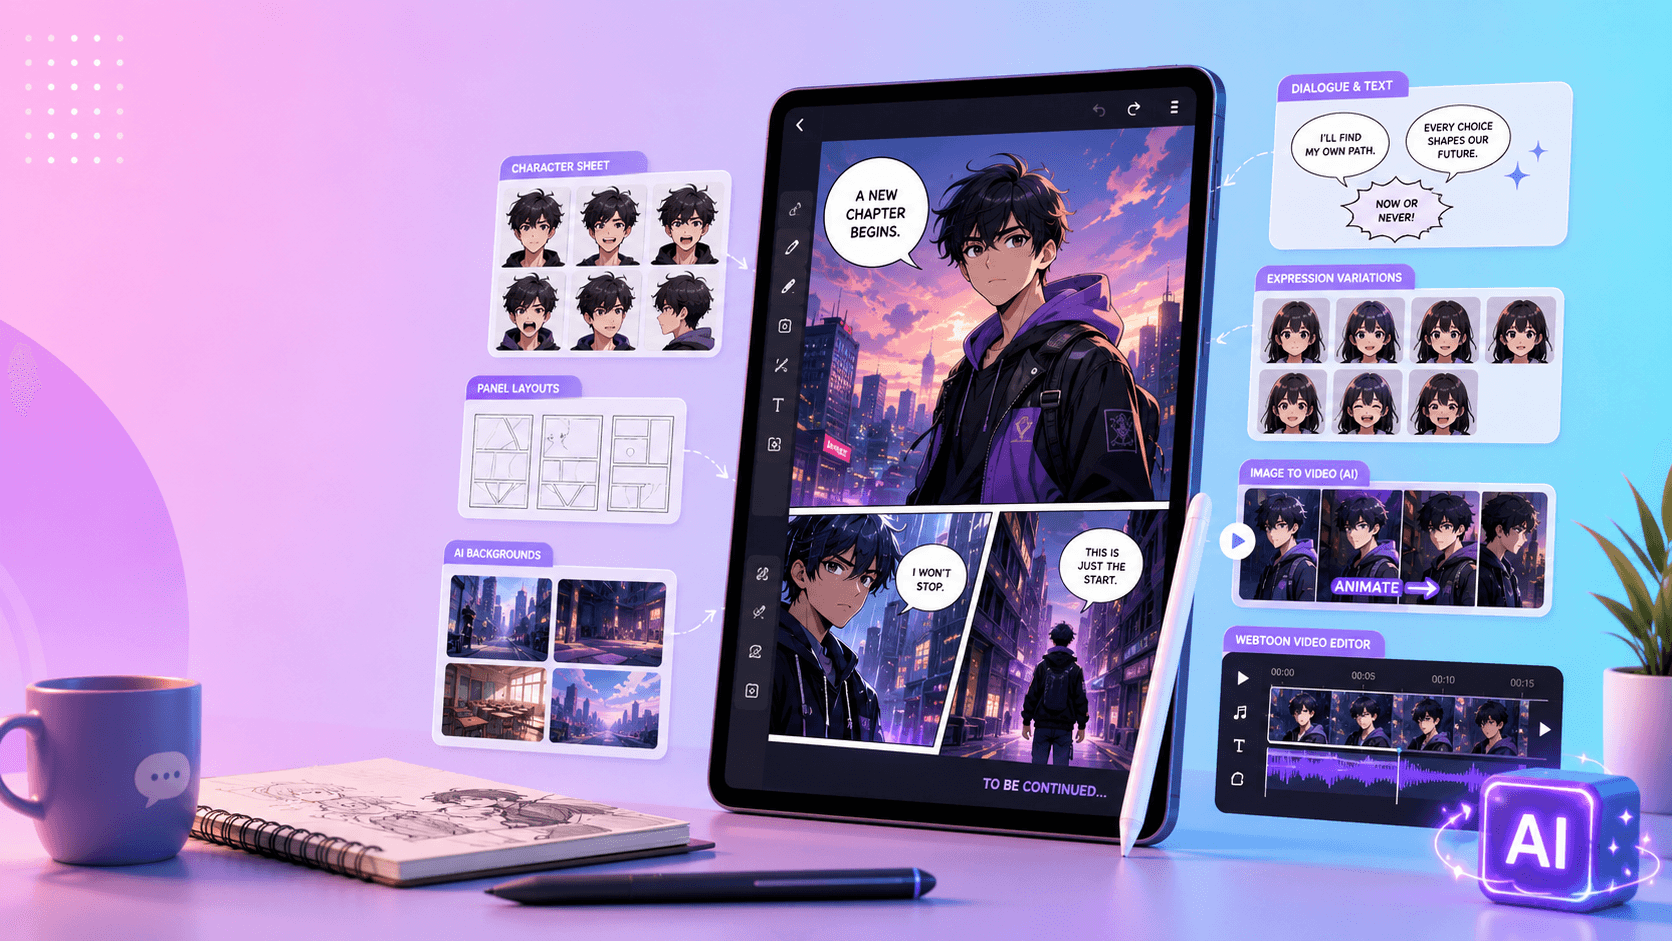
Step 3: Lock the Character and Style Before Scene Generation
The next bottleneck is consistency. If the lead character changes face shape, outfit logic, or silhouette from shot to shot, the whole sequence breaks. That is why it helps to define the subject before you generate motion. Use an [AI character maker] to lock the identity first.
If your project leans anime or stylized, you can also start from an [AI anime generator] and then keep the same descriptors across every shot.
Step 4: Generate Key Frames Before You Animate Anything
This is where many AI video workflows go wrong. Creators jump straight into motion when the still images are not ready. A better approach is to generate key frames for each shot and pick the strongest one first.
At this point, review each frame for:
- shot clarity
- subject consistency
- lighting stability
- emotional accuracy
If one of those feels wrong, fix it before motion starts.
Step 5: Animate the Winners, Not the Entire Batch
After you choose the best key frames, animate only those. This is where an [AI image animator] often works better than restarting from scratch, because the visual decisions are already made.
Step 6: Finish With Timing, Sound, and Sequence Control
Even strong visuals can feel unfinished if the rhythm is off. Final polish usually comes from editing, not from more generation. An [AI sound effect generator] can help when you want footsteps, ambience, weapon sounds, or transition cues to support the scene.
Common Mistakes in Script-to-Video Workflows
- using the full script as one prompt
- skipping the shot list
- changing character details mid-sequence
- animating every frame instead of the best frames
- trying to solve story problems during generation
Most of these are planning errors rather than model errors.
FAQ
What is the easiest way to turn a script into video with AI?
Reduce the script into beats, storyboard the sequence, lock the character, generate key frames, and animate only the best frames.
Is script-to-video the same as text-to-video?
Not exactly. Script-to-video usually implies sequence logic and stronger continuity.
Do I need a storyboard first?
If you want better pacing and clearer scene flow, yes.
If you want a cleaner script-to-scene workflow, start by turning the sequence into shots first, then move into Elser AI's [AI video generator] once the scene logic is clear.