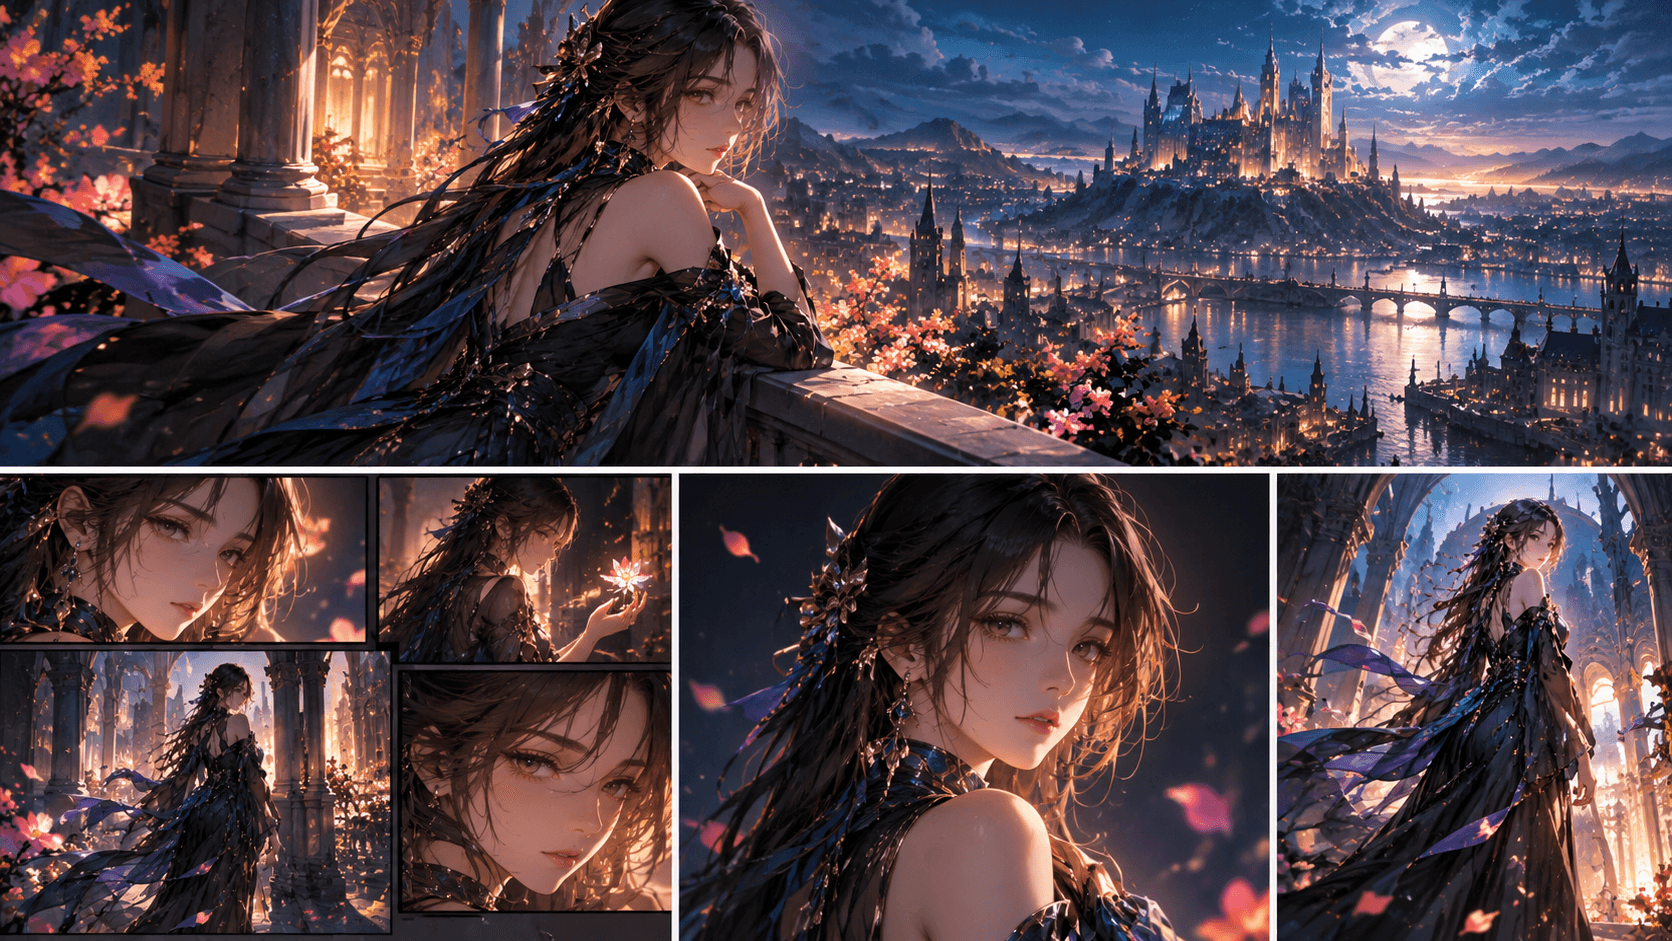
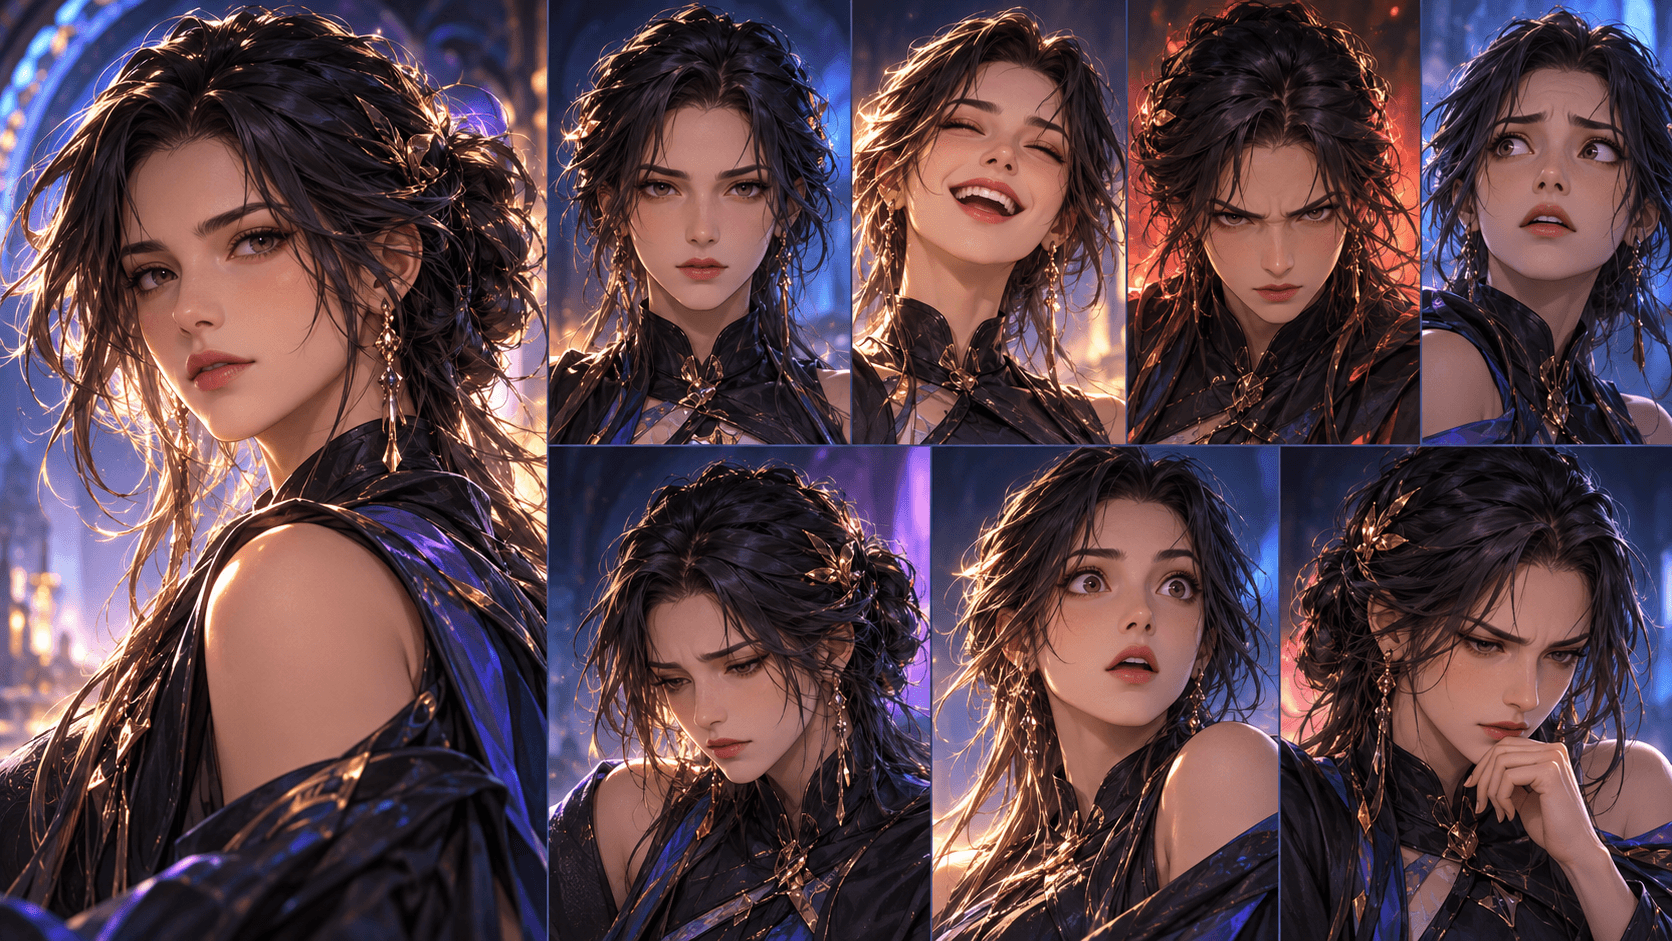
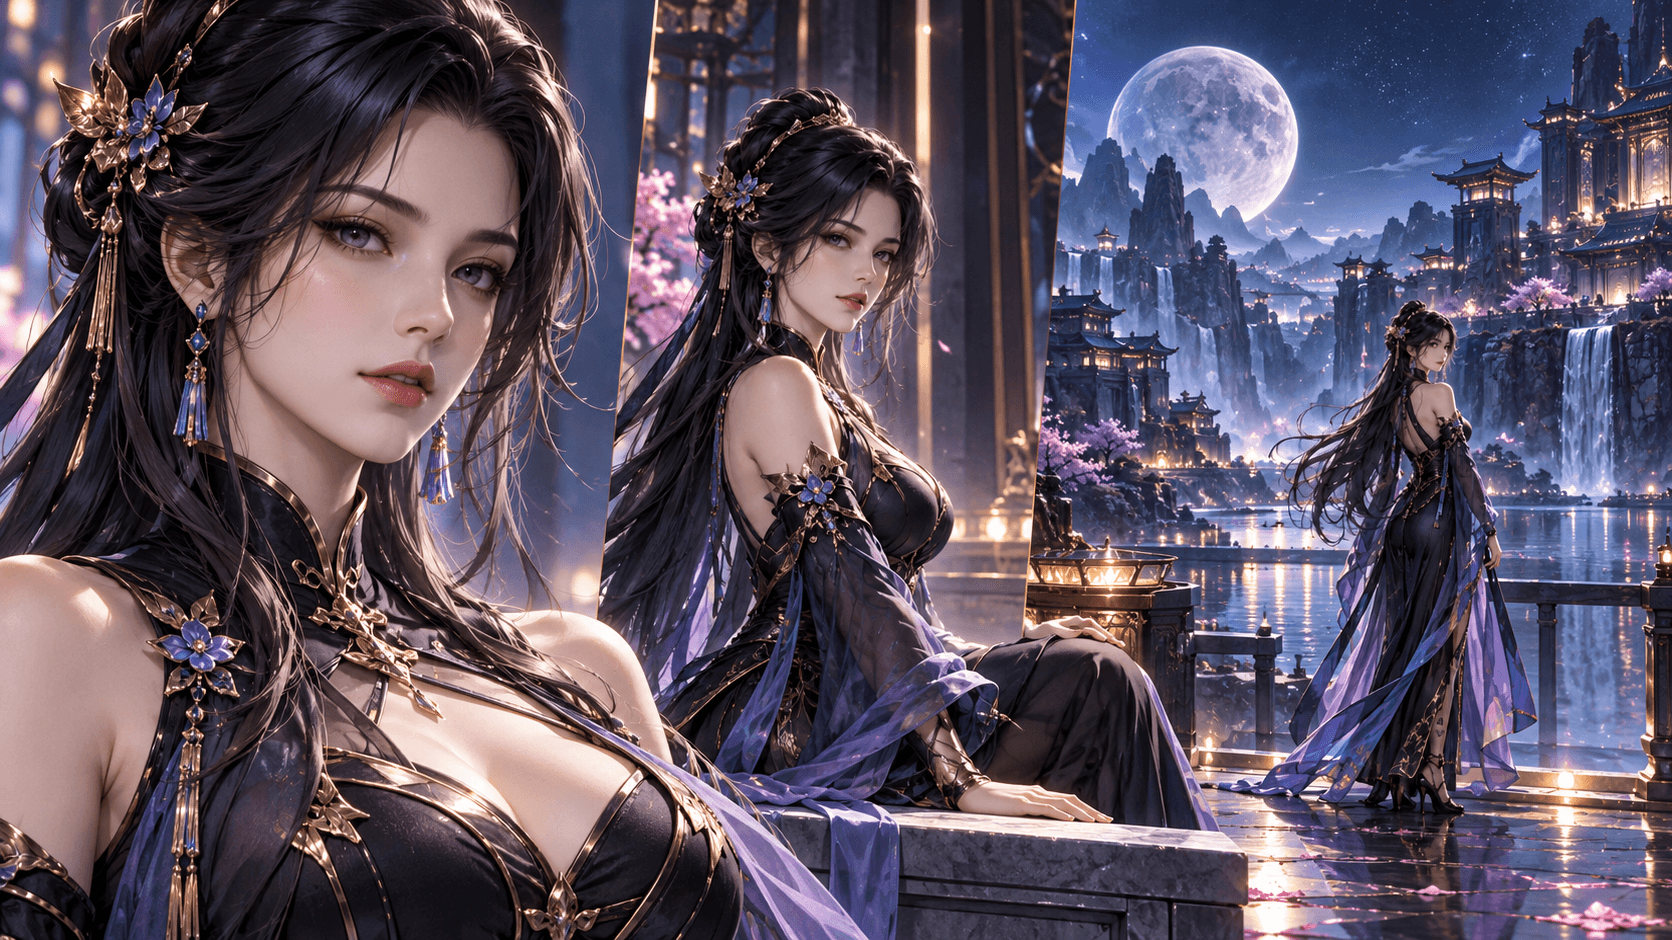
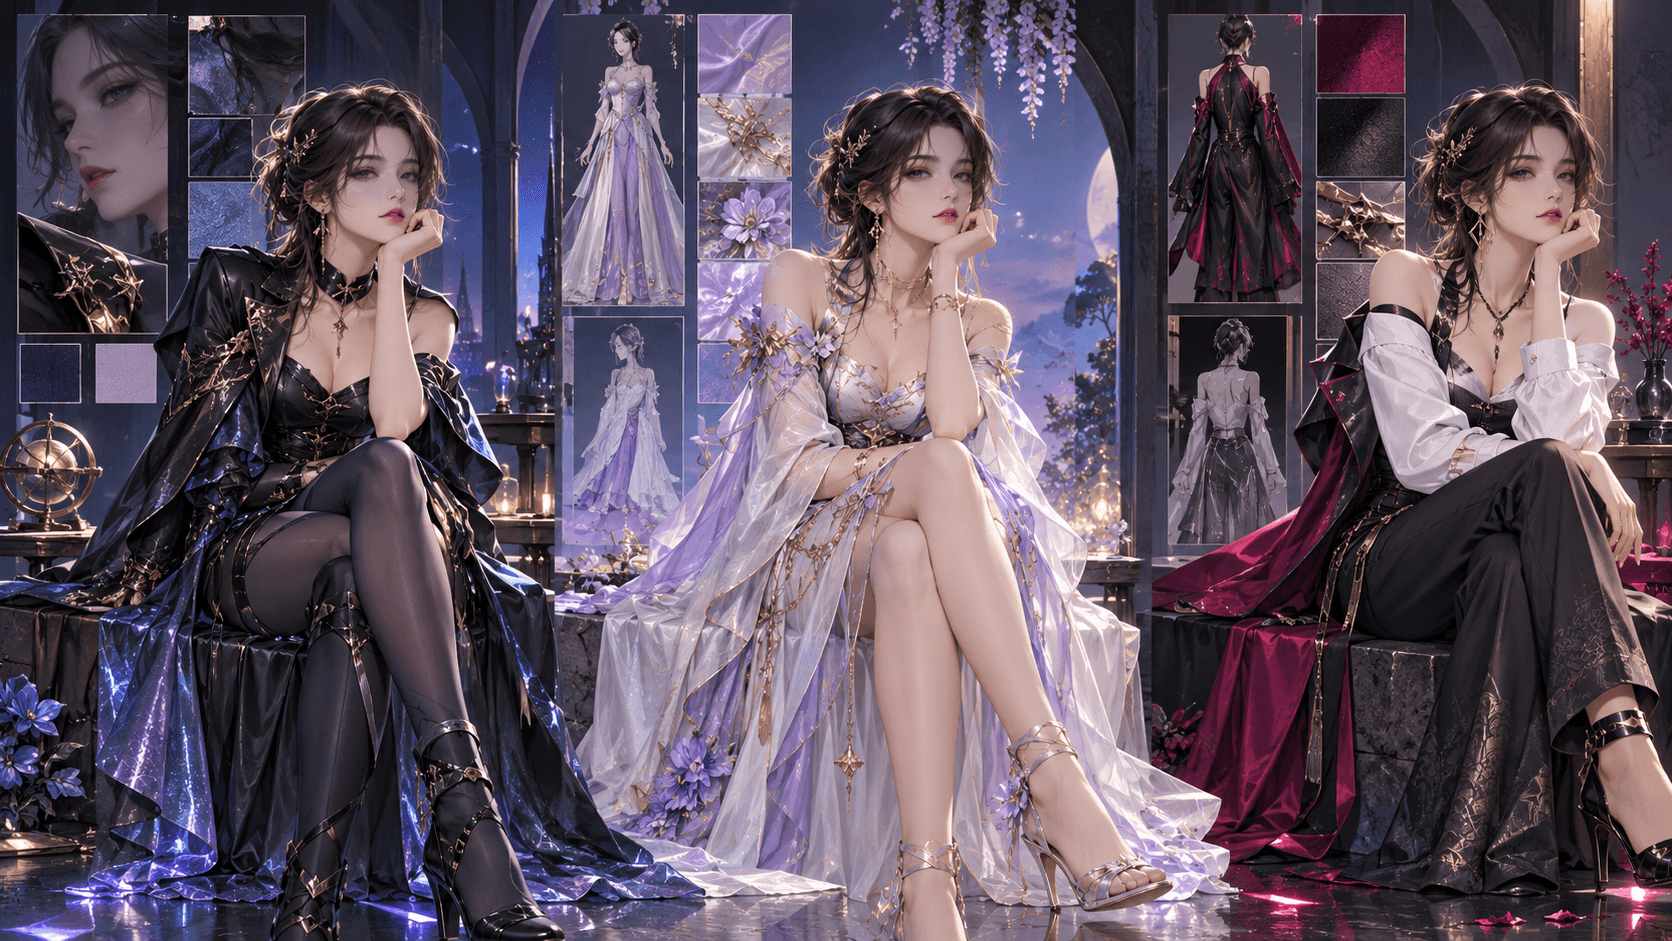
How to Turn a Web Novel into an AI Comic Drama with Elser AI
Elser AI is most useful for web-novel adaptation when you treat it as a connected production workflow, not a one-click converter. You bring the approved story; Elser helps move it through Story Draft → Storyline → Settings → Character Settings → Storyboard → Final Cut.
This tutorial creates a 60–90 second pilot from one novel arc. Before starting, confirm that you wrote or licensed the source material.
What You Will Build in Elser AI
By the end, your Elser project should contain:
- an edited, segmented pilot script;
- reusable main-character assets;
- a fixed aspect ratio and visual style;
- six to ten storyboard shots;
- selected animated scenes;
- voiceover, ambience, effects and music;
- an edited pilot ready for export.
Do not upload a 200-chapter novel first. Choose one arc with a disruption, decision, obstacle, payoff and next-episode hook.
Step 1: Prepare the Novel for “Follow Your Script”
Elser’s anime/movie workflow supports starting from an idea or following an existing script. A licensed novel adaptation should normally use Follow Your Script, because the plot and wording already matter.
Convert the selected chapter into visible scenes:
EPISODE 01 — THE POISONED CUP
Target duration: 75 seconds

SCENE 1 — Tournament Gate — Dusk
Mira sees black residue on the ceremonial cup.
Purpose: introduce the threat.

SCENE 2 — Preparation Room
The residue burns a leaf.
MIRA: Nobody drinks from that cup.
Purpose: prove the danger.

FINAL SCENE
Mira reaches the arena. Her rival already holds the cup.
Replace internal thought with behavior, narration or a visible clue. Then paste or upload the production draft into Elser. At the Storyline stage, add, delete or edit scenes until every scene has one clear change.
Ready to test the adaptation? Create an Elser AI account, choose the script-led route and import only your pilot—not the whole novel.
Step 2: Configure Settings Before Generating
In Settings, choose the project’s aspect ratio, generation model, voiceover direction, shot duration and video style. For vertical short-form drama, start with 9:16. For YouTube or a cinematic episode, 16:9 may fit better.
Record the choices outside the interface as a style card:
Format: 9:16 vertical
Style: cinematic anime, controlled line detail
Palette: black, ivory and muted violet
Lighting: warm human interiors / cold threat scenes
Average shot: 3–5 seconds
Model availability and credit use can change, so test one representative shot before committing the entire episode.
Step 3: Create the Cast in Character Settings
At Character Settings, generate or add the protagonist and recurring rival. Define identity, not only clothing:
Mira, 22, oval face, narrow violet-gray eyes,
long silver hair with one black rose hair ornament,
slim athletic silhouette, black-and-ivory tournament dress,
restrained expressions, precise movements.
Approve the face, silhouette, hair construction, costume seams and signature prop. Save the character so Elser can reuse the asset in image, video and storytelling workflows. Create temporary costume or injury variants instead of overwriting the canonical version.
Step 4: Choose the Right Elser Storyboard Mode
Elser currently provides three production paths:
- Auto Storyboard: quickest first interpretation;
- Manual: keeps the approved script structure dominant;
- Storyboard Studio: closer control over framing, order and coverage.
For a faithful novel adaptation, begin with Manual or Storyboard Studio. Use Auto Storyboard only as a comparison draft.
Every storyboard panel should specify purpose, framing, action, emotion, duration, character asset and continuity state. Add an insert of the residue, a reaction before the warning and a final reveal of the raised cup. Remove panels that repeat narration without new visual information.
Open the same scene in Elser’s storyboard workflow and compare Auto Storyboard with your directed version. Continue only when the silent panels tell the story clearly.
Step 5: Generate Key Images and Motion
Approve the still composition before motion when the workflow permits. For image-to-video, describe what should move rather than redesigning the character:
Mira slowly rotates the silver cup toward the window.
The black residue crawls against gravity.
Her expression shifts from suspicion to controlled alarm.
Static camera; candlelight flickers; four-second shot.
Generate alternatives for the story’s most important moments, not every transition. Review adjacent shots for face, costume, handedness, prop position and time of day.
Step 6: Build Audio Around the Elser Rough Cut
Assemble scenes in Final Cut before finalizing voice. Trim weak beginnings and endings, adjust transitions and confirm total runtime. Then add voiceover, location ambience, motivated sound effects and music.
For the cup scene, use quiet crowd ambience, cloth movement, a subtle corrosive hiss and silence before the rival raises the cup. Add subtitles after dialogue timing is stable.
Step 7: Run Three Approval Passes
- Adaptation: Does the episode preserve motivation and causality?
- Continuity: Do cast, props and locations match the Storyline state?
- Viewer clarity: Can someone understand the danger and hook without reading the novel?
Regenerate individual scenes inside Elser rather than restarting the entire project.
A Scene-by-Scene Elser Production Worksheet
Before generating the whole episode, test one representative scene. Choose a passage containing a character decision, a location change, and at least one line of dialogue. In Elser's Storyline, reduce it to four production beats: the setup image, the action that changes the situation, the reaction shot, and the exit question. This reveals whether the adaptation is visually understandable before you spend time on an entire chapter.
For each beat, record five items: the active character asset, location, visible action, spoken line, and continuity state. A usable row might read: “Lin Yue — rain-damaged uniform — station platform — hides the jade token — ‘I was never here’ — left sleeve torn.” The continuity state matters because prose can remind readers of a detail at any time; a visual episode must carry it from shot to shot.
In Character Settings, create the clean canonical version first. Add damaged clothing or time-skip changes as named variants. Do not rewrite the hero from scratch in every scene. In Storyboard Studio, check that the establishing shot explains geography, the medium shot makes the action legible, and the close-up earns its place by revealing information or emotion. If a board does neither, remove it.
Use a short motion instruction after the still frame is approved:
Slow push-in. Lin Yue closes her hand around the token, glances toward the arriving train, and takes one step backward. Rain moves naturally; keep face, uniform and platform architecture unchanged. No extra characters.
Then assemble the shots in Final Cut and watch once without sound. If the scene is confusing silently, narration is probably masking a storyboard problem. Fix the images first; add voiceover, music and sound effects only after the visual cause-and-effect works.
Decide What to Compress, Show or Preserve
Not every novel element deserves equal screen time. Preserve the promise, character-defining choices, planted evidence and consequences. Show actions that change power, knowledge or relationships. Compress travel, repeated explanation and internal commentary that the acting or composition already communicates. Cut information that neither changes the present scene nor pays off later.
A useful adaptation test is: “What becomes impossible to understand if this sentence disappears?” If the answer is “nothing,” it is probably not a shot. If the answer is “the audience will misread the character's decision,” translate it into behavior, framing, dialogue or a recurring visual motif.
Quality-Control Checklist Before Export
- Every named speaker uses the intended saved Elser character asset.
- Costume damage, props and time-of-day progress logically.
- Dialogue sounds spoken rather than copied from narration.
- The first ten seconds establish a question or disruption.
- Each camera change adds information, scale or emotion.
- Music supports the scene without covering dialogue.
- The ending resolves one beat and opens the next.
Once this test scene passes, duplicate its rules across the episode. That is the moment to continue production in Elser AI, because the workflow is now based on approved decisions rather than repeated guessing.
FAQ
Can Elser AI start from my existing script?
Yes. Its current anime/movie workflow supports a script-led route, editable segmented scenes and downstream character and storyboard stages.
Which storyboard mode is best for novel adaptation?
Manual is useful when scene structure is fixed; Storyboard Studio is better when you need precise coverage. Auto Storyboard is helpful for fast exploration.
Does Elser guarantee character consistency?
Reusable character assets support consistency, but you must still review every storyboard frame and generated clip.
Conclusion
Turning a web novel into an AI comic drama with Elser AI is a sequence of controlled translations. Import a production-sized script, approve the Storyline, lock Settings and Cast, direct the Storyboard, generate selected shots and finish them in Final Cut. Start your first Elser AI adaptation with one complete pilot arc.