30 Anime Camera Movement Prompts for AI Video: A Creator’s Guide to Cinematic Anime Shots
30 Anime Camera Movement Prompts for AI Video
Anime video is not just about character design. It is about camera language.
A beautifully designed anime character can still look flat if the camera does nothing interesting. On the other hand, a simple character scene can feel emotional, energetic, or cinematic when the camera moves with intention. This is why anime camera movement prompts are so important for AI video generation. They tell the model not only what to show, but how the viewer should experience the scene.
In traditional anime production, camera movement is often simulated through layout, compositing, parallax layers, zooms, pans, holds, speed lines, focus shifts, and carefully timed cuts. Anime does not always need complex 3D movement to feel dynamic. Sometimes a slow push-in on a character’s eyes is more powerful than a full action sequence. Sometimes a static frame with moving rain feels more emotional than a spinning camera. The trick is knowing which movement fits the moment.
In AI video generation, camera prompts become even more important because models can easily overdo motion. If you write “dynamic anime camera movement” without direction, the output may become chaotic: faces drift, backgrounds warp, and the scene loses clarity. A better anime AI video prompt defines the camera move, emotional purpose, subject stability, and visual style.
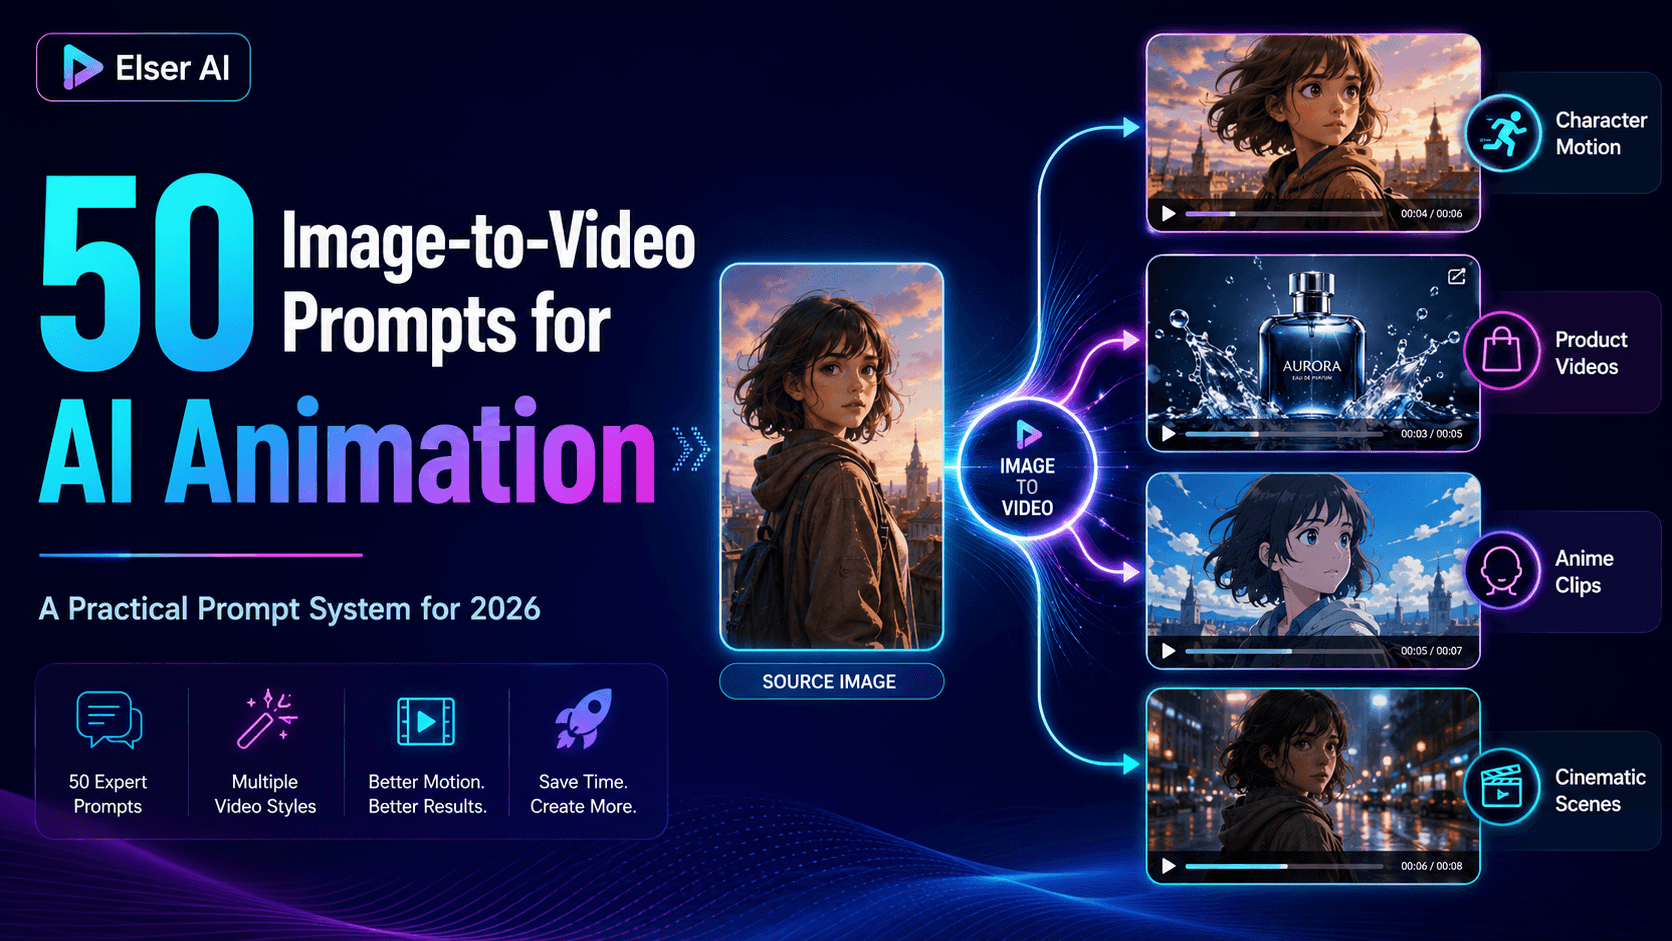
This guide gives you 30 anime camera movement prompts you can use for AI video, but more importantly, it explains when and why to use each type. These prompts are useful for anime shorts, manga-to-video clips, AI anime openings, character dialogue scenes, TikTok anime videos, YouTube Shorts, and cinematic story sequences. You can use them in Elser AI to create controlled anime-style video shots from character images, illustrations, or scene concepts, then iterate without losing your visual direction.
How Anime Camera Movement Works in AI Video
Before the prompts, it helps to understand the main camera categories.
Anime camera movement usually serves one of five purposes: emotion, reveal, energy, space, or rhythm. Emotional shots use slow push-ins, close-ups, and still frames to help the viewer feel what the character feels. Reveal shots use tilts, pans, foreground movement, or depth shifts to expose new information. Action shots use tracking, zooms, shakes, and directional motion to create speed. Spatial shots use wide pans or parallax to establish worldbuilding. Rhythm shots are designed for music, openings, transformations, or dramatic timing.
The mistake many creators make is using action camera movement for every scene. If every prompt asks for fast movement, the video quickly becomes noisy. Anime is powerful because it contrasts motion with stillness. A calm close-up before a sudden cut can feel more dramatic than constant camera movement.
A reliable anime AI video structure is:
“Use [camera movement] to support [emotion or action]. Preserve the character identity, outfit, art style, and composition. Keep motion smooth and controlled.”
That final stability instruction matters. Camera movement should not rewrite the character. It should reveal the character.
If you are using Elser AI, this approach becomes easier because you can start with a character reference or anime image, then test different camera movement prompts while keeping identity and style consistent. If you are building an anime short or recurring character series, register on Elser AI and create a reusable visual workflow instead of rewriting every scene from zero.
Emotional Close-Up Camera Prompts
1. Slow Push-In on Emotional Realization
“Create an anime-style video with a slow camera push-in toward the character’s face as they realize something important. Preserve the exact face, hairstyle, outfit, eye design, and anime art style. Keep the background softly blurred and the motion controlled.”
2. Static Close-Up with Eye Movement
“Use a static close-up shot focused on the character’s eyes. Animate subtle blinking and small eye movement while the rest of the frame remains calm. Preserve the original anime style and character identity.”
3. Gentle Zoom During Confession
“Create a gentle zoom-in during an emotional confession moment. The character looks slightly nervous but sincere. Keep the camera movement slow, the lighting soft, and the face consistent.”
4. Slight Handheld Motion for Nervous Dialogue
“Animate a close-up anime dialogue shot with very subtle handheld camera movement to suggest nervous tension. Preserve the character’s facial structure, hairstyle, outfit, and clean anime style.”
5. Tight Framing for Silent Tension
“Create a tight anime close-up with almost no camera movement. The character holds eye contact, breathing subtly. Use dramatic lighting and preserve identity consistency.”
6. Slow Tilt-Up from Hands to Face
“Start the shot on the character’s hands, then slowly tilt up to reveal their face. Preserve the outfit, body proportions, hairstyle, and anime style. The movement should feel emotional and deliberate.”
7. Focus Shift from Background to Face
“Create an anime shot where the background begins slightly in focus, then the focus shifts softly to the character’s face. Keep the camera stable and preserve character identity.”
8. Micro Zoom for Dramatic Impact
“Use a very small, sudden anime-style zoom toward the character’s eyes at the moment of realization. Keep the motion brief, sharp, and controlled. No face distortion.”
9. Slow Lateral Drift During Reflection
“Create a reflective anime scene with the camera slowly drifting sideways while the character looks out of frame. Preserve the character design and use soft atmospheric lighting.”
10. Long Hold with Ambient Motion
“Use a long static anime shot where the character remains still while rain, dust, or light particles move gently around them. Keep the face, outfit, and art style stable.”
Action and Dynamic Anime Camera Prompts
11. Fast Tracking Shot Following a Run
“Create an anime action shot with the camera tracking beside the character as they run forward. Keep the character’s face, outfit, body proportions, and style consistent. Use smooth speed lines and controlled background motion.”
12. Side-Scroll Motion Shot
“Animate a side-scrolling anime shot where the character moves from left to right across the frame. Keep the camera parallel to the character and maintain stable proportions.”
13. Circular Orbit Around Character
“Create a controlled circular orbit shot around the anime character standing in a dramatic pose. Preserve the character’s face, outfit, hairstyle, and body shape from every angle. Keep motion smooth, not chaotic.”
14. Low-Angle Transformation Shot
“Use a low-angle camera slowly tilting upward as the character enters a transformation or power-up moment. Add subtle light and hair movement while preserving the original character design.”
15. High-Angle Descent into Scene
“Begin with a high-angle view above the scene, then slowly descend toward the character. Keep the environment stable and preserve the anime visual style.”
16. Rapid Zoom-Out Reveal
“Start with a close-up of the character, then rapidly zoom out to reveal the larger environment. Keep the character identity stable and use a clean anime action style.”
17. Impact Shake Shot
“Create a short anime impact moment with a controlled camera shake and slight motion blur. Keep the character and scene readable. Avoid excessive distortion.”
18. Fast Pan Following Movement
“Use a fast anime camera pan following the character’s movement direction. Preserve the character design and create a sense of speed without losing clarity.”
19. Forward Rush Toward Subject
“Create a forward rush camera movement toward the character or object, as if entering the scene quickly. Use dynamic anime energy while keeping the subject stable.”
20. Diagonal Action Push
“Animate the camera moving diagonally toward the character during an action pose. Maintain clear framing, strong composition, and consistent anime character identity.”
Environmental and Worldbuilding Camera Prompts
21. Slow Pan Across Anime Cityscape
“Create a slow panoramic anime shot across a glowing cityscape at night. Add subtle lights, atmospheric haze, and layered parallax. Keep the movement smooth and cinematic.”
22. Vertical Tilt Revealing Skyline
“Start on the street-level foreground and slowly tilt upward to reveal the anime city skyline. Use dramatic lighting and maintain a clean illustrated style.”
23. Parallax Forest Movement
“Create a layered parallax shot through an anime forest. Foreground leaves move faster than the character and background. Preserve the character’s design and keep motion natural.”
24. Doorway Reveal Shot
“Move the camera slowly through a doorway or corridor to reveal the character inside the room. Use soft lighting and stable anime composition.”
25. Rainy Street Push-In
“Create a slow push-in through a rainy anime street toward the character standing under soft neon light. Preserve character identity and add subtle rain reflections.”
26. Floating Particles Establishing Shot
“Create a wide anime establishing shot with floating light particles moving gently in the air. The camera slowly pushes toward the main subject. Keep the environment calm and cinematic.”
27. Train Window Tracking Shot
“Animate the camera tracking alongside an anime train window, with the character visible inside. Use parallax background movement and preserve character face and outfit.”
28. Sunset Field Pan
“Create a slow anime camera pan across a sunset field, ending on the character standing in warm light. Use soft wind movement and preserve the original art style.”
29. Interior Room Slow Reveal
“Start with a close view of an object in the room, then slowly pan to reveal the character sitting nearby. Keep the scene quiet, emotional, and visually consistent.”
30. Anime Opening Hero Shot
“Create an anime opening-style hero shot where the camera moves upward from the character’s feet to their face, then slightly pushes in. Add dynamic background light, subtle wind, and strong character consistency.”
How to Choose the Right Camera Prompt
The right anime camera movement depends on the emotional job of the scene. If the scene is about vulnerability, use stillness, slow push-ins, and close-ups. If it is about action, use tracking shots, pans, and controlled shake. If it is about worldbuilding, use slow environmental pans and parallax. If it is for an opening sequence, use dramatic tilts, hero framing, and layered motion.
The most important rule is this: do not use a big camera move when a small one communicates the idea better. Anime often becomes powerful because it knows when to hold a frame. A quiet close-up with moving rain can feel more emotional than a complex camera orbit. A slow tilt-up can reveal character confidence more clearly than a full action scene.
For AI video generation, smaller controlled camera movement also protects character consistency. The more extreme the camera angle, the more the model has to invent hidden details. If your character must remain stable across scenes, start with safer movement: push-in, pan, tilt, parallax, and light motion. Save complex orbits and high-speed action shots for moments where visual energy matters more than perfect identity lock.
How Elser AI Helps with Anime Camera Workflows
A single anime camera prompt can create a nice clip. But a real anime short needs continuity. It needs the same character, same art style, same emotional logic, and compatible camera language across multiple shots. That is where many AI creators struggle. They generate one beautiful scene, then the next scene looks like it came from a different project.
With Elser AI, you can build a more practical anime video workflow. Start with a character image or anime visual reference, choose a camera movement prompt, generate a shot, then reuse the same identity and style direction for the next scene. If you are making AI anime videos for TikTok, YouTube Shorts, music videos, or story-driven clips, this helps you move from one-off outputs to a repeatable production system.
A simple workflow might look like this: create your character, generate an emotional close-up, generate a worldbuilding pan, generate an action transition, then assemble them into a short sequence. Instead of asking AI to make the whole anime scene at once, you direct it shot by shot.
That is the real value of camera prompts. They give you control over visual storytelling.
Final Thoughts
Anime camera movement is not decoration. It is storytelling. A slow push-in tells the viewer to pay attention to emotion. A fast pan creates energy. A parallax shot builds space. A static close-up creates tension. When you understand what each movement does, your AI anime videos immediately become more intentional.
The 30 prompts in this guide are designed to help you create better anime AI video shots, whether you are animating a character portrait, building a short story scene, creating a music video, or testing anime-style content for social media. Use them as building blocks, not random effects.
And if you want to test these anime camera movement prompts in a more organized way, start with Elser AI. Register, upload or create your anime character, choose a camera direction, and build your first sequence shot by shot. That is how AI animation starts to feel less like random generation and more like real direction.