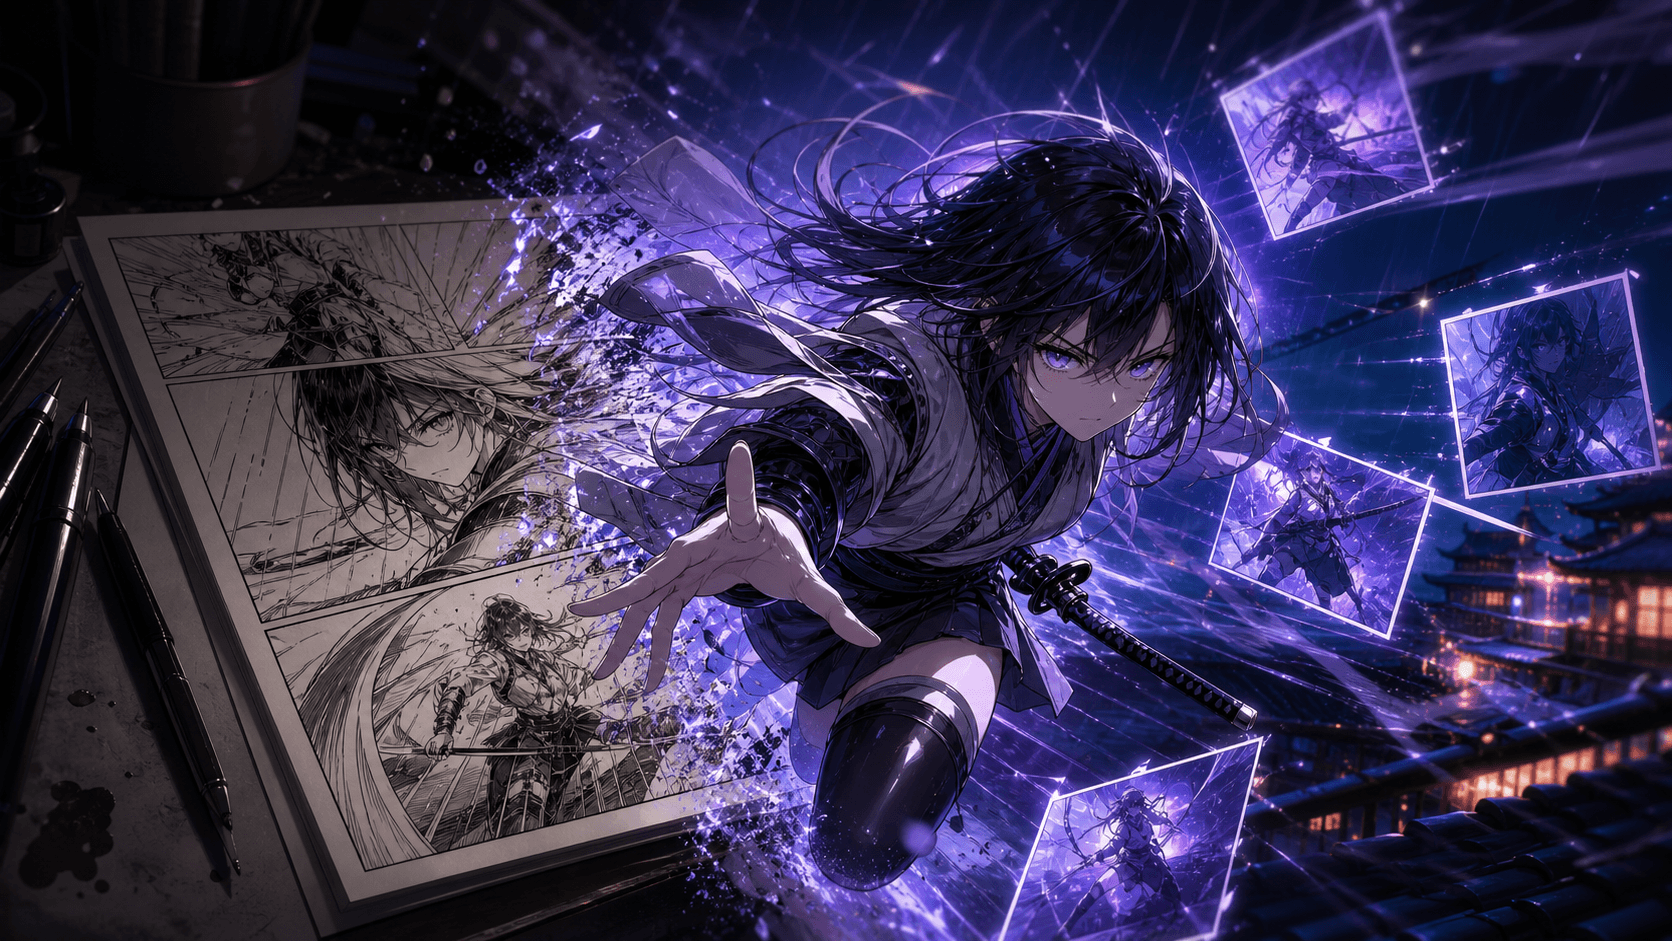
How to Animate a Manga Fight Scene with AI Without Losing the Original Art Style
Manga action is already animated in the reader’s mind. Panel size controls time; speed lines imply force; silhouettes communicate contact; an impact frame may deliberately violate anatomy. A video generator that “makes everything move” can erase that visual grammar.
The goal is not to convert every panel into fluid motion. It is to preserve authored poses and build the missing transitions selectively. This workflow assumes you own or have permission to animate the artwork.
Develop the sequence at story level before spending generations. In Elser AI, register and map the script, characters, and storyboard beats so each generated shot has a clear narrative job.
Analyze the Fight Before Prompting
Label each panel as one of five functions:
- geography: where opponents, exits, and hazards are;
- intention: what a character decides or notices;
- anticipation: wind-up, stance, or held breath;
- action/impact: attack and contact;
- consequence: recoil, damage, silence, or new position.
If a sequence lacks geography or consequence, generation will not fix the storytelling. Add a storyboard panel or reuse a background to orient viewers.
Create a beat sheet with shot duration, start pose, end pose, camera, primary action, sound cue, wardrobe state, and continuity notes. Fast action might use six-to-twelve-frame accents inside a longer shot; emotional pauses may need several seconds.
Protect the Art Style as a Technical Specification
“Keep manga style” is too vague. Document:
- black-and-white or limited palette;
- line weight and whether contours vary;
- screentone frequency and placement;
- hatching direction and density;
- solid black shapes;
- facial simplification at distance;
- speed-line design;
- acceptable smear or impact frames.
Prepare clean, high-resolution source panels. Remove lettering for animation and keep it in an editorial layer. Separate character, foreground effects, and background where practical. Preserve the original scan or master unchanged.
Use a reusable lock:
Preserve the original artist-authorized monochrome ink style: stable black contour lines, exact screentone pattern, high-contrast solid blacks, simplified anime facial construction, and the source character designs. No color, photorealism, painterly shading, 3D rendering, texture smoothing, or costume redesign.
Choose the Right Animation Method Per Beat
Hold and Layer
For anticipation, keep the drawing nearly still. Animate breathing, fabric, dust, or a tiny camera move. This protects the strongest pose.
Start-to-End Pose Interpolation
For a strike, prepare approved start and end drawings. If the tool supports keyframes, use them; otherwise create two short shots with an impact insert. Do not make the model invent a complex destination.
Image-to-Video
For effects, follow-through, and environmental reaction, animate from the panel. Runway recommends describing motion rather than redundantly describing image content in image-to-video prompts.
Video Modification
For challenging body mechanics, record authorized reference movement or create simple previz, then stylize it. Luma’s Modify workflows are designed to transform existing video while retaining source motion. Confirm the target is visible from the opening frame and test strength conservatively.
Editorial Animation
Pans, pushes, shakes, speed-line layers, white flashes, held frames, and sound can create force without regenerating the art. These are not compromises; they are part of anime and motion-comic language.
Build a Six-Shot Fight Test
Shot 1: Establish Geography
Wide monochrome manga composition. Preserve both character designs and environment. Slow 4% push-in; dust drifts across floor; coat edges move lightly. No fighting yet, no style change, four seconds.
Shot 2: Show Intention
Close-up of fighter A’s eyes. One blink, gaze locks screen-right, brow lowers. Camera fixed; exact ink lines, screentone, face, hair, and lighting preserved. Two seconds.
Shot 3: Anticipation
Full-body stance remains anchored. Weight shifts to rear foot, sword hand tightens, sleeve pulls slightly, breath stops. No attack or camera movement; preserve anatomy and costume.
Shot 4: Attack
Fighter A completes one horizontal sword slash from the illustrated start pose toward screen-right. Clear body mechanics, two-frame stylized smear permitted, coat follows through. Preserve sword length, hands, face, and monochrome ink style.
Shot 5: Impact
Use the original impact drawing as a held accent: speed lines expand, small debris travels outward, one white flash, then return to black ink. Do not morph either character. One second.
Shot 6: Consequence
Medium shot after impact. Fighter B slides half a meter, boots scrape, dust settles; Fighter A holds the end pose. No new attack. Preserve damage state, geography, identities, and line art.
Generate this six-shot proof before a full chapter. Elser AI can help keep the characters and storyboard connected while you evaluate whether action remains readable.
Control Camera and Timing
One shot should usually have one dominant camera idea. A character dash plus a 360-degree orbit plus a zoom asks the model to solve competing geometry. Use locked or linear cameras for contact, and reserve aggressive movement for transitions or environmental shots.
Seedance 2.5’s official announcement describes timestamp-level instructions and up to 30-second one-pass generation. Those controls can organize multi-beat action, but a 30-second fight should still be edited from purposeful shots. Longer generation is useful for continuous motion or audio continuity, not for avoiding direction.
Cut before a model loses the character. A foreground wipe, speed-line frame, impact flash, or reaction close-up can bridge outputs. Match screen direction: if fighter A travels left-to-right, reversing direction without a neutral geography shot confuses the viewer.
Preserve Character and Damage Continuity
Use front, side, back, and action references for each fighter. Define costume states such as clean, dusty, torn sleeve, and post-impact. Record when each change occurs. A tear should not disappear in the next shot.
Hands, weapons, and contact deserve dedicated keyframes. Approve grip, blade length, foot placement, and opponent spacing before animation. If a hand fails for a few frames, repair locally instead of regenerating the performance.
Sound Creates Half the Impact
Build the mix around contrast:
- ambience establishes space;
- anticipation reduces or filters it;
- movement supplies cloth and air;
- contact uses a designed transient with material detail;
- consequence includes debris, breath, and temporary hearing shift.
ByteDance says Seed Audio 1.0 can generate speech, effects, and ambience and supports prompt-timed dialogue. Generate stems when possible. Avoid filling every frame with music; silence before contact can make the impact larger.
Review Like an Animator
Watch the sequence in real time, then frame-step only the problem areas. Ask:
- Is the action readable in silhouette?
- Does weight move through hips and feet?
- Do hands maintain their grip?
- Does the weapon preserve length and side?
- Do costumes and damage states match?
- Does screentone crawl or line art melt?
- Does each cut preserve screen direction?
- Does sound peak at the visual event?
Reject beautiful motion that breaks the story. A simpler shot with clear staging is more valuable than an incoherent spectacle.
Run a Silent Readability Test
Mute the sequence and show it once to a viewer who has not read the script. Ask where each fighter is, who initiates the attack, what makes contact, and what changes afterward. If the answers are unclear, strengthen geography, silhouette, or consequence before adding louder effects. Then play audio-only and check whether the rhythm still communicates anticipation, impact, and recovery. Picture and sound should support each other without either hiding weak staging.
When the test is readable with the sound off and convincing with the sound on, register with Elser AI and expand from the validated storyboard rather than improvising new shots.
FAQ
Can AI animate a full manga fight from one prompt?
It may create an action clip, but consistent identities, geography, art style, and cause-and-effect usually require shot design, references, editing, and repair.
How do I preserve screentone?
Use clean source art, low transformation, explicit style locks, separated layers, and post-compositing. Inspect for crawling patterns during motion.
Should I color the manga before animation?
Not unless color is part of the intended adaptation. Monochrome can be a deliberate strength. Adding color expands continuity requirements.
What is the best duration for an action shot?
There is no universal number. Generate the shortest duration that contains anticipation, action, or consequence clearly; complex fights are easier to edit from multiple controlled shots.
Can I use live-action fight footage as motion reference?
Yes, if you own or are authorized to use it and the chosen tool permits it. Preserve safe stunt practices and avoid copying a protected performance deceptively.
Conclusion
Animating manga is an act of interpretation. Preserve authored key poses, define visual style technically, choose a method per beat, and use editing and sound to supply motion that the page implies. The fight should remain readable, character-consistent, and recognizably derived from the authorized art.
To develop that sequence from script through final scenes, start creating with Elser AI and validate a six-shot fight before scaling production.