How to Change an Anime Character’s Outfit Without Changing Their Face
The face changes because most generative editors do not understand “replace the shirt” as a literal layer operation. They infer a new image conditioned on your source, mask, prompt, strength, and references. If the edit has too much freedom, identity becomes negotiable.
The fix is a production workflow: define the canonical face, isolate the garment, minimize simultaneous changes, and validate with objective comparisons. This guide works across image editors and video-modification tools, although control names differ.
If the character is still evolving, establish the canonical design first in Elser AI. Register and save an approved portrait plus full-body view before experimenting with outfits.
Diagnose the Type of Face Drift
Different failures need different interventions.
Structural Drift
Eye spacing, jaw shape, nose, or age changes. This usually indicates excessive generation strength, a broad mask, weak identity reference, or an outfit prompt that also implies a new character.
Style Drift
The face remains recognizable but linework, shading, or rendering changes. The new clothing reference may have a different medium, or the prompt may emphasize photorealistic material without requesting adaptation to the source style.
Expression Drift
The model changes a neutral face into a smile or intense stare. Fashion language such as “confident model” can imply performance. Remove those descriptors and explicitly lock expression and eyeline.
Temporal Drift
The first video frame is correct, then the face changes. The model may lose a stable anchor as the character rotates or becomes occluded. Shorter shots, visible facial features, restrained camera motion, and post-generation correction are usually required.
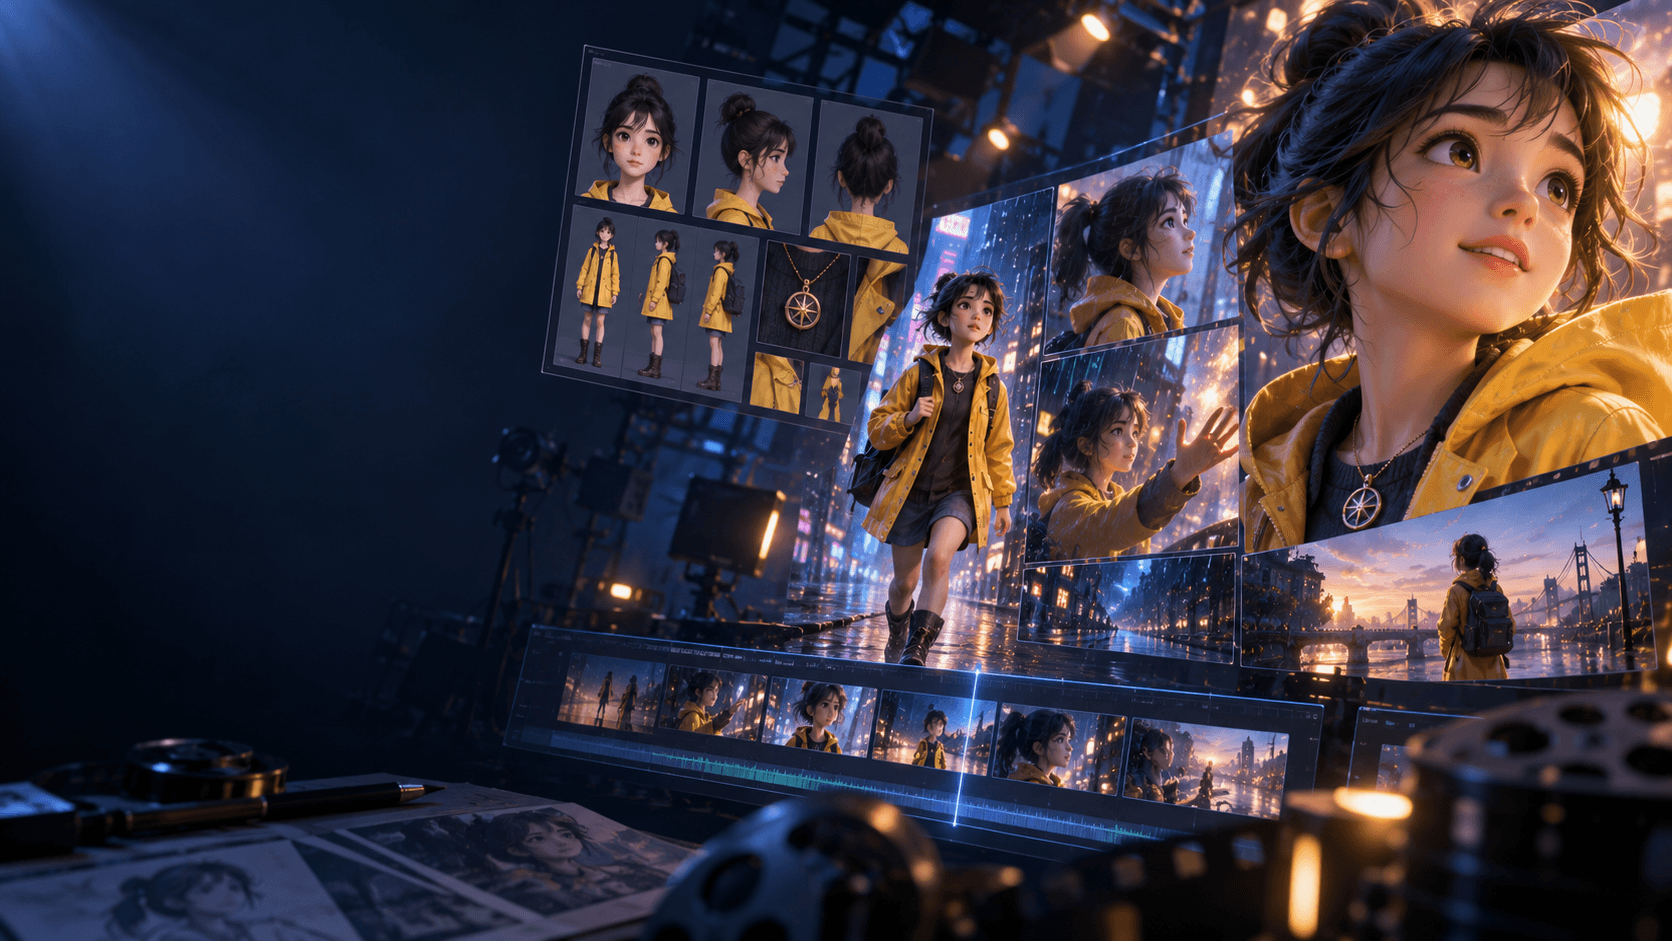
Build a Canonical Identity Pack
Before editing, save four assets:
- a clean front or three-quarter portrait;
- a full-body neutral view;
- a close crop showing eyes, nose, mouth, ears, and hairline;
- a short written identity description.
The text should use observable traits: “oval face, narrow violet eyes, straight pale brows, small nose, shoulder-length silver hair with blunt bangs.” Avoid subjective labels such as “beautiful.” Include age range and stylization so the model does not unintentionally age the character.
Use consistent, authorized source artwork. A reference pack containing multiple incompatible versions teaches ambiguity.
Use a Clothing-Only Edit Workflow
Step 1: Duplicate and Lock the Source
Keep the original, working edit, and approved output as separate files. Do not repeatedly edit a compressed derivative; degradation accumulates.
Step 2: Choose a Readable Source
The outfit boundary should be visible. Crossed arms, hair over the collar, dramatic shadows, and cropped legs increase difficulty. For video modification, Luma’s official guidance says the target should be visible in the first frame; selecting a readable opening frame is therefore important.
Step 3: Mask Deliberately
When masking exists, cover the old garment plus small edge context. Include cast shadows and occluding hands only if they need reconstruction. Exclude most of the face and hair. Feathering needs enough room for a natural seam but should not invite a portrait redraw.
Step 4: Write a Preservation-First Prompt
Use a structure like:
Preserve the exact same character identity, facial structure, eyes, expression, skin tone, hairstyle, body proportions, pose, hands, camera, background, lighting, and cel-shaded line art. Replace only [garment] with [construction, color, material, fit]. Adapt the garment to the existing art style. No face edits, makeup, age change, body change, new accessories, or background change.
Do not use “reimagine,” “fashion makeover,” or “transform the character” when you want a local edit.
Step 5: Reduce Edit Strength
If the tool exposes transformation strength, begin conservatively. Luma’s Modify workflow, for example, presents strength choices that trade source preservation against transformation. Product behavior varies, so compare a small grid rather than assuming a magic value.
Step 6: Generate Variations, Then Stop
Create a limited batch and select the output with the best identity—not necessarily the most detailed clothing. Repeatedly editing an almost-correct result can move farther from the canonical face. Return to the clean source for each controlled variation.
A stable source matters more than prompt tricks. Build and approve your character in Elser AI, then use a separate version branch for wardrobe tests.
Three Prompt Examples
Casual Outfit Replacement
Keep the identical anime character, face, expression, silver bob haircut, body, seated pose, hands, café background, warm light, and clean cel shading. Replace only the school blazer and skirt with a charcoal cardigan, white crew-neck shirt, straight blue jeans, and low canvas shoes. Natural knit and denim folds. No jewelry, makeup, body reshaping, or camera change.
Fantasy Armor Replacement
Preserve exact identity and facial features from the source. Replace only the traveler’s tunic with lightweight original fantasy armor: dark fitted underlayer, articulated silver shoulder and torso plates, leather waist belt, flexible gloves. Retain pose, hair overlap, body scale, painterly anime style, forest light, and all background elements. No helmet, weapon, scars, or facial changes.
Video Wardrobe Modification
Throughout the source clip, change only the visible red jacket into a matte navy pilot jacket with the same length and fit. Maintain face identity, hair motion, body performance, lip movement, camera path, lighting, shadows, hands, and background. Keep collar and sleeves temporally stable; do not add logos or alter the actor.
When the Face Still Changes
Crop the Task
Edit a torso crop, then composite it back into the original frame. This is often more controllable than asking the model to preserve a full scene. Match grain, edge softness, and color afterward.
Separate Occlusions
If hair crosses the jacket, preserve the hair on a top layer, generate the garment underneath, and restore the overlap. The same approach works for hands, bags, and foreground objects.
Reapply Identity as a Final Pass
Use the approved portrait to repair the face after the wardrobe edit, but constrain that pass to the face. Compare against the canonical reference at equal size. Avoid endless alternating face and outfit edits.
Use Image-to-Video After the Still Is Approved
For animation, first create one clean wardrobe keyframe. Motion models are better at animating an approved design than inventing and preserving it simultaneously. Runway’s image-to-video guidance similarly recommends focusing the prompt on motion because the image already defines composition.
Reduce the Shot’s Ambition
A rapid spin, hair across the face, costume transformation, and spoken line in one generation combine four hard problems. Split it into shots: original outfit, transformation insert, approved new outfit, then dialogue.
A Professional Approval Checklist
Use a Blind Identity Check
Before approval, show the edited image and two canonical images to someone who did not create the prompt. Ask them to identify matching facial landmarks and describe any age or personality change they perceive. This simple review catches “technically similar” faces that no longer read as the same character. For a recurring cast, keep the reviewer’s notes with the asset version so later shots use the same acceptance standard.
- Compare facial landmarks with an overlay at 50% opacity.
- Confirm eye color, pupil shape, brows, hairline, and ear details.
- Check hands and skin boundaries at cuffs and collar.
- Verify garment closures, seams, and accessories.
- Inspect the image at 100% for doubled lines and texture noise.
- For video, review first, middle, and final frames plus any head turn.
- Keep a record of source rights, references, model, settings, and prompt.
An attractive result that fails identity is not approved. Define that standard before stakeholders fall in love with a costume variation.
Once the close-up and full-body tests pass, register with Elser AI to place the approved character in a storyboard and test whether the design survives multiple scenes.
FAQ
Why does changing clothes alter facial features?
Generative editing may reconstruct the whole image. Broad masks, high edit strength, conflicting references, and transformation language increase that risk.
Should I mention the face in the prompt?
Yes, but as a preservation instruction. Describe the canonical traits once and state that identity, expression, age, hair, and skin tone must remain unchanged.
Is masking always necessary?
No, but it greatly reduces scope when supported. Instruction-based tools can work without a mask, especially when the target garment is clearly visible, yet still require careful review.
Can this workflow be used on real people?
Only with appropriate consent and lawful use. Do not create deceptive, sexualized, or harmful clothing edits, and review applicable rights and provider rules.
What should I approve before animation?
Approve front, three-quarter, and action views of the final outfit, including shoes and back details. A single portrait cannot define hidden construction.
Conclusion
Keeping the face unchanged is primarily a scope-control problem. Use a canonical identity pack, a readable source, a narrow mask, preservation-first language, conservative strength, and an objective approval checklist. Design the outfit in still images before asking a video model to preserve it through motion.
For a workflow that connects character design to story scenes, start with Elser AI and test the approved wardrobe across a storyboard before producing the final animation.