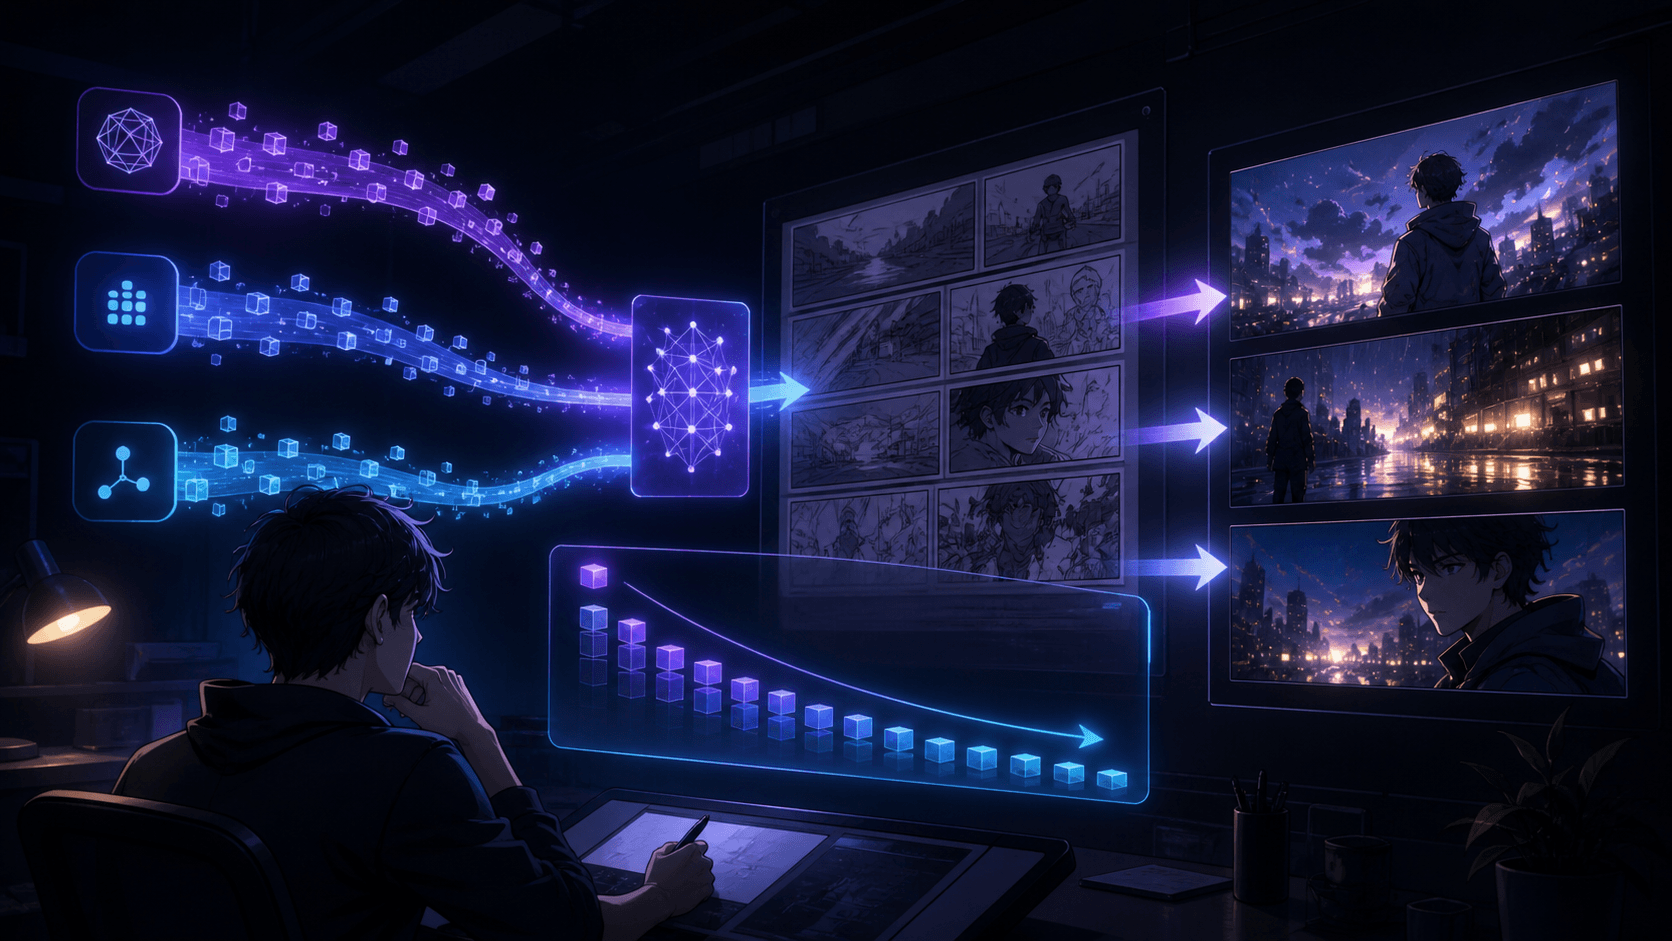
From Character Sheet to Anime Episode: A Complete AI Consistency Workflow
Consistency is not one feature. It is the cumulative result of decisions that remain stable from concept through delivery: character geometry, wardrobe states, prop ownership, location geography, shot direction, voice, and editorial timing.
This production blueprint is designed for a short AI anime episode or pilot. It is intentionally model-agnostic because tools change faster than good production discipline. As of August 28, 2026, modern systems such as Seedance 2.5, Veo 3.1, Runway Gen-4.5, Luma Ray3.14, and Seed Audio 1.0 expose different strengths; verify current access and terms before budgeting.
Elser AI is designed around the connected path from idea and script to characters, storyboard, scenes, audio, and final edit. Register and use this workflow to structure a small pilot before attempting a full episode.
Phase 1: Define the Episode Contract
Write a one-page brief with audience, premise, target runtime, aspect ratio, delivery resolution, rating, visual style, language, budget ceiling, and deadline. Add a measurable quality bar: “the lead must remain recognizable in close-up, profile, full-body motion, and costume-damage states.”
Separate facts from ambitions. “Four-minute vertical fantasy drama with two speaking characters and six locations” is scope. “Cinematic” is not. Limit speaking roles, locations, and transformations for the pilot.
Create a rights record for scripts, drawings, voices, music, references, and model terms. Do not wait until release to discover that an input lacked permission.
Phase 2: Lock the Story Before Rendering
Build a Beat Sheet
Each beat should change knowledge, emotion, goal, or danger. If a scene does none of those, remove or combine it. Estimate duration using actual read-throughs, not word count alone.
Write for Visual Production
Define location, time, characters present, objective, obstacle, action, dialogue, and exit state. Avoid prose that cannot be seen or heard. Assign recurring props and wardrobe states in the script.
Perform a Table Read
Read lines aloud with a timer. Shorten exposition, clarify speaker turns, and leave room for reactions. Lock a script version before final storyboards.
In Elser AI, keep the script connected to character and scene generation so later revisions can be traced rather than silently changing the episode.
Phase 3: Build Canonical Character Assets
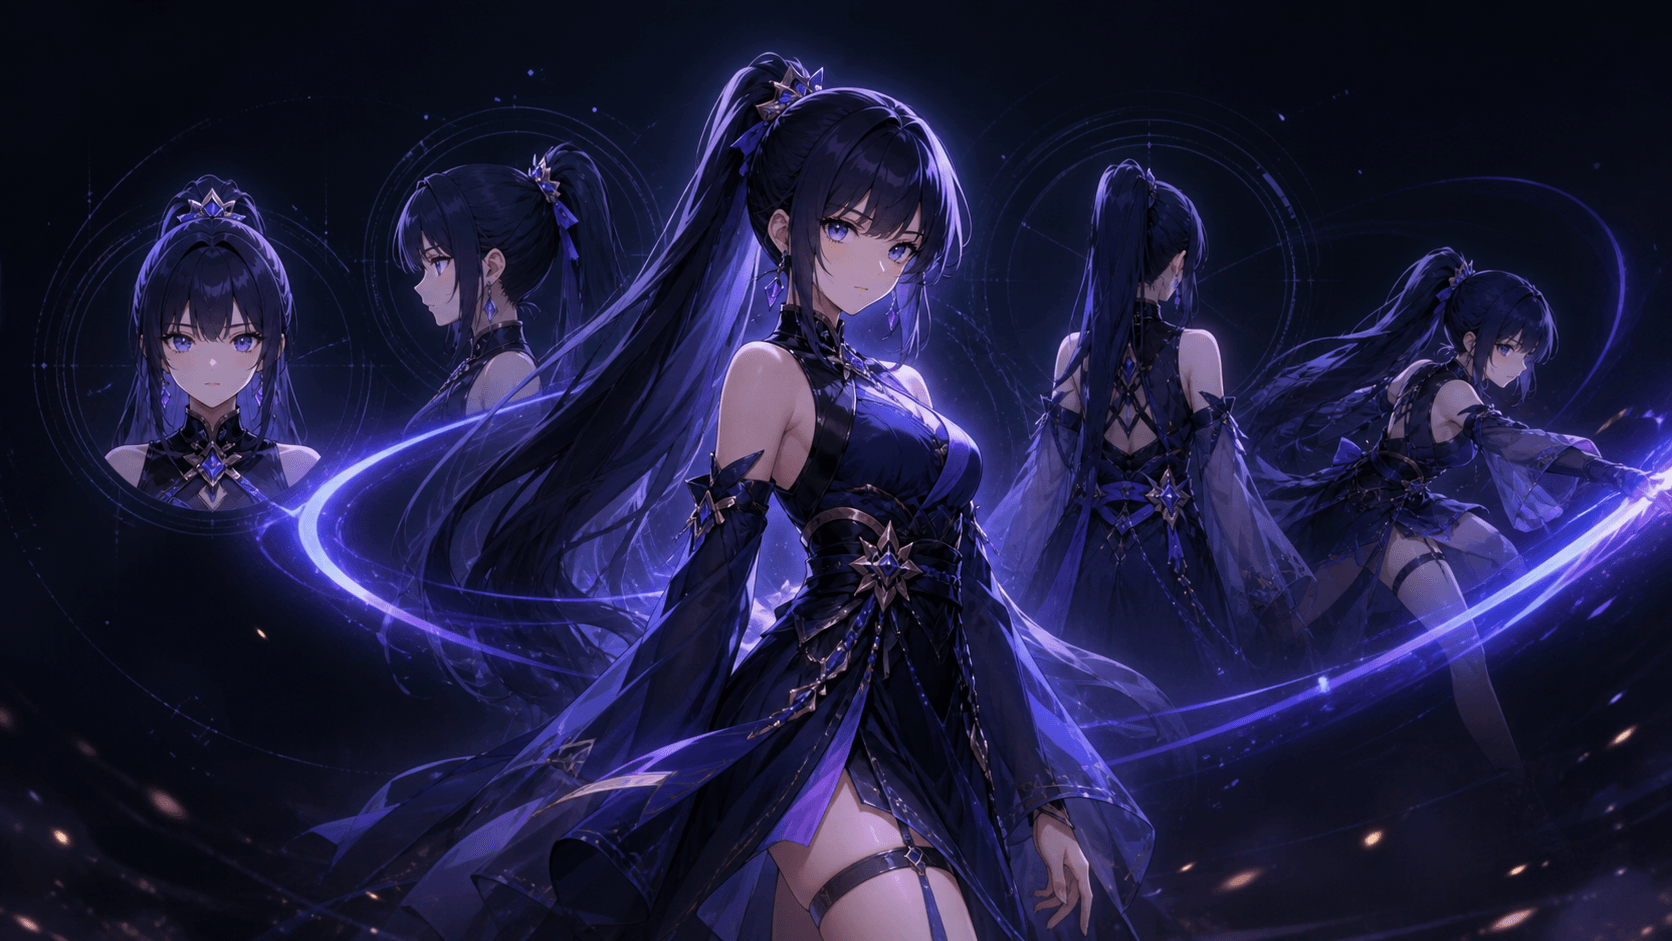
Create one approved primary design, then a production pack:
- front, profile, back, and three-quarter views;
- neutral full body and face close-up;
- expression and pose sheets;
- hairstyle, hands, shoes, props, and costume details;
- palette and material notes;
- height comparison across cast;
- voice and performance description.
Use observable language. Record asymmetry with character-relative directions. Define “never change” traits and version every approved sheet.
Create Character States
State is part of continuity. Track wardrobe, damage, wetness, carried props, emotional condition, and location entry/exit. Example: MIRA_A2 = default coat, wet, left sleeve torn, key in right hand.
Do not use an image from the wrong state merely because its face looks good; models may inherit the inconsistency.
Phase 4: Build Locations and Props
For each recurring location, create a wide establishing view, reverse angle, key details, palette, light states, and a simple map. Geography prevents doors, windows, and character screen direction from changing between shots.
For props, document size relative to the hand, front/back, grip, materials, moving parts, and owner. A story-critical key or weapon deserves the same rigor as a costume.
Phase 5: Storyboard for Generation
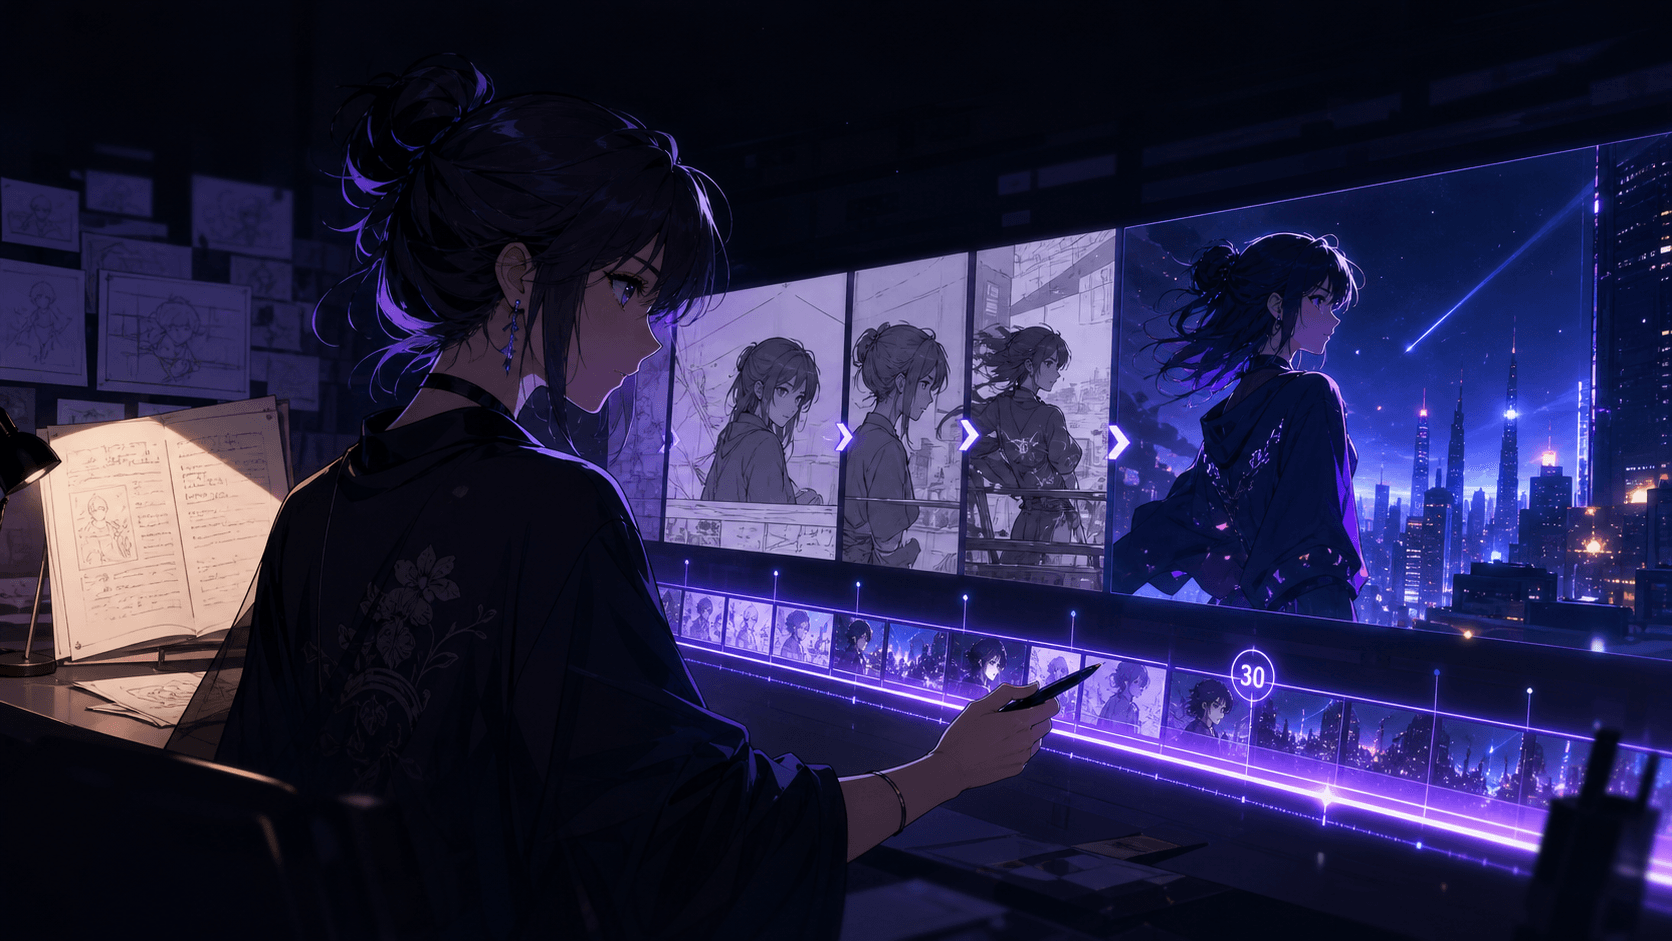
A useful board specifies shot ID, duration, framing, camera, action, dialogue, character state, references, transition, and sound note. Avoid treating each panel as independent concept art.
Create an animatic with temporary dialogue and rough sound. It exposes pacing and missing coverage before expensive renders. Ask whether the story works with crude images; visual polish cannot repair unclear cause and effect.
Tag Risk
Mark shots high-risk if they contain multiple faces, hands on props, fast rotation, occlusion, wardrobe transformation, lip sync, or complex camera motion. Prototype those first. If the hardest shot fails, redesign early.
Upload the approved character and build three risk tests in Elser AI: a dialogue close-up, a full-body action, and a rear three-quarter scene.
Phase 6: Choose Models by Shot Function
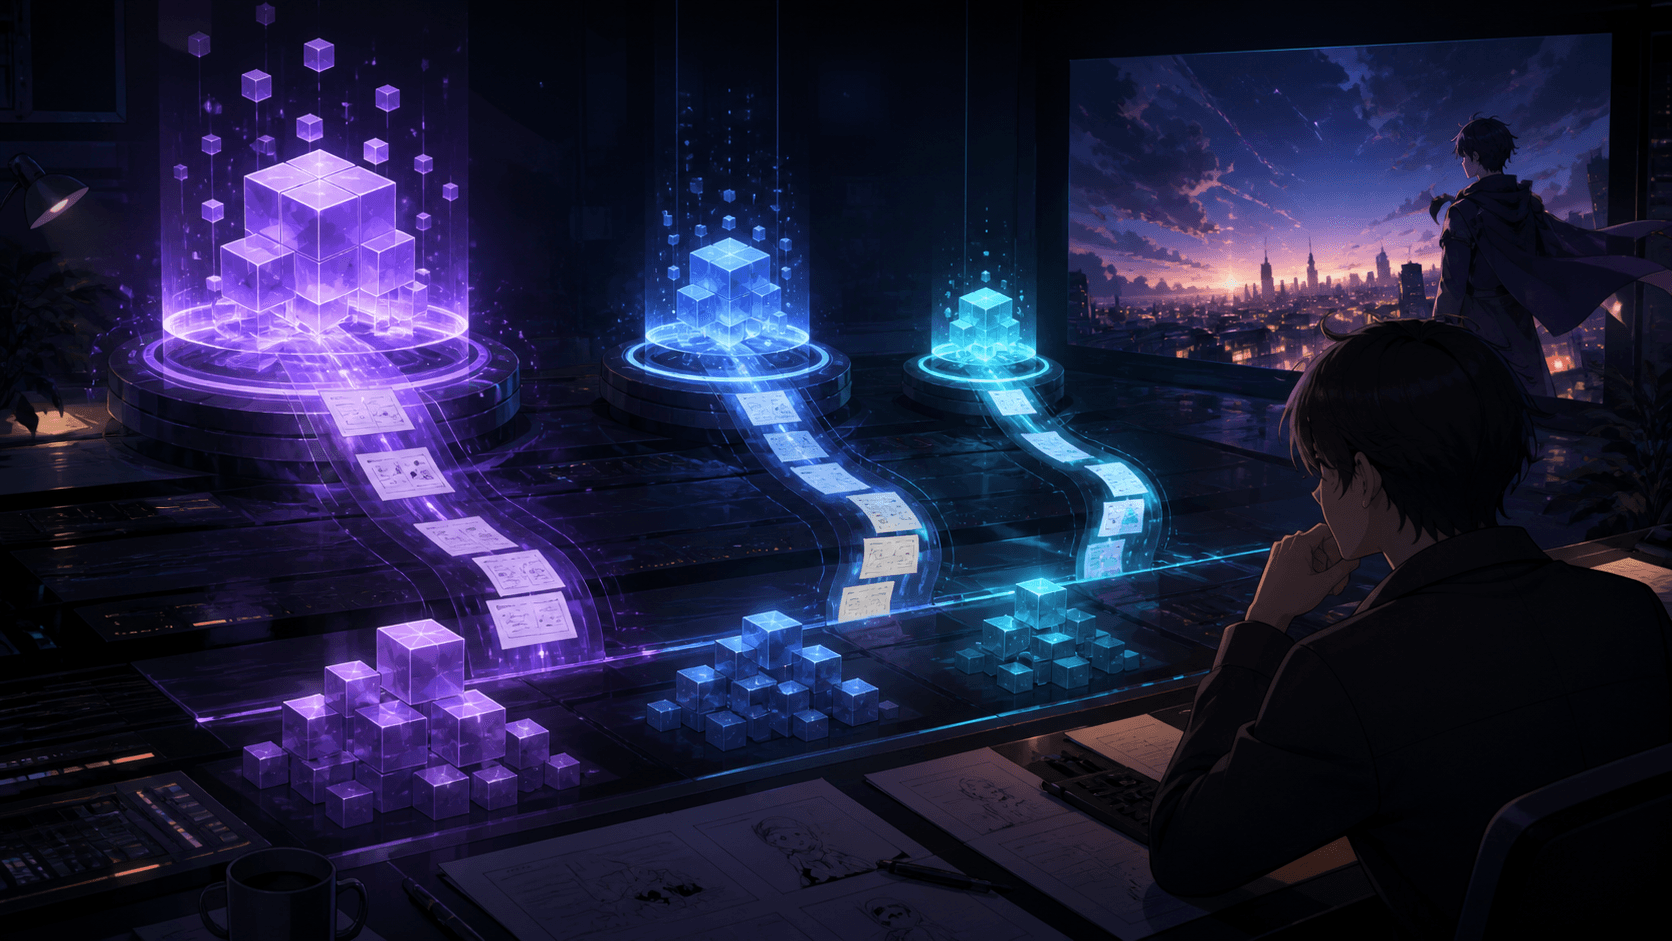
Do not select one model for ideological purity. Select based on the shot.
Seedance 2.5’s official materials emphasize large reference sets, up to 30-second one-pass scenes, extensions, timestamp controls, and audiovisual generation. Veo 3.1 emphasizes ingredient-based references, vertical output, and high-resolution options across Google products. Runway Gen-4.5 supports directed text-to-video and image-to-video short clips. Luma Ray3.14 emphasizes efficient native 1080p generation and video modification, while its announcement notes that Character References are not supported in that model.
These published capabilities are not guaranteed quality for your character. Run the same benchmark and record model version, interface, inputs, prompt, settings, cost, and output.
Use text models to help with shot lists, prompt drafting, continuity checks, and metadata, but remember that models such as GPT-5.6 produce text rather than final video. Human review remains responsible for story and factual decisions.
Phase 7: Generate Approved Keyframes
For every continuity-critical shot, approve the still before motion. Use the canonical reference hierarchy: character sheet first, prior approved shot second, pose/camera reference third, mood reference last.
Correct face, hands, costume, prop, background geography, and light. Establish start and end frames for complex movement. Store rejected versions separately so they do not accidentally become new references.
Phase 8: Animate in Short, Directed Shots
Use one dominant action and one camera idea. In image-to-video, describe movement; the image already supplies composition. Generate handles around the intended edit and preserve successful seeds or settings where supported.
Long generation can help continuous scenes, but editorial cuts are valuable. Close-ups, inserts, reactions, and environment shots protect continuity and pace. Use extensions only after checking the source clip’s final frame.
Review every shot in three ways:
- first/middle/last frames for structural continuity;
- normal-speed playback for motion and identity;
- sequence context for screen direction and story state.
Repair local defects locally. A tracked patch, mask, grade, or short insert may preserve more than regeneration.
Phase 9: Build Voices and Sound
Create a voice bible for each role: language, register, pace, pronunciation, emotional range, microphone perspective, and consent documentation. Use clean final lines for lip sync.
Seed Audio 1.0’s launch materials describe integrated speech, effects, ambience, and prompt-level dialogue timing, with up to two minutes one-pass and continuation. ByteDance also notes that precise timing mainly focuses on dialogue, so effects may need manual placement.
Generate or record separate dialogue, ambience, Foley, and music stems. Mix speech for intelligibility on phone speakers. Design room tone across cuts so visually separate generations feel like one space.
Phase 10: Edit, Grade, and Finish
Build the picture edit before polishing every shot. Replace weak transitions, trim dead time, and use reaction shots to control rhythm. Add subtitles as real text, not generated pixels.
Perform a continuity pass for face, costume state, props, geography, eyelines, weather, time of day, and damage. Then grade the episode so model-to-model color differences become intentional. Match sharpness, grain, motion blur, and black levels.
Export a review master and watch it without pausing on a phone, laptop, and larger display. Then perform a technical inspection for artifacts, audio peaks, subtitle timing, legal notices, and required synthetic-media disclosure.
When the animatic and risk tests pass, register with Elser AI to move through the connected production stages and keep the project centered on the finished episode.
The Minimum Production Folder
Use a stable structure:
01_brief_rights02_script03_characters04_locations_props05_storyboard_animatic06_keyframes07_video_shots08_audio09_edit_exports10_qc_delivery
Name files with episode, scene, shot, state, version, and status. Never use “final_final2.” A small team can manage this in a spreadsheet; the essential point is one source of truth.
FAQ
What is the most important asset for character consistency?
There is no single magic image. A canonical front/side/back pack plus written identity, costume states, and approved shot references is more reliable than one portrait.
Should one AI model generate the entire episode?
Not necessarily. Choose by shot and workflow, but limit unnecessary switching because every model adds differences in style, motion, cost, and terms.
How long should the first pilot be?
Long enough to test dialogue, action, location, continuity, and sound, but short enough to revise. Thirty to ninety seconds is often more informative than attempting a full episode immediately.
When should lip sync happen?
After dialogue delivery and picture timing are sufficiently stable. Late script changes can invalidate expensive facial animation.
How do I know the episode is ready?
It passes story, continuity, visual, audio, technical, rights, and platform checks—and an uninvolved viewer can follow it without explanation.
Conclusion
An AI anime episode is a production system, not a chain of prompts. Lock the story, build canonical assets, track character states, storyboard for risk, approve keyframes, generate directed shots, repair locally, design sound, and review the finished sequence as a whole.
The reward is not merely consistency. It is creative control: every tool serves the same story. Start your pilot with Elser AI, validate the hardest shots early, and scale only after the workflow proves itself.