How to Turn a Photo Into Anime With Elser AI
Photo-to-anime generation has two competing goals: the result should feel illustrated, but the person should still feel like themselves.
Push stylization too little and you get a filtered photograph. Push it too far and the model replaces individual features with its default anime face. The best result preserves the person’s recognizable structure while deliberately redesigning line, color, light, and background.
This guide explains how to do that with Elser AI, then prepare the anime portrait for a character sheet, comic, or animated clip. It also covers consent and privacy, because transforming a recognizable person is not only an aesthetic decision.
Get permission before you upload
Use a photograph you took, licensed, or have explicit permission to transform. If another person is recognizable, explain where the image will be uploaded, what transformation you intend, and whether the result will be published or commercialized.
Permission to take or post a photo is not automatically permission to feed it into an AI service. A public profile image is still connected to a person’s likeness. Never use photo-to-anime tools for sexualized, humiliating, deceptive, or harassing edits.
Avoid sensitive photographs: children, intimate images, medical settings, identity documents, private interiors, or pictures that reveal an address or workplace. Before uploading, read the service’s current privacy and retention terms. This guide cannot promise how a product will handle data after its policies change.
For this tutorial, imagine you are transforming your own daylight portrait into an original anime adventurer.
Choose a reference that gives the model a fair chance
The ideal source photo has:
- a sharp, unobstructed face;
- even light without blown highlights;
- eyes looking near the camera;
- natural skin color;
- minimal motion blur;
- enough resolution for facial structure;
- no heavy beauty filter;
- simple background separation.
Avoid sunglasses, hair covering both eyes, extreme wide-angle selfies, or strong colored lighting for the first attempt. Those can be valid artistic choices later, but they make likeness harder to establish.
Crop according to the intended result. A head-and-shoulders source is suitable for an avatar; a character sheet needs a full-body reference or a separate outfit description. Do not expect the model to infer shoes and costume construction from a face crop.
Remove unnecessary metadata and crop out bystanders. If more than one face remains, the model may blend identities.
Decide what “looks like me” means
Likeness is not one feature. Write down five to seven traits that matter:
- face shape;
- eyebrow shape;
- eye spacing and angle;
- nose length or bridge;
- mouth shape;
- hairstyle and hairline;
- glasses, freckles, facial hair, or another stable marker.
Do not ask the model to preserve every pore. Anime stylization simplifies. The goal is to protect structural relationships.
Suppose the source has an oval face, straight dark brows, slightly downturned brown eyes, a long nose bridge, a narrow upper lip, black wavy hair parted on the right, and round silver glasses. Those are better instructions than “keep my exact face.”
Decide what may change. You can allow cleaner skin rendering, a simplified jaw, larger but not oversized eyes, and a fantasy outfit while keeping the relationships that support recognition.
Make the first pass conservative
Start with a straightforward prompt:
Transform the uploaded adult self-portrait into a clean contemporary anime character portrait. Preserve the oval face, straight dark eyebrows, slightly downturned brown eyes and their spacing, long nose bridge, narrow upper lip, right-side part in the black wavy hair, and round silver glasses. Keep the original head angle and calm expression. Use natural proportions, medium-weight linework, restrained cel shading, and a simple warm-gray background. Do not change apparent age, ethnicity, glasses shape, or hairstyle.
The first pass should answer one question: can the workflow preserve identity while changing the rendering language?
Generate a small batch with the same settings. Compare results at the same size as the source. Look at the triangle formed by the eyes and mouth, the brow-to-eye distance, and the outer shape of the face. Hair color alone can create false familiarity; cover the hair briefly and check whether the face remains recognizable.
If none of the results works, do not add a fantasy costume. Repair identity first.
Increase stylization in controlled steps
Once the conservative portrait works, create separate branches.
Graphic anime branch:
Keep the approved face and glasses. Simplify shadows into two-tone cel shading, strengthen the outer contour slightly, use a limited navy-and-coral palette, and add a clean off-white background.
Painterly branch:
Keep the approved face structure, hairline, and glasses. Use delicate ink lines, softly painted skin and hair, subtle paper texture, and warm window light. Preserve natural adult proportions.
Fantasy-character branch:
Keep the approved face, apparent adult age, hair, and glasses. Add a practical navy explorer coat with coral lining and a brass map case. Place the character in a quiet airship cabin at sunrise. Medium portrait, warm side light, anime adventure design without franchise logos.
Make one category of change at a time: rendering, outfit, then environment. If likeness disappears, you know which step caused it.
Avoid combining multiple famous style labels. Describe the visual outcome you want rather than asking for an imitation of a living artist.
Use Elser AI’s broader character workflow
A photo-to-anime portrait becomes more useful when you turn it into a reusable character asset.
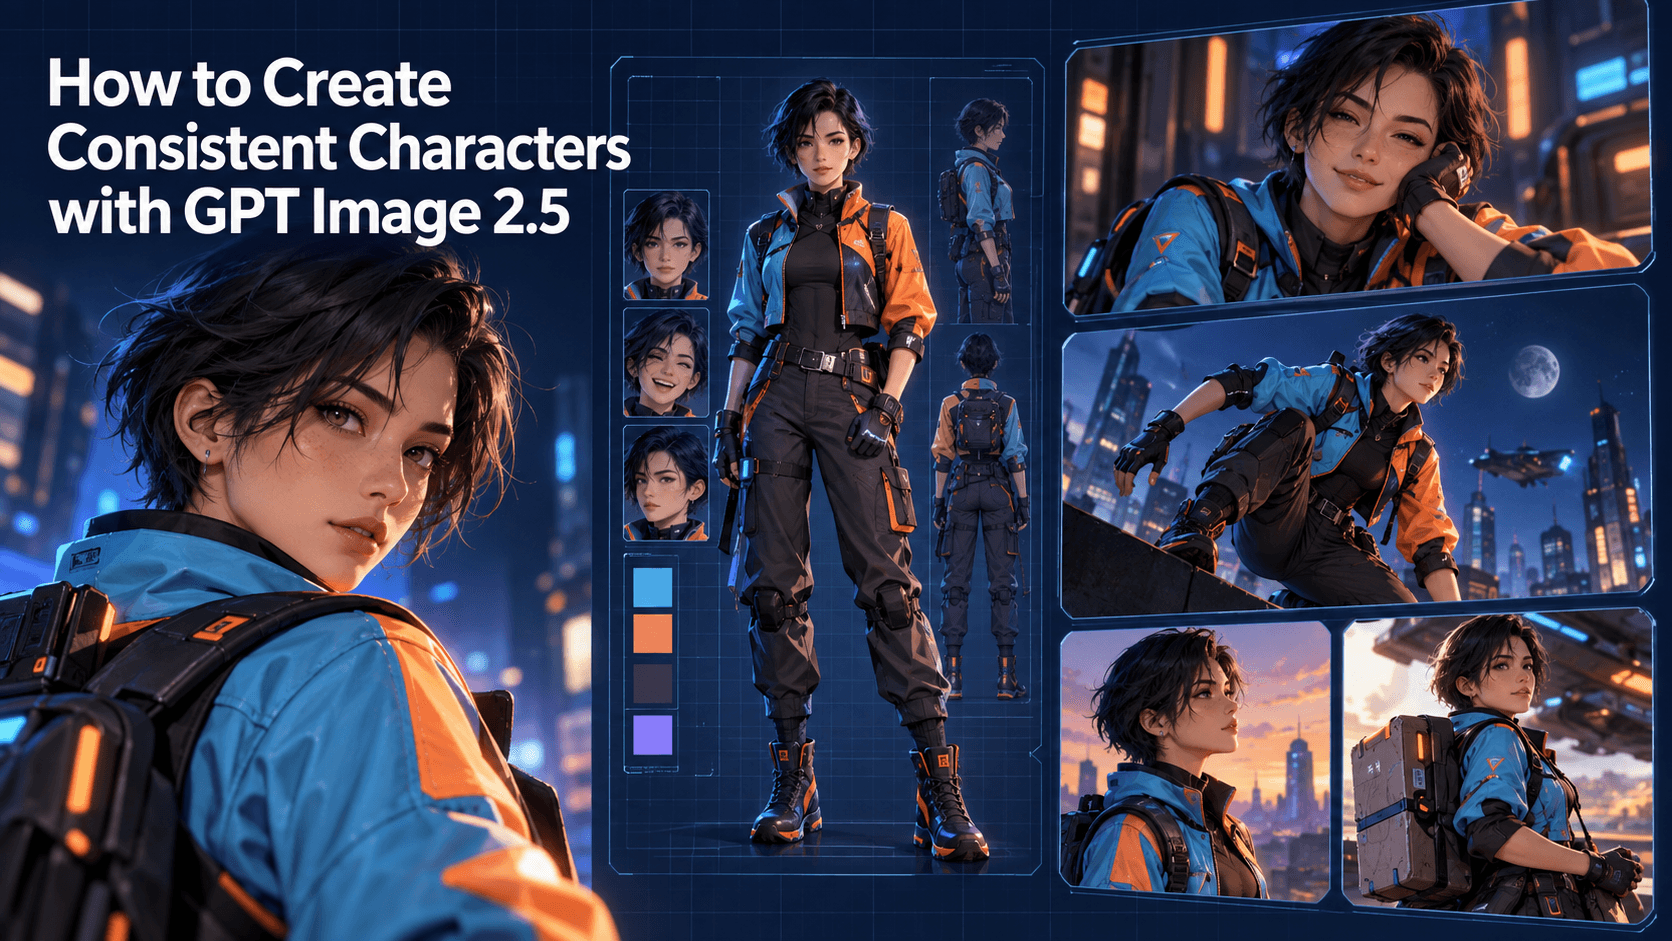
After approving the face, generate:
1. neutral front portrait;
2. three-quarter portrait;
3. side view;
4. full-body outfit design;
5. expression row;
6. simple seated and walking poses.
Write a character note that separates identity from costume. The face, hairline, glasses, and apparent age remain fixed. The explorer coat may change for a modern or fantasy scene.
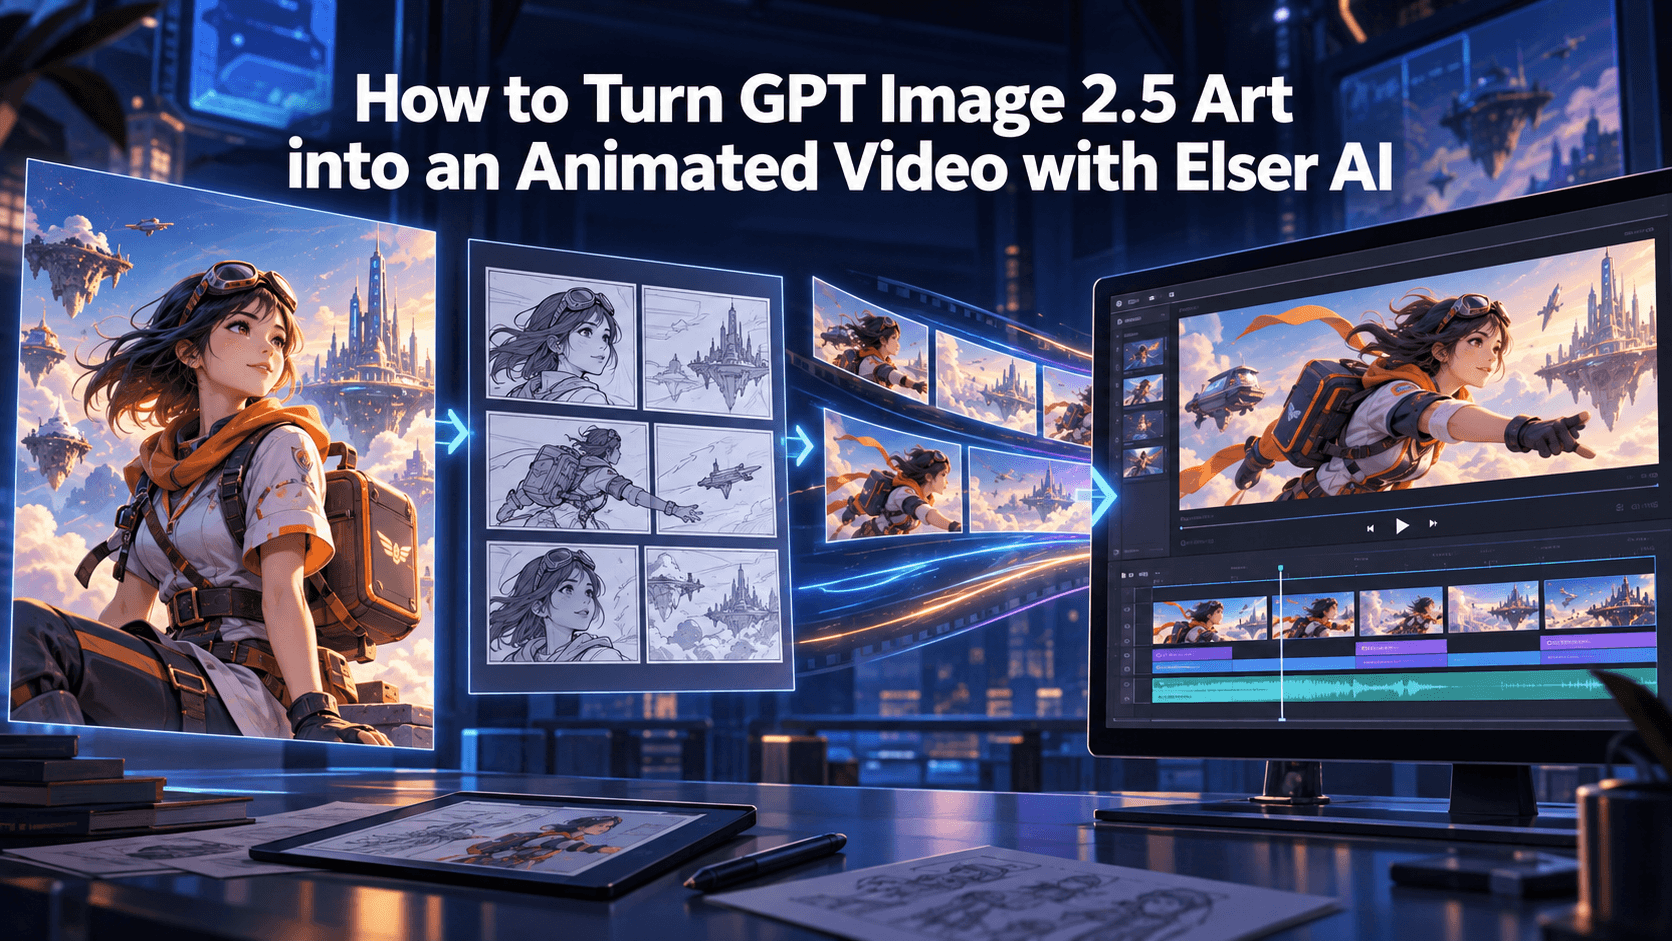
Elser’s official site connects image and character generation with comics, storyboards, and video. Save the approved asset in the platform when available, but also keep a local reference sheet and written anchors. Your identity should not depend on one account or model version.
Replace the original background deliberately
Background changes can alter perceived likeness because lighting and color affect the face.
Begin with a simple background in the first portrait. When identity is stable, choose an environment whose light direction matches the face. If the source is lit from camera left, a new sunset on camera right may create contradictory shadows.
For a fantasy airship cabin:
Preserve the approved character exactly. Replace the plain background with a quiet wooden airship navigation cabin, large window behind camera left, pale sunrise clouds outside, brass instruments kept softly out of focus. Match the original facial light direction and keep the face as the primary focal point.
Do not let background detail grow through the silhouette. High-contrast lines behind glasses and hair can make the portrait harder to read.
Fix common photo-to-anime problems
The face looks generic
Reduce stylization and restate structural features. Use the strongest approved result as the reference. Remove vague beauty words that encourage a default idealized face.
The person looks much younger
State clearly that the subject is an adult and preserve apparent age. Avoid child-coded proportions and excessively enlarged eyes. Maintain jaw, nose, and facial maturity.
Glasses or jewelry changes
Describe shape, material, and placement precisely. Repair the item locally rather than regenerating the entire face.
Skin tone shifts
Use neutral language and compare under consistent display conditions. Ask to preserve the source skin tone while changing only the lighting. Separate skin color from warm or cool scene light.
The result resembles the photo but feels stiff
After locking identity, change the expression and pose in small increments. Request a slight smile or three-quarter turn before attempting a dramatic action shot.
Hands fail in a wider portrait
Use a clean full-body reference if available, ask for visible separated hands, and choose a simple pose. Repair hands before animation.
Turn the portrait into a short animated scene
Use a stable, cleaned image. Remove warped glasses, ambiguous hair edges, and background pseudo-text before image-to-video.
For a restrained first clip:
The adult explorer looks down at the brass map case, then back toward the window. One natural blink. Hair tips and coat collar move slightly in the cabin breeze. Camera performs a slow, subtle push-in. Preserve face shape, eye spacing, glasses, hairline, apparent age, and costume.
Do not begin with a full spin. Image-to-video models must invent unseen geometry, and that is where faces often change.
Review the clip frame by frame around the blink and head movement. If the identity fails late, cut earlier. Add dialogue only after the silent motion is stable.
Export and disclose responsibly
Save the source, approved anime portrait, edited master, prompt, and final export. If the person consented to a private avatar but not public animation, respect that boundary.
When disclosure is relevant—client work, journalism, contests, or a community with AI rules—label the work accurately. Do not claim the anime portrait was hand-drawn if it was generated and edited.
The U.S. Copyright Office says prompts alone do not make purely AI-generated expression copyrightable, while sufficiently expressive human selection, arrangement, or modification may qualify. Your editing and composition decisions matter; likeness permission remains a separate issue.
FAQ
Can I turn someone else’s photo into anime?
Only when you have the necessary rights and informed permission. Do not assume that a public photo is free to transform, and never create deceptive or abusive likeness edits.
Why does the anime version not look like me?
The source may be weak, stylization may be too strong, or the prompt may protect only superficial traits. Start with a neutral portrait and specify structural relationships before changing outfit or background.
Can I use the result as an OC?
Yes, if it is your likeness or you have permission. Separate fixed identity details from an original costume, role, and story, then build a reusable character sheet.
Can Elser AI animate the photo-to-anime result?
Elser AI publicly offers image animation and broader anime-video workflows. Begin with subtle motion and inspect the face throughout the clip.
Conclusion
A convincing photo-to-anime transformation preserves identity by design, not luck.
Start with permission and a strong reference. Define which facial relationships matter, make a conservative anime pass, and increase stylization one layer at a time. Build a reusable character sheet before changing pose or adding motion. Repair small defects locally and keep the person’s privacy and publication consent separate from the technical ability to generate.
The best anime portrait is not the one with the largest eyes or most dramatic background. It is the one where the subject recognizes themselves—and understands exactly how the image will be used.