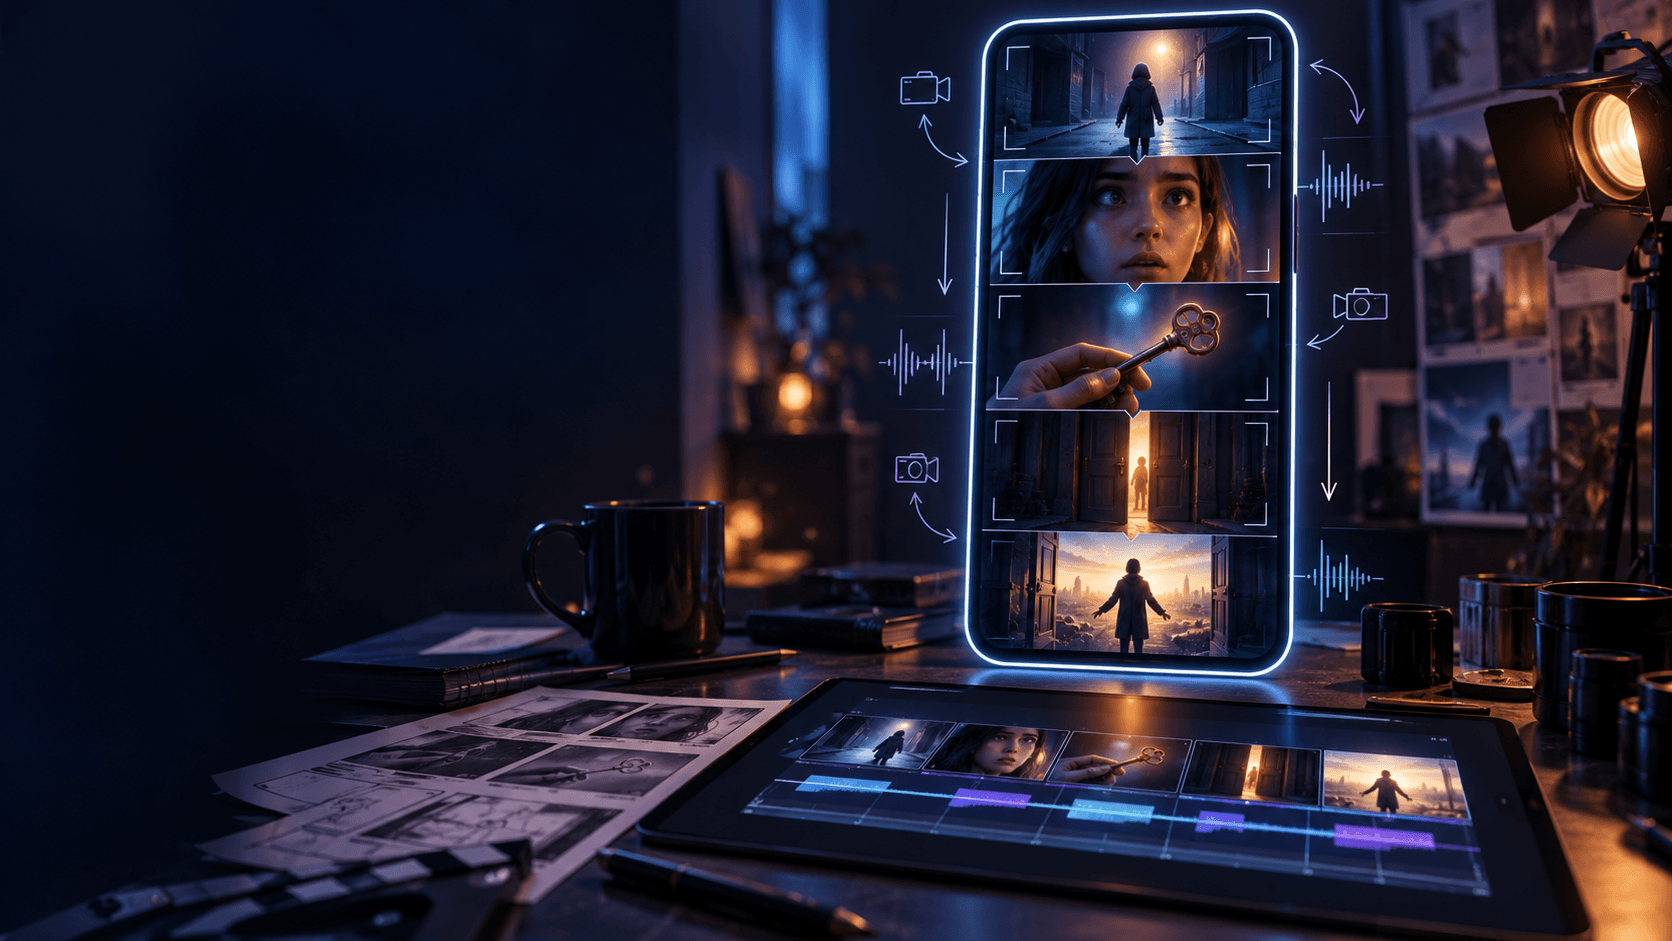
Never Waste a Spark: Turn Your Raw Ideas into Visual Storyboards Instantly with Elser AI
From a Raw Idea to a Visual Plan
Creative ideas rarely arrive as finished scripts. They usually appear as fragments: a character, a line of dialogue, an unusual setting, a visual joke, a dramatic ending, or a scene that feels exciting but has no clear beginning.
The problem is not generating ideas. The problem is preserving and developing them before they disappear.
A creator may write, “A girl receives a letter from the future,” but still not know what the first shot should be, how the character discovers the letter, what the viewer should see next, or how the idea becomes a complete animation. Without a visual plan, the creator may begin generating unrelated images and video clips. Individual results may look attractive, but they do not form a coherent story.
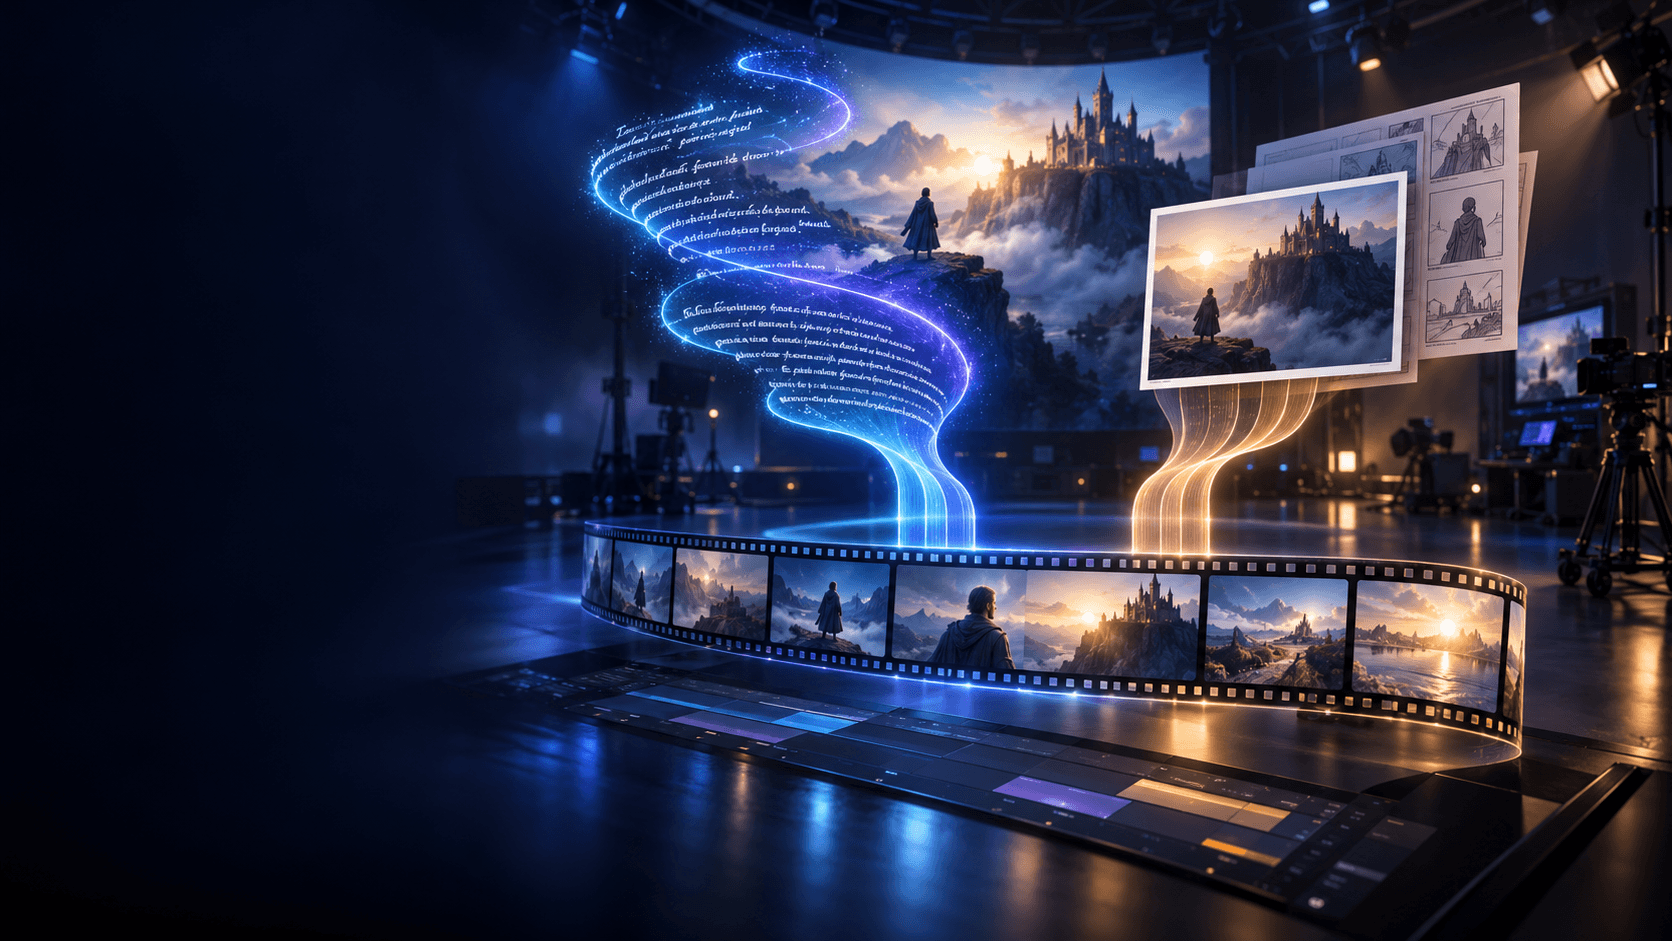
Elser AI’s official platform includes tools for character creation, anime images, video generation, comics, and story-driven animation. Its Storyboard Studio is designed to transform ideas, scripts, dialogue, and scene directions into structured visual sequences with panel layouts and camera planning.
The practical value of an AI storyboard is not that it replaces creative judgment. It gives a raw idea a visible structure. Once a creator can see the scenes in order, it becomes easier to identify missing story beats, unnecessary shots, difficult actions, and continuity problems before generating the final video.
Why Creators Lose Good Ideas
A raw idea often fails for one of three reasons.
The first is that the idea remains too abstract. “A magical city,” “a lonely robot,” or “an emotional anime scene” may describe a mood, but not an event. Video needs change. Something must be discovered, attempted, interrupted, transformed, or resolved.
The second problem is premature production. Creators sometimes generate the first image immediately, then continue making new images without deciding how they connect. This can lead to inconsistent characters, changing locations, weak pacing, and expensive regeneration.
The third problem is overdevelopment. A simple short-video idea becomes buried beneath complicated mythology, several characters, multiple timelines, and too many locations. The project becomes difficult before the first usable shot is created.
A storyboard sits between idea and production. It makes the idea concrete without requiring the creator to finish every detail first.
Start with the Story Spark
The first step is to capture the idea in its simplest form. Do not begin with a full screenplay. Write one or two sentences describing the central event.
Examples:
“A delivery girl discovers that the package she is carrying contains a tiny dragon.”
“A cat enters an empty restaurant at night and finds that the dishes are cooking themselves.”
“A robot waters the last flower in a ruined city while a storm approaches.”
“A musician sees memories appear in the air every time she plays one particular note.”
Each idea contains a subject, an event, and a visual direction. It is specific enough to imagine but open enough to develop.
When entering a concept into a story or storyboard workflow, include five pieces of information in one compact brief:
- the main character
- the location
- the event or problem
- the intended tone
- the approximate duration
For example:
“Create a 45-second anime short about a nervous delivery girl in a rainy futuristic city. The package she carries begins speaking to her. The tone should be mysterious at first and comedic at the end.”
This gives the system enough context to propose a sequence without forcing every decision into one prompt.
Turn the Idea into Story Beats
Before creating storyboard panels, divide the idea into meaningful changes. These are story beats.
A short animation can often work with five beats:
1. Hook: Present a visually interesting question.
2. Setup: Introduce the character and situation.
3. Discovery: Reveal the unusual event.
4. Escalation: Make the situation more difficult or surprising.
5. Payoff: Deliver the emotional, dramatic, or comedic result.
For the delivery-girl concept, the structure might be:
- The package glows under the rain.
- The courier realizes she is running out of time.
- The package whispers her name.
- Shadowy figures appear behind her.
- She opens the package and a tiny dragon complains that they are late.
This structure is short, but it gives every scene a purpose. The creator is no longer working with a vague idea. There is now a visible beginning, development, and ending.
Elser AI’s broader animation platform is presented as connecting scripts, characters, storyboards, voice, music, and video creation. That makes storyboard development useful not only as a presentation format but as a preproduction stage for later animation.
Convert Story Beats into Storyboard Panels
A story beat may need one panel or several panels. The goal is not to create the maximum number of images. It is to represent the moments the audience needs in order to follow the story.
For each panel, define:
- framing
- subject
- action
- environment
- emotional purpose
- dialogue or sound
- transition to the next shot
A simple storyboard could look like this:
Panel 1: Wide shot of a rain-soaked futuristic alley. The courier enters frame.
Panel 2: Medium shot under a streetlight. She checks the delivery time.
Panel 3: Close-up of the package glowing between her hands.
Panel 4: Close-up of her face as the package whispers her name.
Panel 5: Low-angle shot of shadows appearing at the end of the alley.
Panel 6: She opens the package; blue light fills the frame.
Panel 7: A small dragon appears and looks annoyed.
The storyboard does not need polished animation at this point. It needs readable decisions.
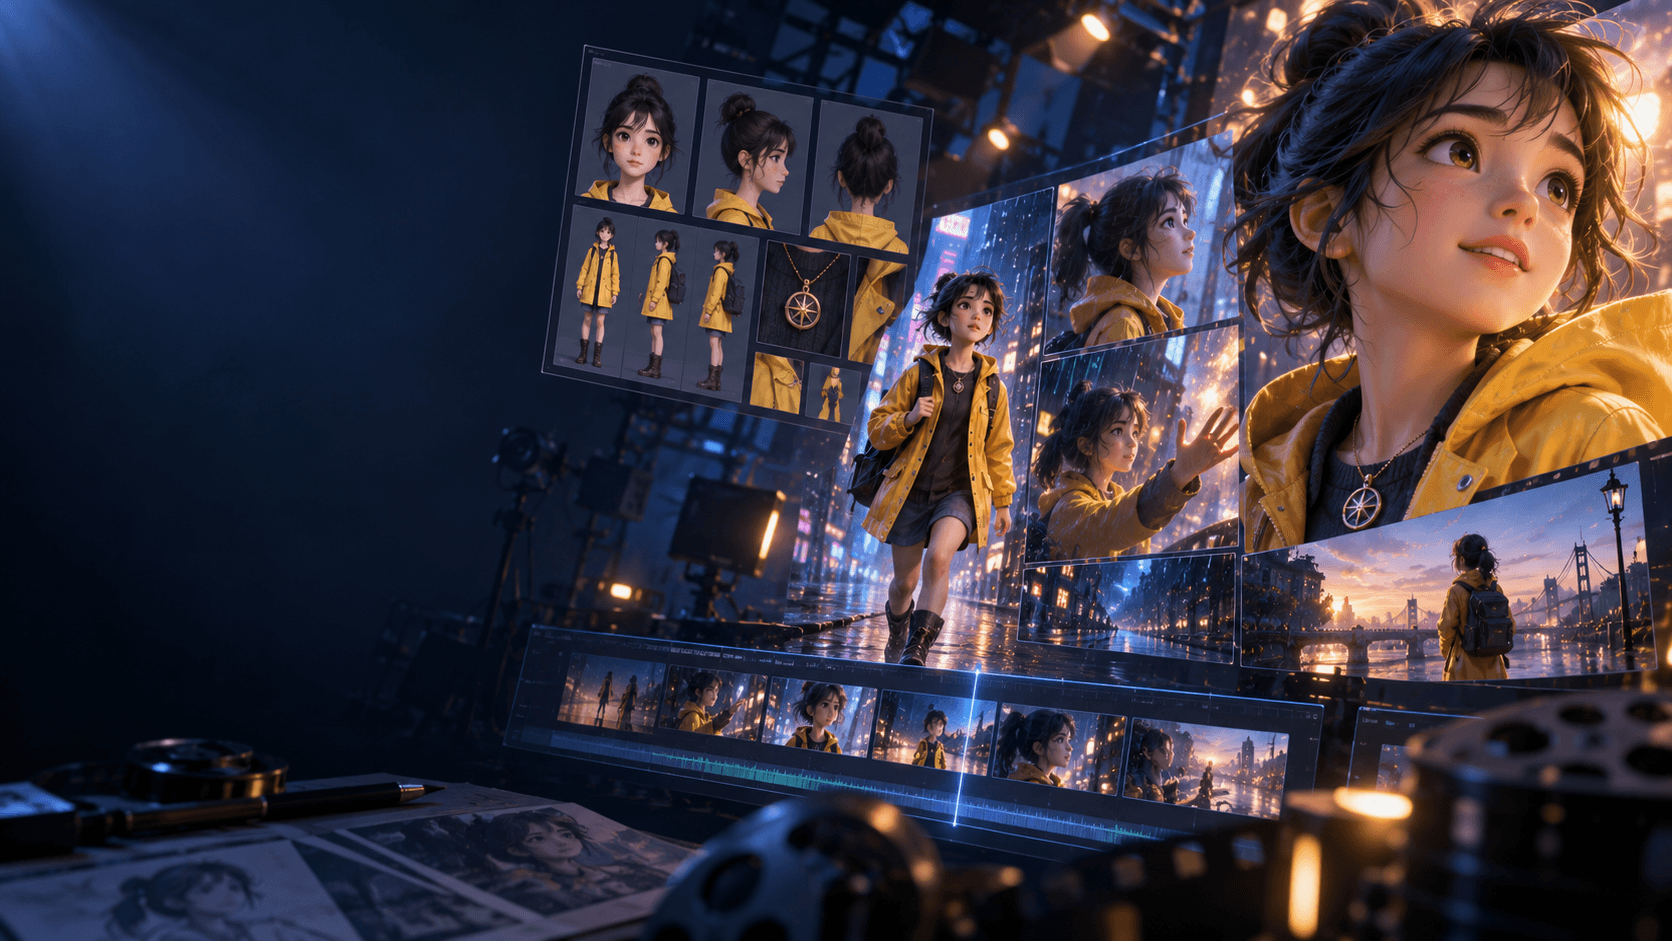
Elser AI’s official character and image tools can support this process by generating character designs, poses, expressions, and anime-style visual references that can be reused across the panels. The Character Maker accepts descriptions or uploaded images and is designed to produce consistent styles, poses, and expressions for stories and animated content.
Use the Storyboard to Protect Character Consistency
One reason to develop storyboards before video generation is that they expose inconsistency early.
If the main character has short black hair in panel one, long brown hair in panel three, and a different jacket in panel five, it is better to discover that problem before animating every shot.
Create a compact character identity block:
“Use the same young courier throughout the storyboard. Preserve her short black bob haircut, amber eyes, yellow rain jacket, red delivery badge, black shorts, white sneakers, compact proportions, and clean cel-shaded anime style.”
Reuse the same wording and, where supported, the same reference image throughout the project. Only the pose, expression, framing, and action should change.
The same principle applies to locations and props. Define the alley, room, vehicle, product, magical object, or costume before generating multiple scenes. A storyboard is also a continuity document.
Plan the Camera Before Adding Motion
A storyboard should not only show what happens. It should determine how the viewer sees it.
A wide shot establishes location. A medium shot shows body language. A close-up emphasizes an expression or object. An over-the-shoulder shot shows relationships. A low angle can make a subject feel powerful or threatening.
Avoid making every panel the same medium shot. At the same time, do not change camera angles without a reason.
A controlled sequence might move from:
wide environment → medium character shot → object close-up → reaction close-up → reveal
That sequence feels natural because the viewer first understands the location, then the character, then the important detail, then the emotional response.
When the storyboard later becomes animation, camera notes can be translated into video prompts:
- stable wide shot
- slow push-in
- gentle side tracking
- close-up with no camera movement
- fast cut to reaction
- light-filled transition
The planning stage prevents the video model from inventing random camera movement.
Identify Difficult Shots Before Production
Storyboards help creators recognize which moments are easy and which may require simplification.
A character looking at an object is relatively straightforward. Two characters running through a crowd while fighting and speaking is much harder. Detailed hand interactions, text, complex transformations, rapid costume changes, and multiple moving subjects all increase generation risk.
Mark difficult panels and simplify them.
Instead of showing a complete fight in one generation, use:
- preparation close-up
- rapid movement
- impact frame
- reaction shot
- aftermath
Instead of showing a character opening a complicated device with both hands, use:
- device close-up
- hand approaching
- light activation
- character reaction
This is not a compromise. It is visual storytelling. Traditional animation and live-action editing also use selective shots to make complex events readable.
Move from Storyboard to Elser AI Video Generation
Once the storyboard is approved, the creator can decide which panels need full animation and which can remain still or use subtle motion.
Elser AI’s official image-animation page supports turning uploaded still images into videos. The platform describes workflows for anime scenes, portraits, illustrations, product images, and other static visuals, with options involving audio, voice, and lip sync.
A practical production order is:
1. Approve the character reference.
2. Generate or refine storyboard keyframes.
3. Select the most important panels.
4. Animate each selected panel separately.
5. Review identity, motion, and framing.
6. Assemble the clips according to the storyboard.
7. Add voice, sound, music, and captions.
Not every panel needs dramatic movement. A slow push-in, blinking, rain, light movement, hair motion, smoke, or parallax can carry an emotional shot without damaging the artwork.
A Prompt for Turning a Raw Idea into a Storyboard
Use a prompt like this:
“Turn the following raw idea into a visual storyboard for a [duration] [format] video. First summarize the core story in one sentence. Then create 6–10 storyboard panels. For each panel, include framing, character position, main action, background, emotional purpose, dialogue or sound, camera direction, and transition. Keep one main action per panel and preserve the same character and visual style throughout: [raw idea].”
For an existing script:
“Convert this script into a production-ready storyboard. Remove scenes that do not advance the story, split complex actions into simpler panels, and identify any shots that may be difficult for AI video generation: [script].”
The result should be treated as a first visual draft. Revise the sequence before spending time and credits on final video generation.
When Free Access Is Enough and When to Upgrade
Elser AI’s official Character Maker says free users receive a limited number of generations for testing, while premium plans provide more creations, higher-resolution output, and advanced options. The live pricing page lists several plans and monthly quotas, although current prices and promotions should be checked directly because they may change.
Free access is useful for:
- testing a story concept
- creating the first character
- generating a small storyboard
- comparing two visual styles
- checking whether the workflow suits the project
A paid plan becomes more useful when:
- generating several storyboard alternatives
- building recurring characters
- producing multiple animated shots
- creating weekly content
- revising scenes repeatedly
- requiring higher output volume or resolution
The most efficient approach is to validate the story first, then pay for greater production capacity once the idea is strong enough to continue.
Final Thoughts
A creative spark is valuable, but it is not yet a video. It needs structure, visual decisions, continuity, and production planning.
Elser AI connects character creation, anime imagery, storyboards, image-to-video generation, and broader animation tools in one platform. The strongest way to use that environment is to slow down briefly before generating the final animation: capture the idea, define the story beats, build the storyboard, protect the character, and identify difficult shots.
Register for Elser AI and test the process with one idea you have not developed yet. Turn it into seven storyboard panels before creating any final video. Once the sequence works visually, a paid plan can provide the additional generations needed to animate, revise, and publish the story.