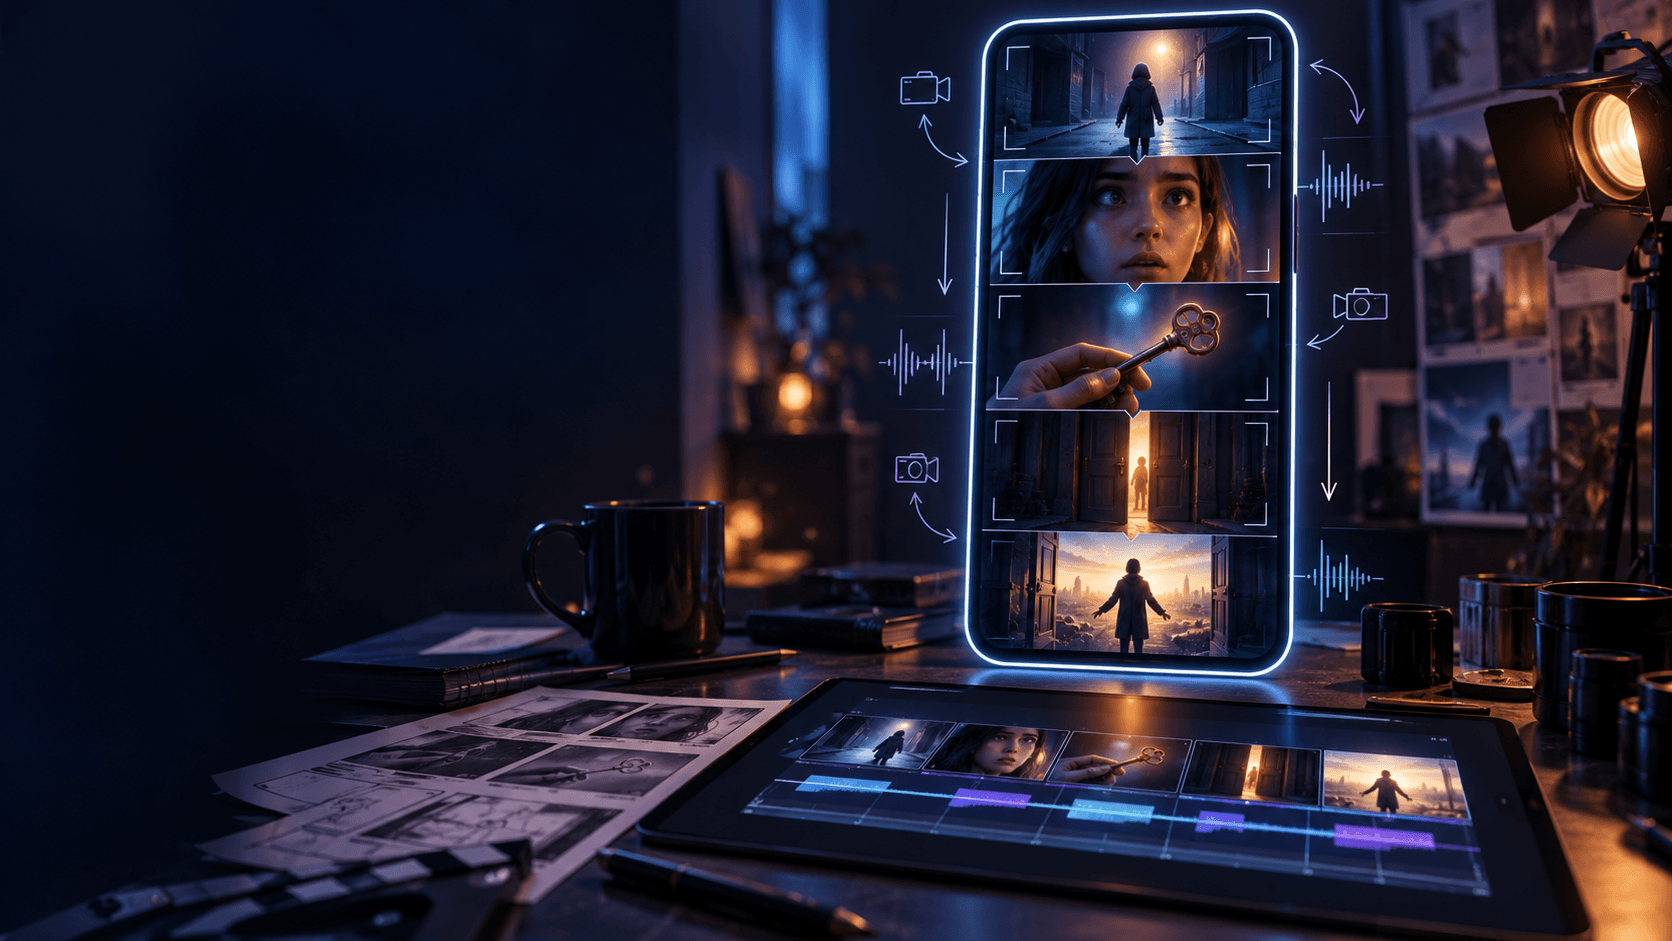
From Idea to First Cut: How to Create an Animated Short in Minutes with Elser AI
From Idea to Animated Short
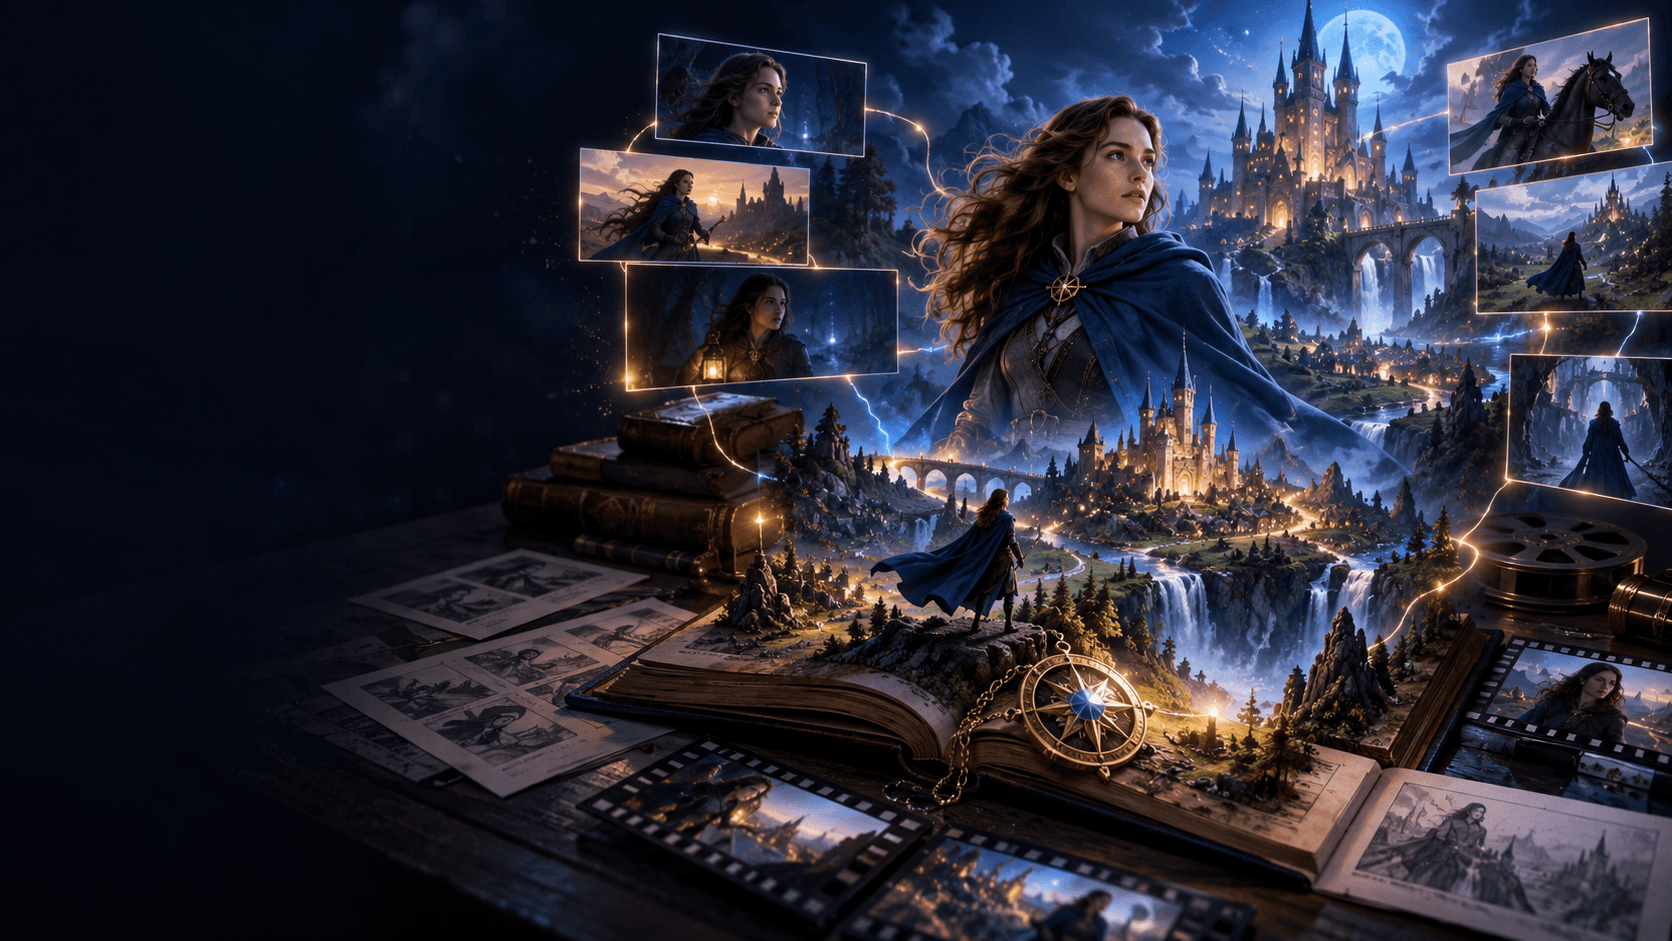
Creating an animated short traditionally requires several separate production stages. A creator first develops an idea, writes a script, designs characters, draws a storyboard, prepares backgrounds, animates individual shots, records voices, adds music, and edits everything into a final sequence. Even a short project can become difficult when every stage requires different software or specialized skills.
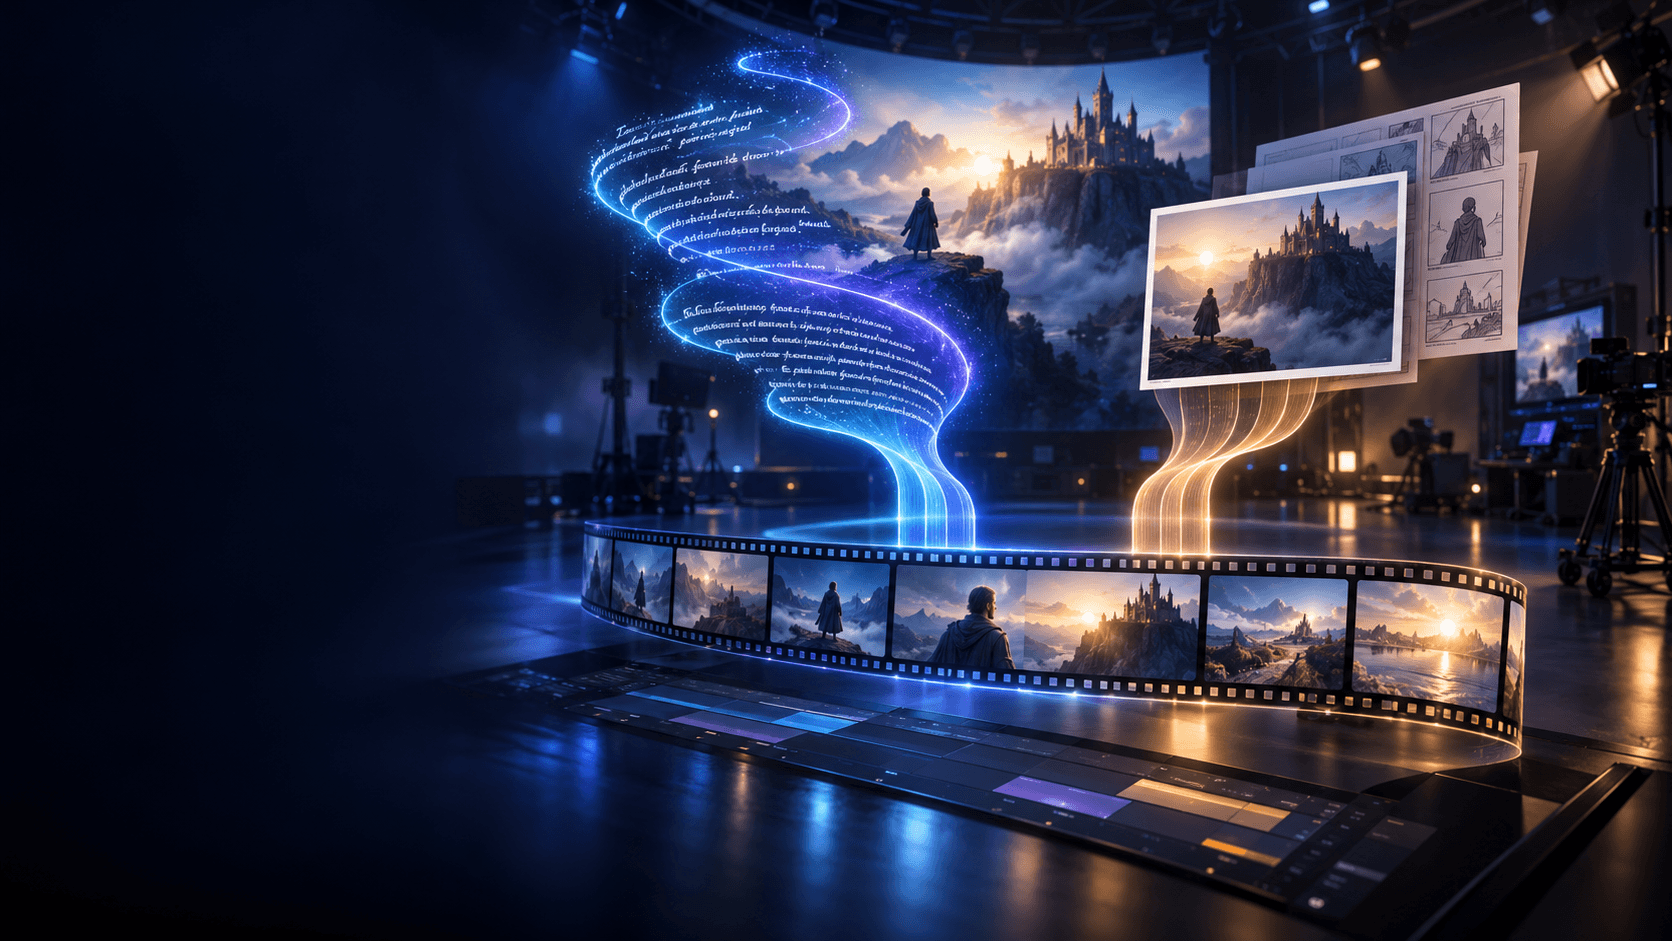
Elser AI is designed to bring more of that process into one connected creative environment. Its official animation page describes Elser Anime as an AI animation generator that can turn an idea into a complete anime short by combining script generation, storyboard creation, character design, AI voiceovers, music generation, and smart editing. The Elser AI homepage also presents tools for anime-style images, comics, video animation, full anime production, and AI-driven storyboard creation.
This does not mean every finished animation can be produced perfectly from one sentence or within an identical amount of time. Generation speed depends on the project, model, shot complexity, revisions, and selected settings. The practical advantage is that creators can move from a blank page to a usable first cut much faster than a fully manual workflow.
The best approach is not to ask the platform to make an entire film in one uncontrolled step. It is to use Elser AI as a connected production system: idea, story, characters, storyboard, shots, audio, review, and export.
Step 1: Reduce the Idea to One Clear Sentence
Before generating anything, explain the story in one sentence. This sentence should identify the main character, the goal, and the central complication.
For example:
“A young courier must deliver a mysterious package before sunrise, but the package begins speaking to her.”
“A shy robot tries to protect the last flower in an abandoned city during a storm.”
“A small cat secretly enters a magical kitchen and accidentally brings every dish to life.”
These ideas are visually clear. They contain a character, an action, and a reason for the audience to continue watching.
A weak starting idea is usually too broad:
“Create an exciting fantasy anime.”
That leaves too many decisions unresolved. Who is the character? What happens? What changes? What is the ending?
Elser AI can help creators move from an idea or script into a structured animation workflow, but the output will be easier to control when the core concept is focused. Its AI storyboard page describes a workflow that transforms written ideas, scripts, dialogue, and scene directions into structured storyboards, panel layouts, and camera-angle sequences.
Step 2: Turn the Idea into a Short Story Structure
A short animation does not need a complicated plot. It needs visible change.
A useful structure is:
Hook: Show something visually interesting immediately.
Setup: Introduce the character and situation.
Discovery: Reveal the central event or problem.
Escalation: Make the situation more difficult or surprising.
Payoff: Deliver the emotional, funny, or dramatic result.
For the courier example:
- A package glows beneath the rain.
- The courier realizes she is almost out of time.
- The package whispers her name.
- Shadows appear at the end of the alley.
- A tiny dragon emerges and announces that they are late.
This can become a complete short sequence without excessive backstory.
When using Elser AI, creators can begin from either an idea or a more complete script. The platform’s official animation page says users can create an anime from an idea or script, while its Story Architect workflow is described as supporting plot outlines, character profiles, dialogue, and complete scenes.
Step 3: Create Stable Characters Before Generating Video
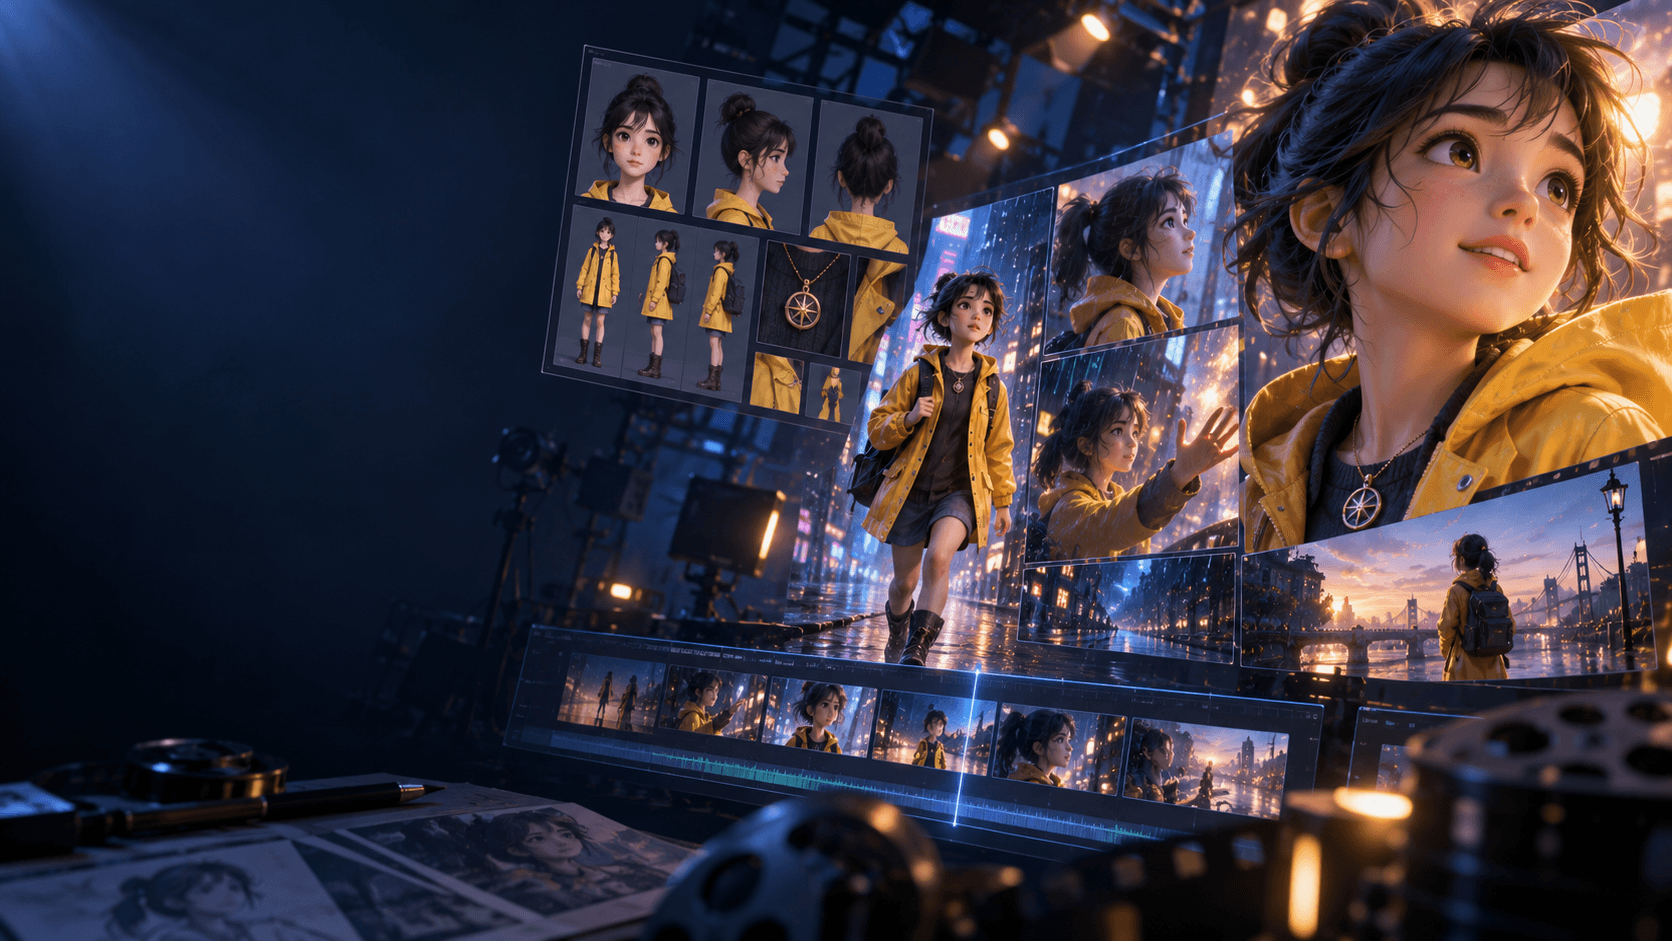
The character should be designed before the animation shots are generated. If the visual identity changes between prompts, the resulting clips may not feel connected.
Define the character through fixed traits:
- face shape and eye design
- hairstyle and color
- outfit and accessories
- body proportions
- color palette
- personality and expression style
- overall anime or illustration style
Elser AI positions itself as an all-in-one anime and original-character creation platform. Its homepage includes original-character creation, anime imagery, comics, storyboards, and video tools, while the company’s product announcement describes character creation with customizable appearance, personality, hairstyle, and clothing.
A reusable character block might read:
“Use the same young courier in every shot. Preserve her short black bob haircut, amber eyes, yellow rain jacket, red delivery badge, black shorts, white sneakers, compact proportions, and clean cel-shaded anime style.”
Repeat the same identity details whenever the character appears. Do not casually change the wording from one shot to another.
Step 4: Convert the Story into a Storyboard
A storyboard prevents the animation from becoming a collection of unrelated clips. Each panel should answer four questions:
1. What does the viewer see?
2. What is the main action?
3. How is the camera framed?
4. Why does this shot exist?
Elser AI’s Storyboard Studio is designed to turn written ideas, scripts, dialogue, and scene directions into structured panels and camera sequences. Its own storyboard guidance also connects planning with later video generation through text prompts, image references, and image-to-video workflows.
For a 30-second short, a storyboard might contain eight shots:
1. Wide shot of the rainy alley.
2. Courier enters with the package.
3. Close-up of the package glowing.
4. Courier reacts.
5. Shadows appear in the distance.
6. Courier opens the package.
7. Blue light fills the scene.
8. Tiny dragon delivers the final line.
Each shot has one main action. This is much easier for an AI video system to interpret than one long prompt containing the entire story.
Step 5: Generate Shots Instead of One Entire Film
AI video is generally easier to control shot by shot. If one shot fails, only that shot needs to be revised. The creator does not need to discard the entire sequence.
Elser AI supports video generation and image-to-video workflows. Its image animation pages describe uploading a still image and turning it into a video, with options involving music, voiceovers, lip sync, and recorded voice. The broader platform also integrates different video models, allowing creators to select workflows according to the type of motion they need.
For each shot, include:
- the same character or subject reference
- one main action
- camera framing
- camera movement
- lighting
- mood
- elements that must remain unchanged
Example:
“Use the same anime courier from the character reference. She stops beneath a flickering streetlight and looks down at the glowing package. Medium shot with a slow camera push-in. Wet pavement reflects cool blue light. Preserve her face, hairstyle, outfit, proportions, and cel-shaded style.”
Keep the motion simple at first. Blinking, breathing, turning, looking down, hair movement, rain, light changes, and slow camera movement are easier to control than several complex actions happening simultaneously.
Step 6: Add Voice, Music, and Sound with Purpose
Sound turns a sequence of images into a scene. It can establish location, emotion, rhythm, and story information.
Elser AI’s official animation page lists AI voiceovers and music generation as parts of its animation workflow. Its image-animation page also states that users can add music, voiceovers, lip syncing, or their own recorded voice to animated images.
For a short animation, keep dialogue concise. Long speeches increase production complexity and may slow the pacing. Use sound to support the visuals:
- rain and distant traffic for a city scene
- soft wind for an outdoor landscape
- cloth movement and footsteps for character presence
- a low hum for a magical object
- silence before an important reveal
Do not fill every second with music. Strategic silence can make the final moment more effective.
Step 7: Assemble a First Cut
The first cut is not necessarily the final published version. It is the first complete sequence in which the story can be watched from beginning to end.
Review it for:
- story clarity
- character consistency
- visual continuity
- pacing
- shot duration
- audio balance
- weak or unnecessary shots
- abrupt transitions
Elser AI describes smart editing as part of its integrated animation workflow. The practical benefit is that creators can move from planning to generation and assembly without treating every production stage as an isolated process.
At this stage, shorten slow shots, regenerate inconsistent clips, and remove shots that do not advance the story. A shorter, clearer animation is usually stronger than a longer project filled with redundant visuals.
How Quickly Can You Create the First Cut?
Elser AI’s image animator describes turning a still image into video in seconds, but a complete animated short contains more than one generation. It also requires story development, references, shot selection, audio, and review.
A simple first cut can be produced quickly when:
- the story is short
- the character is already defined
- the storyboard contains only a few shots
- movements are controlled
- dialogue is minimal
- the creator accepts a first draft rather than demanding a finished studio-quality film immediately
More complex shorts require more iterations. Multi-character dialogue, action scenes, detailed lip sync, strict commercial requirements, and longer continuity all increase production time.
The honest promise is not that every animated short takes the same number of minutes. It is that Elser AI reduces the number of disconnected tools and manual steps required to reach a first cut.
Free Trial, Credits, and Paid Plans
Elser AI states that its image animation generator offers a free trial, while higher-quality and premium features are available through subscription plans. Its pricing page lists Free, Basic, Pro, Ultimate, and Creator options, with different quotas and feature access. Since prices, quotas, and promotions can change, creators should check the live pricing page before selecting a plan.
A sensible approach is to begin with a small project:
1. Register for Elser AI.
2. Create one character or upload one reference image.
3. Generate a four-to-eight-shot storyboard.
4. Animate two or three key shots.
5. Review consistency and motion.
6. Upgrade when the project requires more credits, higher-quality output, or regular production capacity.
Paid access becomes most useful when a creator is generating multiple versions, building recurring characters, producing regular social content, or developing longer animation projects.
Final Thoughts
Elser AI brings script development, storyboards, character creation, animation, voice, music, and editing into a connected anime-production workflow. Its strongest practical value is not a promise that every finished film can be created instantly. It is the ability to move from an idea to a structured first cut without building a separate toolchain for every production stage.
Start with one clear idea. Build a short story. Lock the character design. Generate a storyboard. Animate one shot at a time. Add sound deliberately. Then review the first cut as an editor.
Creators can register for Elser AI and test this workflow with a small short. Once the process works, upgrading to a paid plan can provide the capacity needed for more shots, iterations, and recurring animation production.